Home Lab 9 - Minimalist Container host with Autoscale and Gitops - Service Installation
You should have an Alpine Linux host running Docker. If you don't then head back to the last blog to get that setup. I suggest you create a local git repo to place all these files and keep everything in one place. A mono-repo for home-lab Gitops seems fine right?
Portainer
The first thing we need, so we can start defining our 'stacks' is to get portainer running. Head over to portainer.io and sign up for a free license. You'll need this to enable the webhook feature to configure Gitops workflows later. It's free don't worry! With that key available, create a script on your server to launch portainer. This is the only container we'll 'manually' launch because we cannot have a stack for portainer itself.
#!/bin/sh
# doas to elevate to root to interact with docker daemon
doas docker run -d \
        # http is on port 9000, we'll direct traefik to here
        -p 9000 \
        # https is on 9443, I suggest mapping this to your host. If
        # traefik goes down you can allow the connection on your
        # firewall and access portainer for recovery.
        -p 9443:9443 \
        --name portainer \
        --restart=always \
        # This is your choice, but I'm going to place my applications
        # on a three-tier architecture network layout. Portainer
        # sits on the application tier.
        --network app_tier \
        # We have to give portainer access to the docker socket so it
        # can CRUD resources
        -v /var/run/docker.sock:/var/run/docker.sock \
        # use a named volume so you can back this up as needed
        -v portainer_data:/data \
# Use ee container, this will request your license key.
portainer/portainer-ee:latest --http-enabled
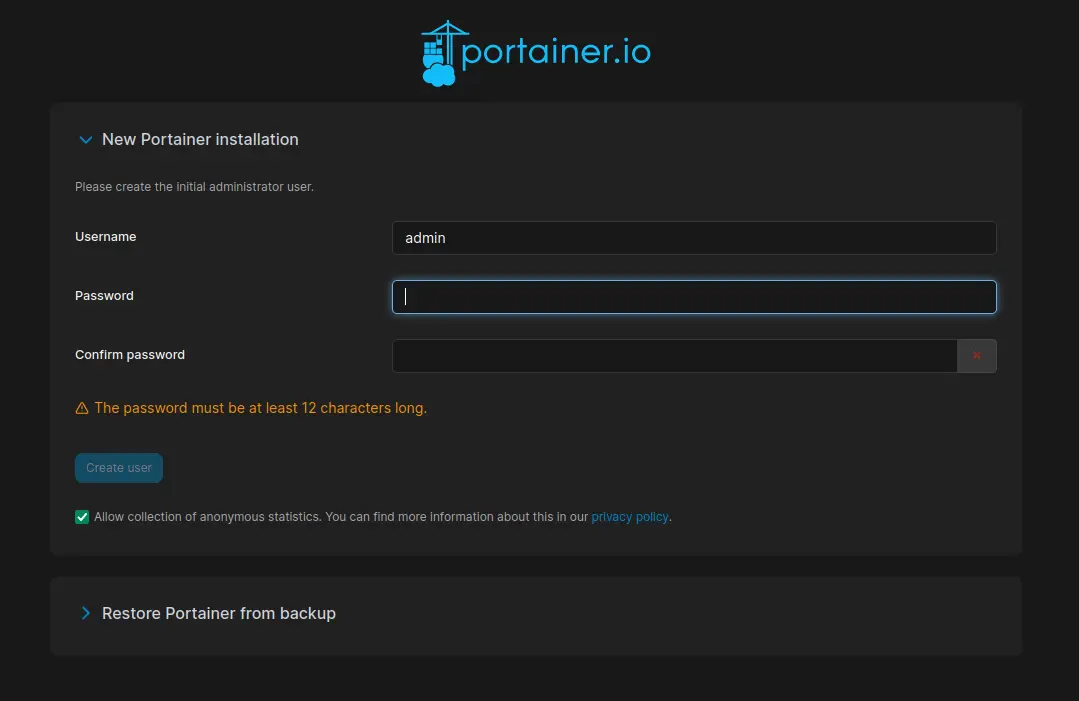
Load up https://<host>:9443 in your browser and you'll be provided a GUI to create an admin user:
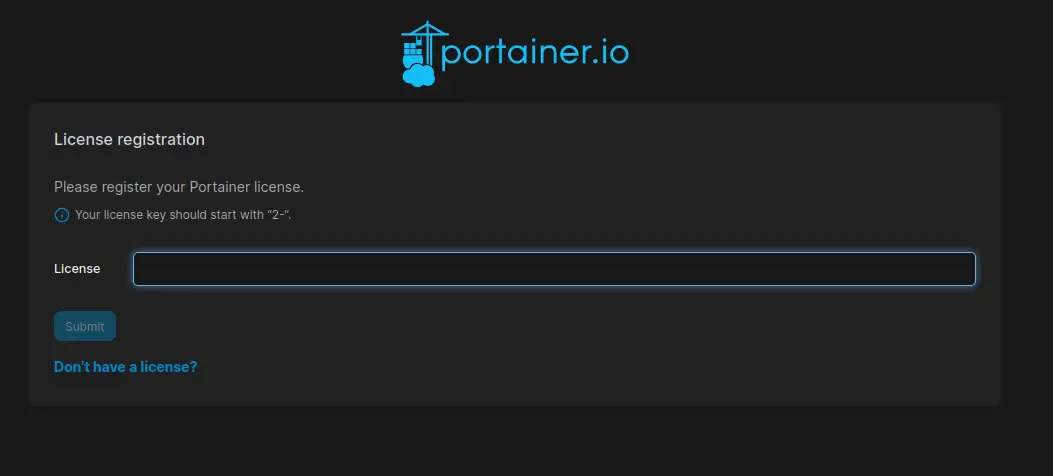
Then you enter your license key:
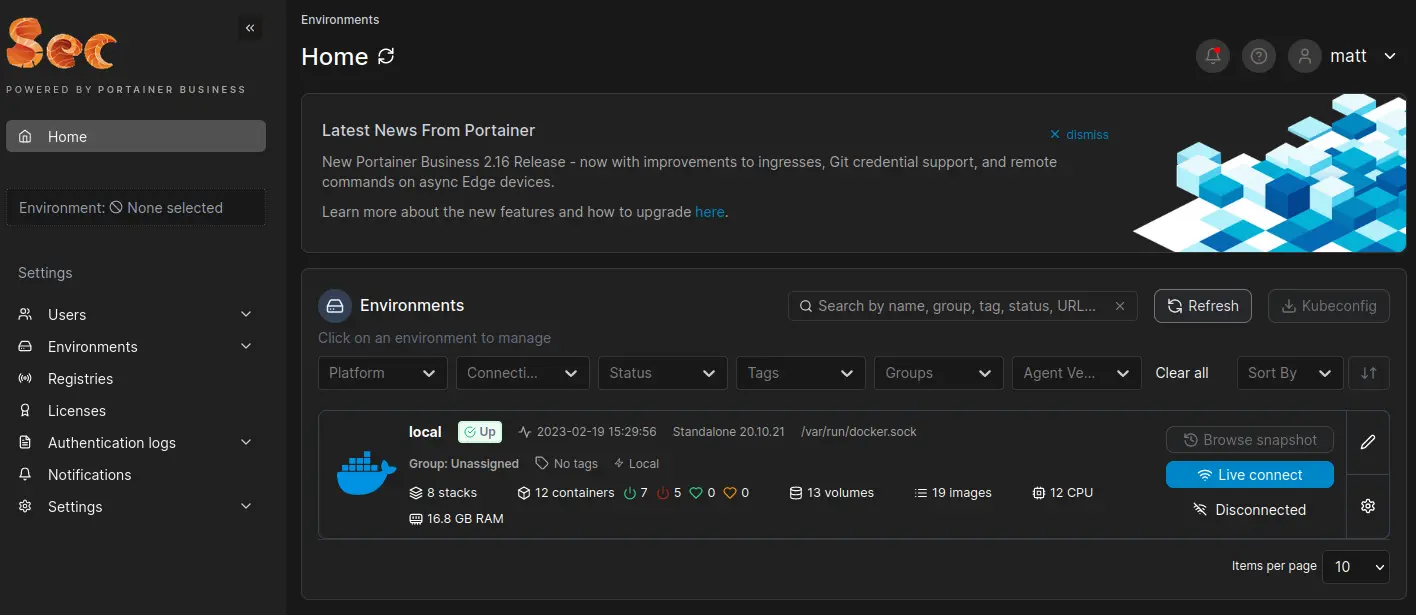
You should have a 'local' environment available in portainer, this is where we'll be working for the rest of the setup.
Traefik & Sablier
We'll adding to the Traefik configuration for each additional service, so let's get it running right away and begin to route our connection to portainer through there.
Traefik has wonderful documentation you can reference for additional details on what is going on here.
You can also find the sablier documentation here.
In your local git repo, make a directory for Traefik and create a docker-compose.yml file with the following content:
version: '3'
# We only want Traefik to be able to accessible via Application Tier network
# And also only interact with containers on the App Tier network to enforce
# segregation of data tier.
networks:
  app_tier:
     external: true

volumes:
  # We can terminate TLS at traefik and use a shared wildcard domain cert
  # internally. Trusting this cert on all your devices within your network
  # will add great joy!
  # You can just skip this though and use a runtime generated cert.
  certificates:
    external: true
  # Dynamic config is written here and read into the container. Log into
  # container host and edit at the following path to make changes to
  # routing for containers using Sablier dynamic routing
  #   /var/lib/docker/volumes/traefik_config/_data/traefik.yml
  #   /var/lib/docker/volumes/traefik_config/_data/dynamic.yml
  config:
    external: false
services:
  reverse-proxy:
    image: traefik:v3.0
    container_name: traefik
    restart: always
    # HTTP, HTTPS, SSH
    # If you don't plan on exposing SSH for your gitea instace, you can leave that out
    ports:
      - "80:80"
      - "443:443"
      - "22:22"
    volumes:
      # So that Traefik can listen to the Docker events
      - /var/run/docker.sock:/var/run/docker.sock
      # TLS Certificates
      - certificates:/certs
      # Dynamic Config for containers with Sablier middleware (cannot use labels)
      - config:/etc/traefik/
    networks:
      - app_tier
  sablier:
    image: ghcr.io/acouvreur/sablier:1.2
    container_name: sablier
    restart: always
    # Requires docker socket to start/stop containers
    volumes:
      - '/var/run/docker.sock:/var/run/docker.sock'
    networks:
      - app_tier
    command:
      - start
      - --provider.name=docker
      - --logging.level=trace
    ports:
      - 10000
    # Allows automatic configuration of Traefik routing to this service
    labels:
      - traefik.enable=true
external in portainer stack's means, 'is this resource accessible outside of this stack' which I found confusing at first. I assumed it meant 'is this resource accessible outside the host network'. So when we set the certificate volume as external it means this volume is assessable by other stacks/containers on the host. Setting the config volume to internal means only container within this stack will be allowed to mount that volume.
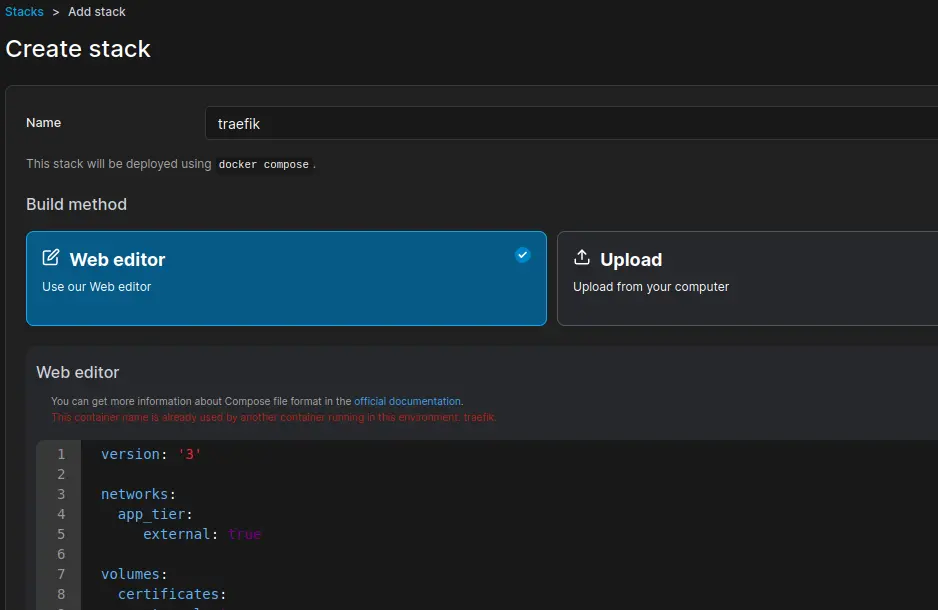
If you set external the name is taken as is to create the volume. Otherwise, the stack name is appended. You choose the stack name during creation, I'll be calling this stack traefik.
So for this stack the following will be created/loaded:
- Volume certificates
- Volume traefik_config
- Network app_tier Don't actually create this stack yet.
Create volumes
First we need to create the volumes and place configuration required before boot. Traefik first loads configuration from traefik.yml, which then can reference another file via the file provider as dynamic configuration. The label configuration provider (docker) is very convenient, however when sablier starts/stops the containers labels aren't persisted so we must use configuration files instead.
On your Alpine host create the volume directories and create a few empty files to work from:
# Create configuration volume and files
$ doas mkdir /var/lib/docker/volumes/traefik_config/_data
$ doas touch /var/lib/docker/volumes/traefik_config/_data/dynamic.yml
$ doas touch /var/lib/docker/volumes/traefik_config/_data/traefik.yml
# Create certificate volume and files
$ doas mkdir /var/lib/docker/volumes/certificates/_data
# Place your actual TLS certificate and key here
# If you don't already have one I suggest creating a
# managed certificate with pfSense, or generating one
# quickly with `openssl`
$ touch /var/lib/docker/volumes/certificates/_data/tls.crt
$ touch /var/lib/docker/volumes/certificates/_data/tls.key
Configuration
The Traefik configuration is extensive. As mentioned, first the traefik.yml file is loaded. Here's the content you can write there. Read the comments for details on what it is doing.
# doas vi /var/lib/docker/volumes/traefik_config/_data/traefik.yml
providers:
  # Load dynamic configuration from this file
  file:
    filename: /etc/traefik/dynamic.yml
  # If a container has multiple networks, use `app_tier`. If this is not set
  # traefik guesses which causes 504's every n requests.
  docker:
    network: app_tier
# Debug level logs to help
# demote this later when you get it working
log:
  level: DEBUG
# This turns access logging on
accessLog: {}
# Entrypoints define how traffic enters the network
# I create three here:
#   - HTTP just to redirect to HTTPS
#   - HTTPS for access of applications with TLS terminated
#   - SSH for git authentication
entrypoints:
  web:
    http:
      tls: false
    address: ":80"
  websecure:
    http:
      tls: true
    address: ":443"
    forwardedHeaders:
      trustedIps:
        - "127.0.0.1/32"
        - "10.20.0.1/24"
        - "172.16.0.0/12"
  ssh:
    address: ":22"
# This installs the Sablier plugin we'll be using
# for autoscaling
experimental:
  plugins:
    sablier:
      moduleName: "github.com/acouvreur/sablier"
      version: "v1.2.0"
Then in dynamic.yml:
# doas vi /var/lib/docker/volumes/traefik_config/_data/dynamic.yml
http:
  # In this section we define a Sablier middleware
  # for each of our services. For details on this
  # See the sablier repo
  middlewares:
    sablier-portainer:
      plugin:
        sablier:
          dynamic:
            displayName: (>*-*)> CONTAINERS <(*-*<)
            refreshFrequency: 10s
            showDetails: "true"
            theme: ghost
          names: portainer
          sablierUrl: http://sablier:10000
          sessionDuration: 1h

  # Here we define a router for each exposed port
  # of each container
  # You must change this depending on how you handle routing
  # in your environment.
  # I setup DNS records on pfSense to point all these hostnames
  # to this server so I can do Host routing.
  routers:
    portainer_http:
      service: portainer_http_svc
      rule: "Host(`portainer.salmon.sec`)"
      tls: false
      entrypoints:
        - websecure
      middlewares:
      - "sablier-portainer"
  # Each router has a service in Traefik
  # These define how the router is to reach
  # the container service on the internal network
  services:
    portainer_http_svc:
      loadbalancer:
        servers:
        - url: http://portainer:9000
# Load certificates from given volume. If you do not
# have certificates to add, leave this out and Traefik
# will generate one automatically.
tls:
  stores:
    default: {}
  certificates:
    - certFile: /certs/tls.crt
      keyFile: /certs/tls.key
      stores:
        - default
You can think of Entrypoints as 'opening a port', Routers as instructions for how an entrypoint is mapped to a service and Services for how a request is mapped to an internal container.
Launch
With the certificates and configuration in place, you can create the Traefik stack in Portainer and start it up:
After you allow it a few minutes to boot, you should now be able to access your portainer intance over traefik with your configured hostname. From my config here, I can now access portainer at portainer.salmon.sec.
Once you boot this up and confirm both Traefik and Sablier are running, stop portainer and load the URL in your browser to confirm Sablier is working. You should see the following loading screennstall Portainer, Traefik and Sablier to configure a stack deployment environment (Portainer) and configure our routing (Traefik) and autoscale mechanism (Sablier).
The page should refresh and you'll be redirected to portainer!
Conclusion
You now have an environment with the capability to scale your services down to 0 while you're not using them. As you add more services to your environment this will greatly increase the efficiency of your hardware usage! You'll likely never actually be using all the services at the same time. In the next blog we install Postgres, Gitea and Woodpecker to add our Gitops mechanism.