Using Clonezilla to Image a disk Directly to AWS S3
Clonezilla is a very useful piece of free software allowing you to boot from an external drive on a machine and take full images of the disk that you can copy to another local disk, or many remote targets.
I myself needed to image a few images, but did not have enough local storage to handle the data. It seemed the obvious choice was to upload the results to S3, the key is to do this without first writing out to another disk so I would need to have Clonezilla connect to S3 and upload as it read from the disk's I was imaging.
Luckily, Clonezilla supports this! However, I could not find a guide anywhere online on how to do it so I figured I should quickly write one in case it helps someone.
Pricing
Be careful to calculate the cost of S3 and consider if it's more worthwhile to just purchase physical storage! You'd be surprised how expensive it is if you just glanced at their pricing page because the real cost is retrieving the data!
Let's say we're storing a 1Tb Image on S3:
| Category | Pricing | Cost |
|---|---|---|
| Storage | $0.023 / Gb | $23/month |
| Ingress | Free | $0 |
| Egress | $0.09 / Gb | $90 per download |
So you can upload for free, store it for $23/month but if you need to download it again it's a whopping $90!
A 1TB Harddrive is like $50.
I only went through uploading to S3 because I had an emergency and had no free local capacity.
Setup The Live USB Drive
- I downloaded the live image here
- Write the image to a USB drive with rufus
- Test it on an easily accessible machine, it should boot into this screen:
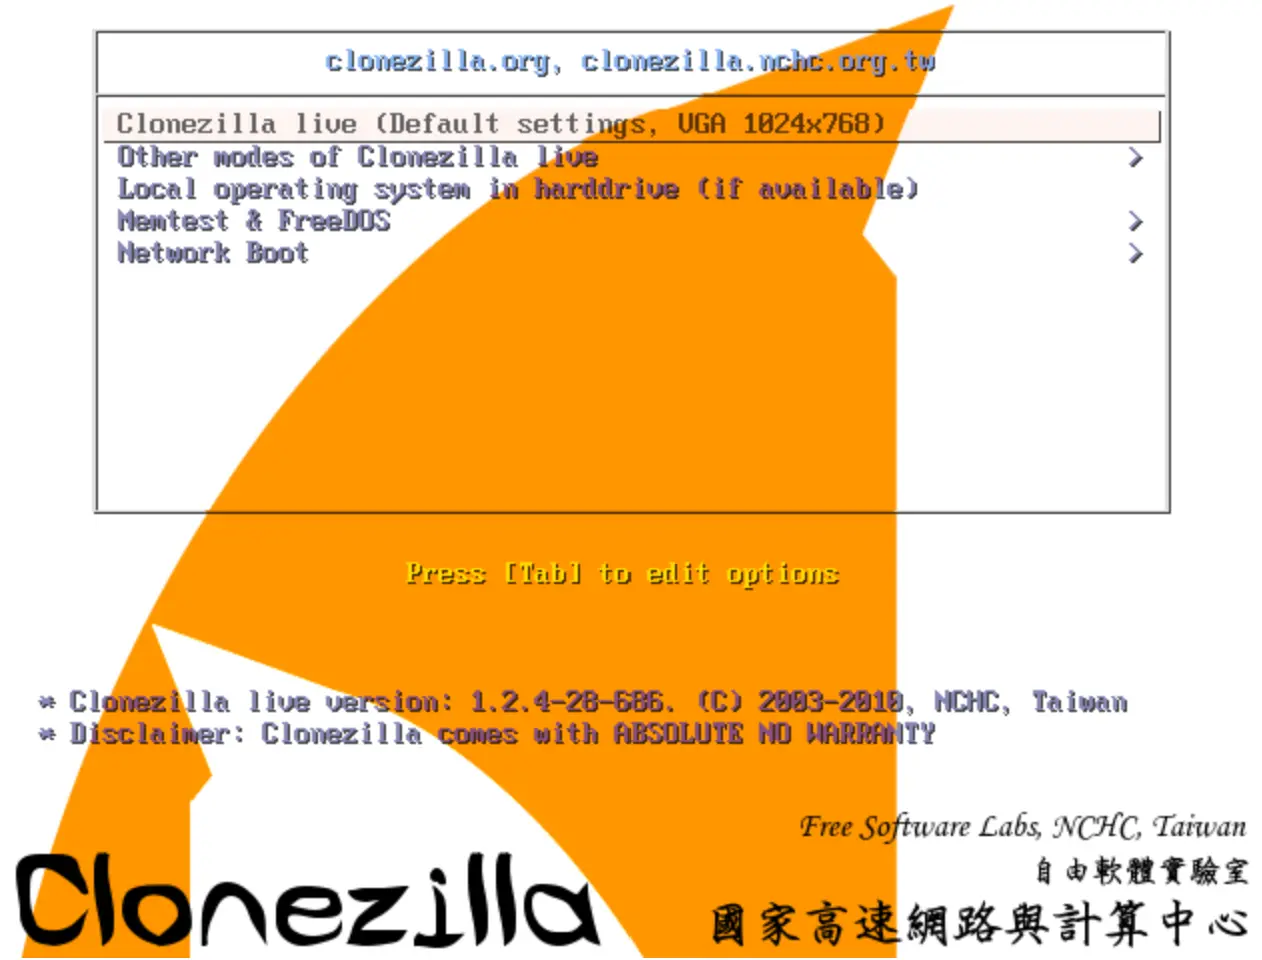
It's best to test this before your wriggle into the machine you actually want to image, I don't know about you but plugging in a keyboard and monitor to my server is not a comfortable setup.
Setup an AWS Account and IAM User
- If you don't already have an AWS account, create one
- Enable 2FA on the account (you don't need to but the potential damage from unauthorized access is very high)
- Create an AWS bucket in a region as close to you as possible
- ACL Disabled
- Block all public
- Versioning enabled
- SEE-S3 & Bucket Key
- No Object Lock
- Create an IAM user and attach
AmazonS3FullAccess - Created an Access Key Pair for the IAM user
- Record the details of what you created in the following format somewhere that you'll be able to read from and type into the console once you start imaging in Clonezilla
BucketName:accessKeyId:secretAccessKey
Optionally test your setup by uploading a random file to the bucket via the S3 CLI
- Install the latest AWS CLI
- Run
aws configureand input the key pair you created in step 4 above - Create a file to upload
echo "HELLO S3" > /tmp/testFile - Upload it
aws s3api put-object --bucket YOUR_BUCKET_NAME - If there were no errors you should see your object in the bucket in the web console.
- Delete the file from the GUI to clean up
Preform Backup of Disks
Clonezilla takes an image of each disk individually, so for each disk on each system you have to preform the following process.
- Login to each host, record disk partitions
lsblk - Shutdown both hosts
- Boot first host to CloneZilla, choose "Boot to RAM" to remove the USB drive, this way we can boot the other machine as well and have them both imaging at once
- Select
device-image - Disconnect USB drive
- select
s3_server - Go through network configuration
- Drop to shell, create
/root/.passwd-s3fscontaining your key as configured in step 5 of setup:BucketName:accessKeyId:secretAccessKey - Fix file ownership
chmod 600 /root/.passwd-s3fs - Create the S3 FS mount in the location expected by Clonezilla
/home/partimag:s3fs salmonsec-homelab-backup /home/partimag - Exit and go through the menus to clone, the default selections all the way through will work!