Build Log 7
A lot has happened! As I promised in the last update, I purchased a ton of components, cleaned the whole system and rebuilt the whole thing. I'm much more happy with it this time!
Cleaning and Lessons Learned
I kept reading that using opaque coolants was a bad idea - but they just looked so damn cool I had to try it. Well, as you can see there is good reason to not use them...
 The color has caked up around everywhere, and while it's not really that bad yet I hate it and want to use the opportunity to learn how to take apart all my blocks and clean them.
Even worse, as I discussed before, I accidentally did the worse thing imaginable and MIXED MY METALS! As you can see, I have to replace all my tubing and certainly clean all my components.
The color has caked up around everywhere, and while it's not really that bad yet I hate it and want to use the opportunity to learn how to take apart all my blocks and clean them.
Even worse, as I discussed before, I accidentally did the worse thing imaginable and MIXED MY METALS! As you can see, I have to replace all my tubing and certainly clean all my components.

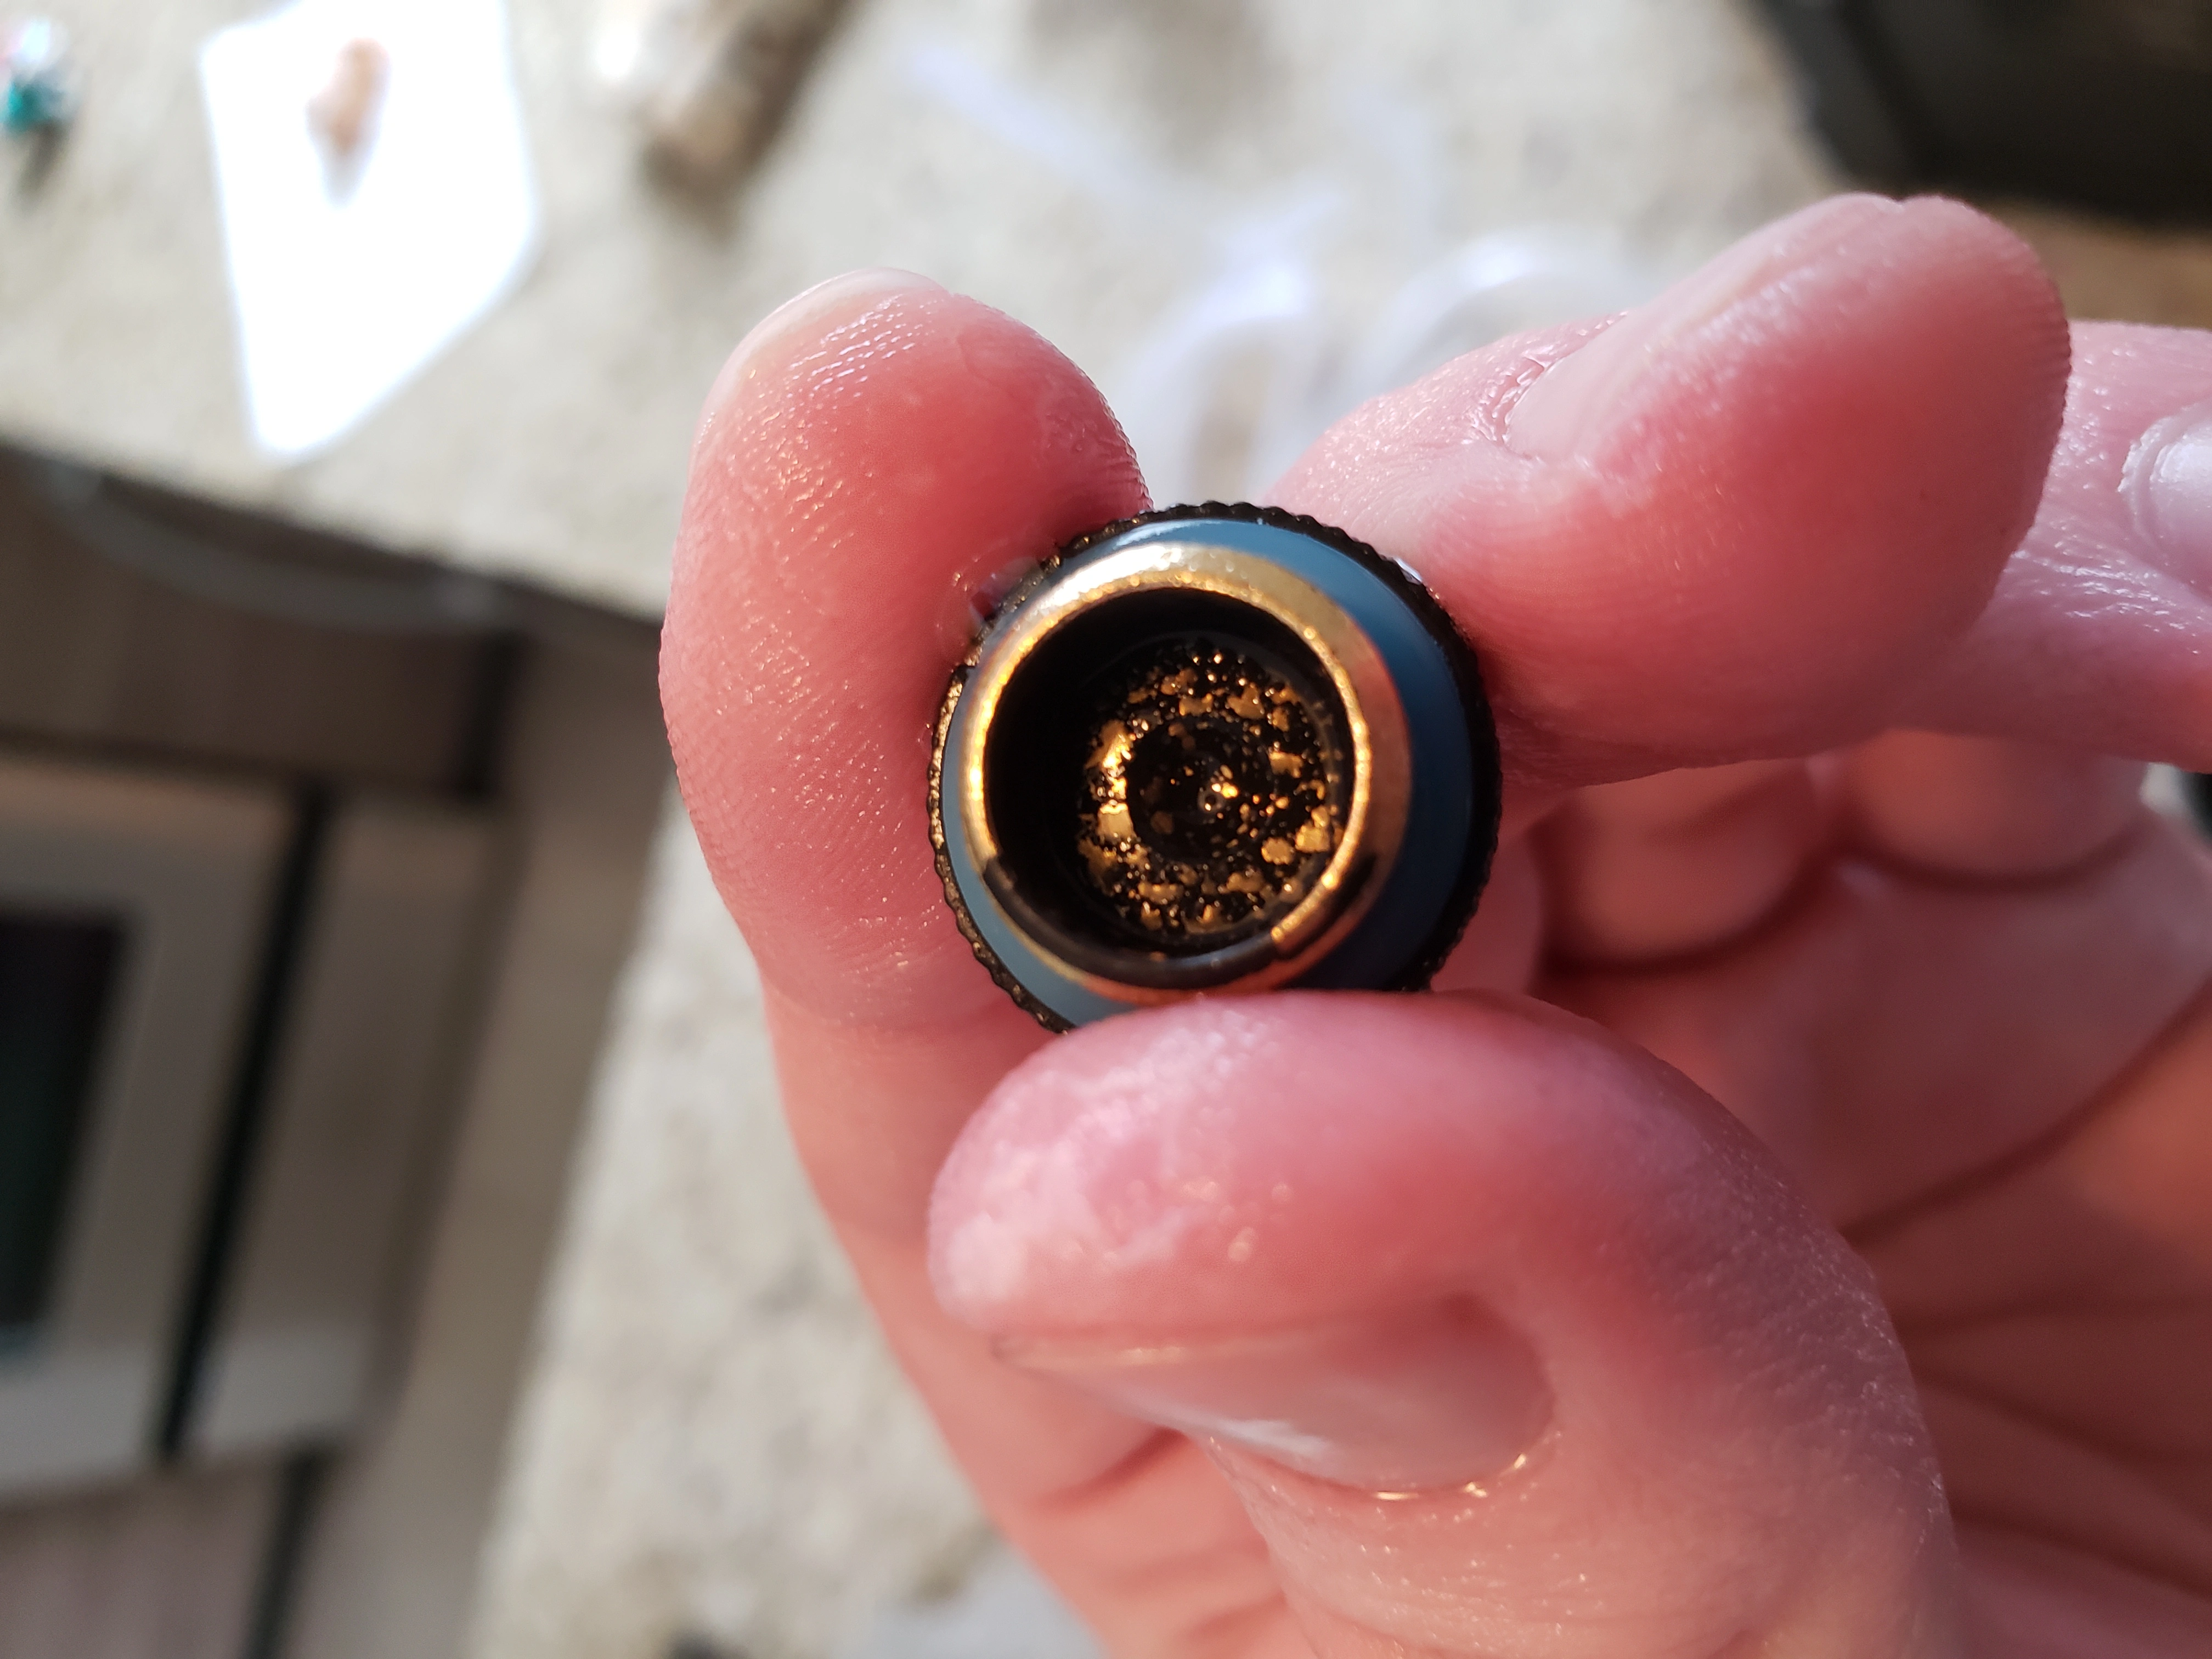
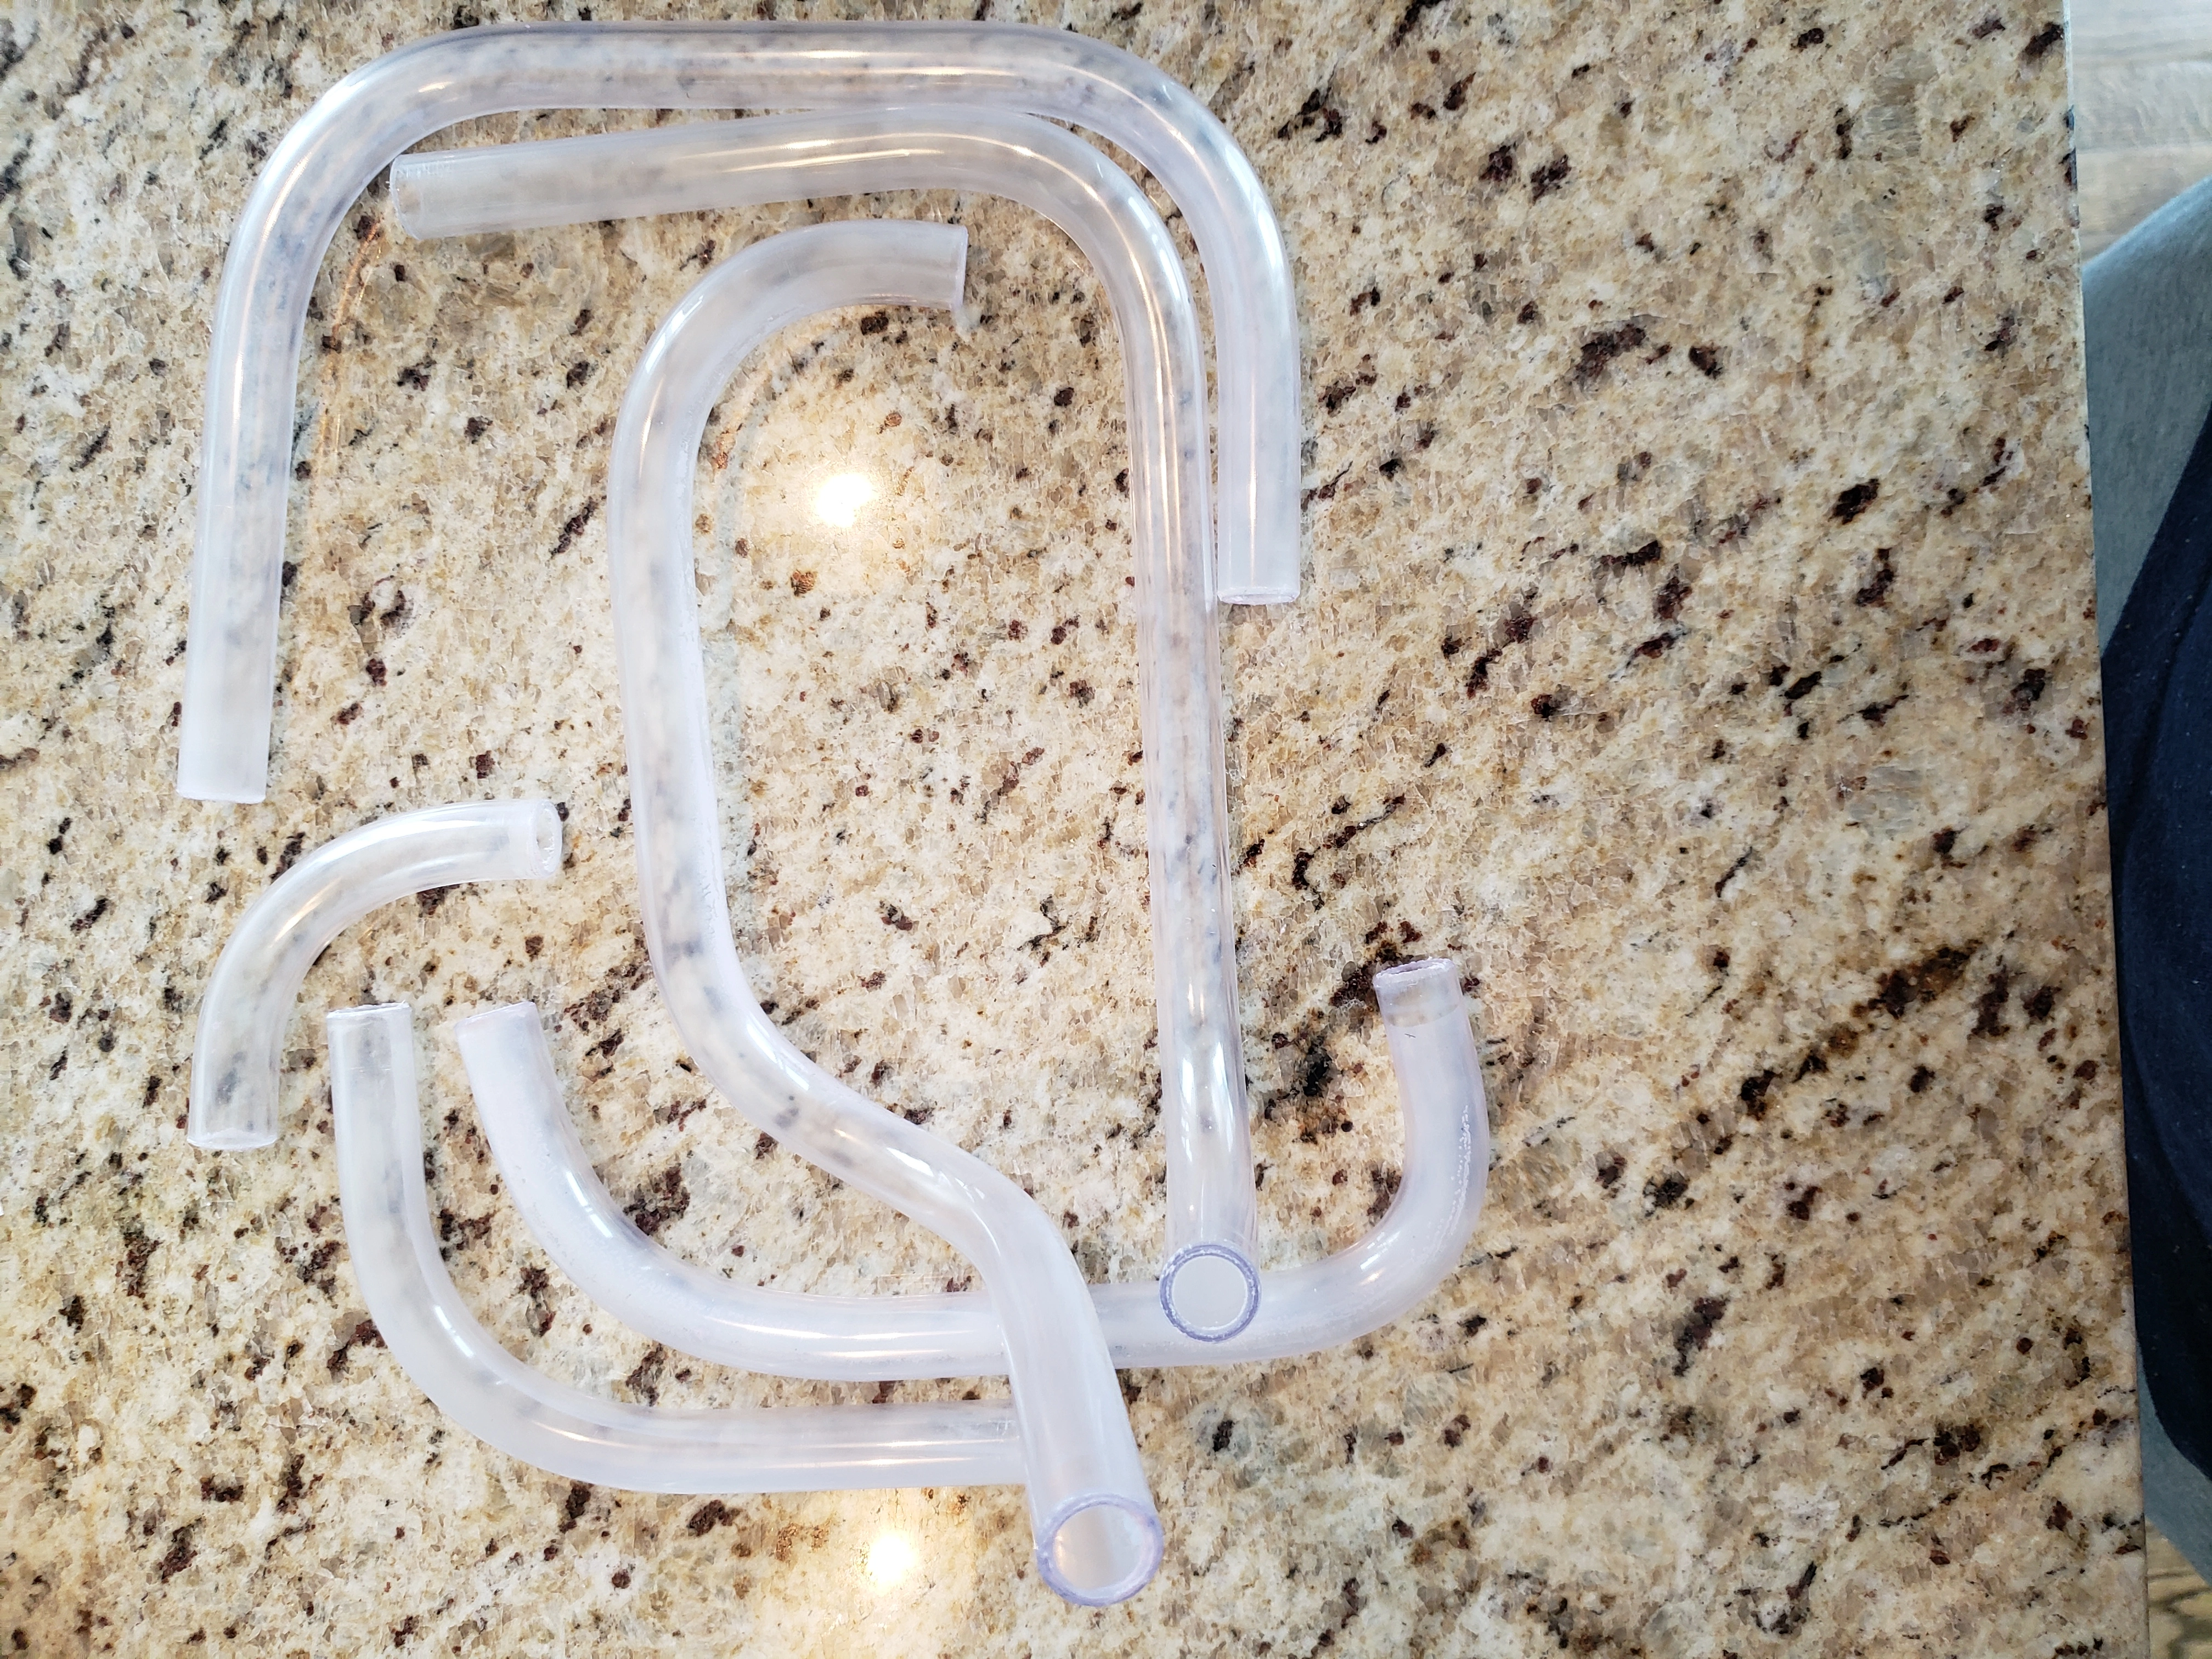 As you can see in the tubes and fittings, there's a white build-up started. A clear sign of corrosion.
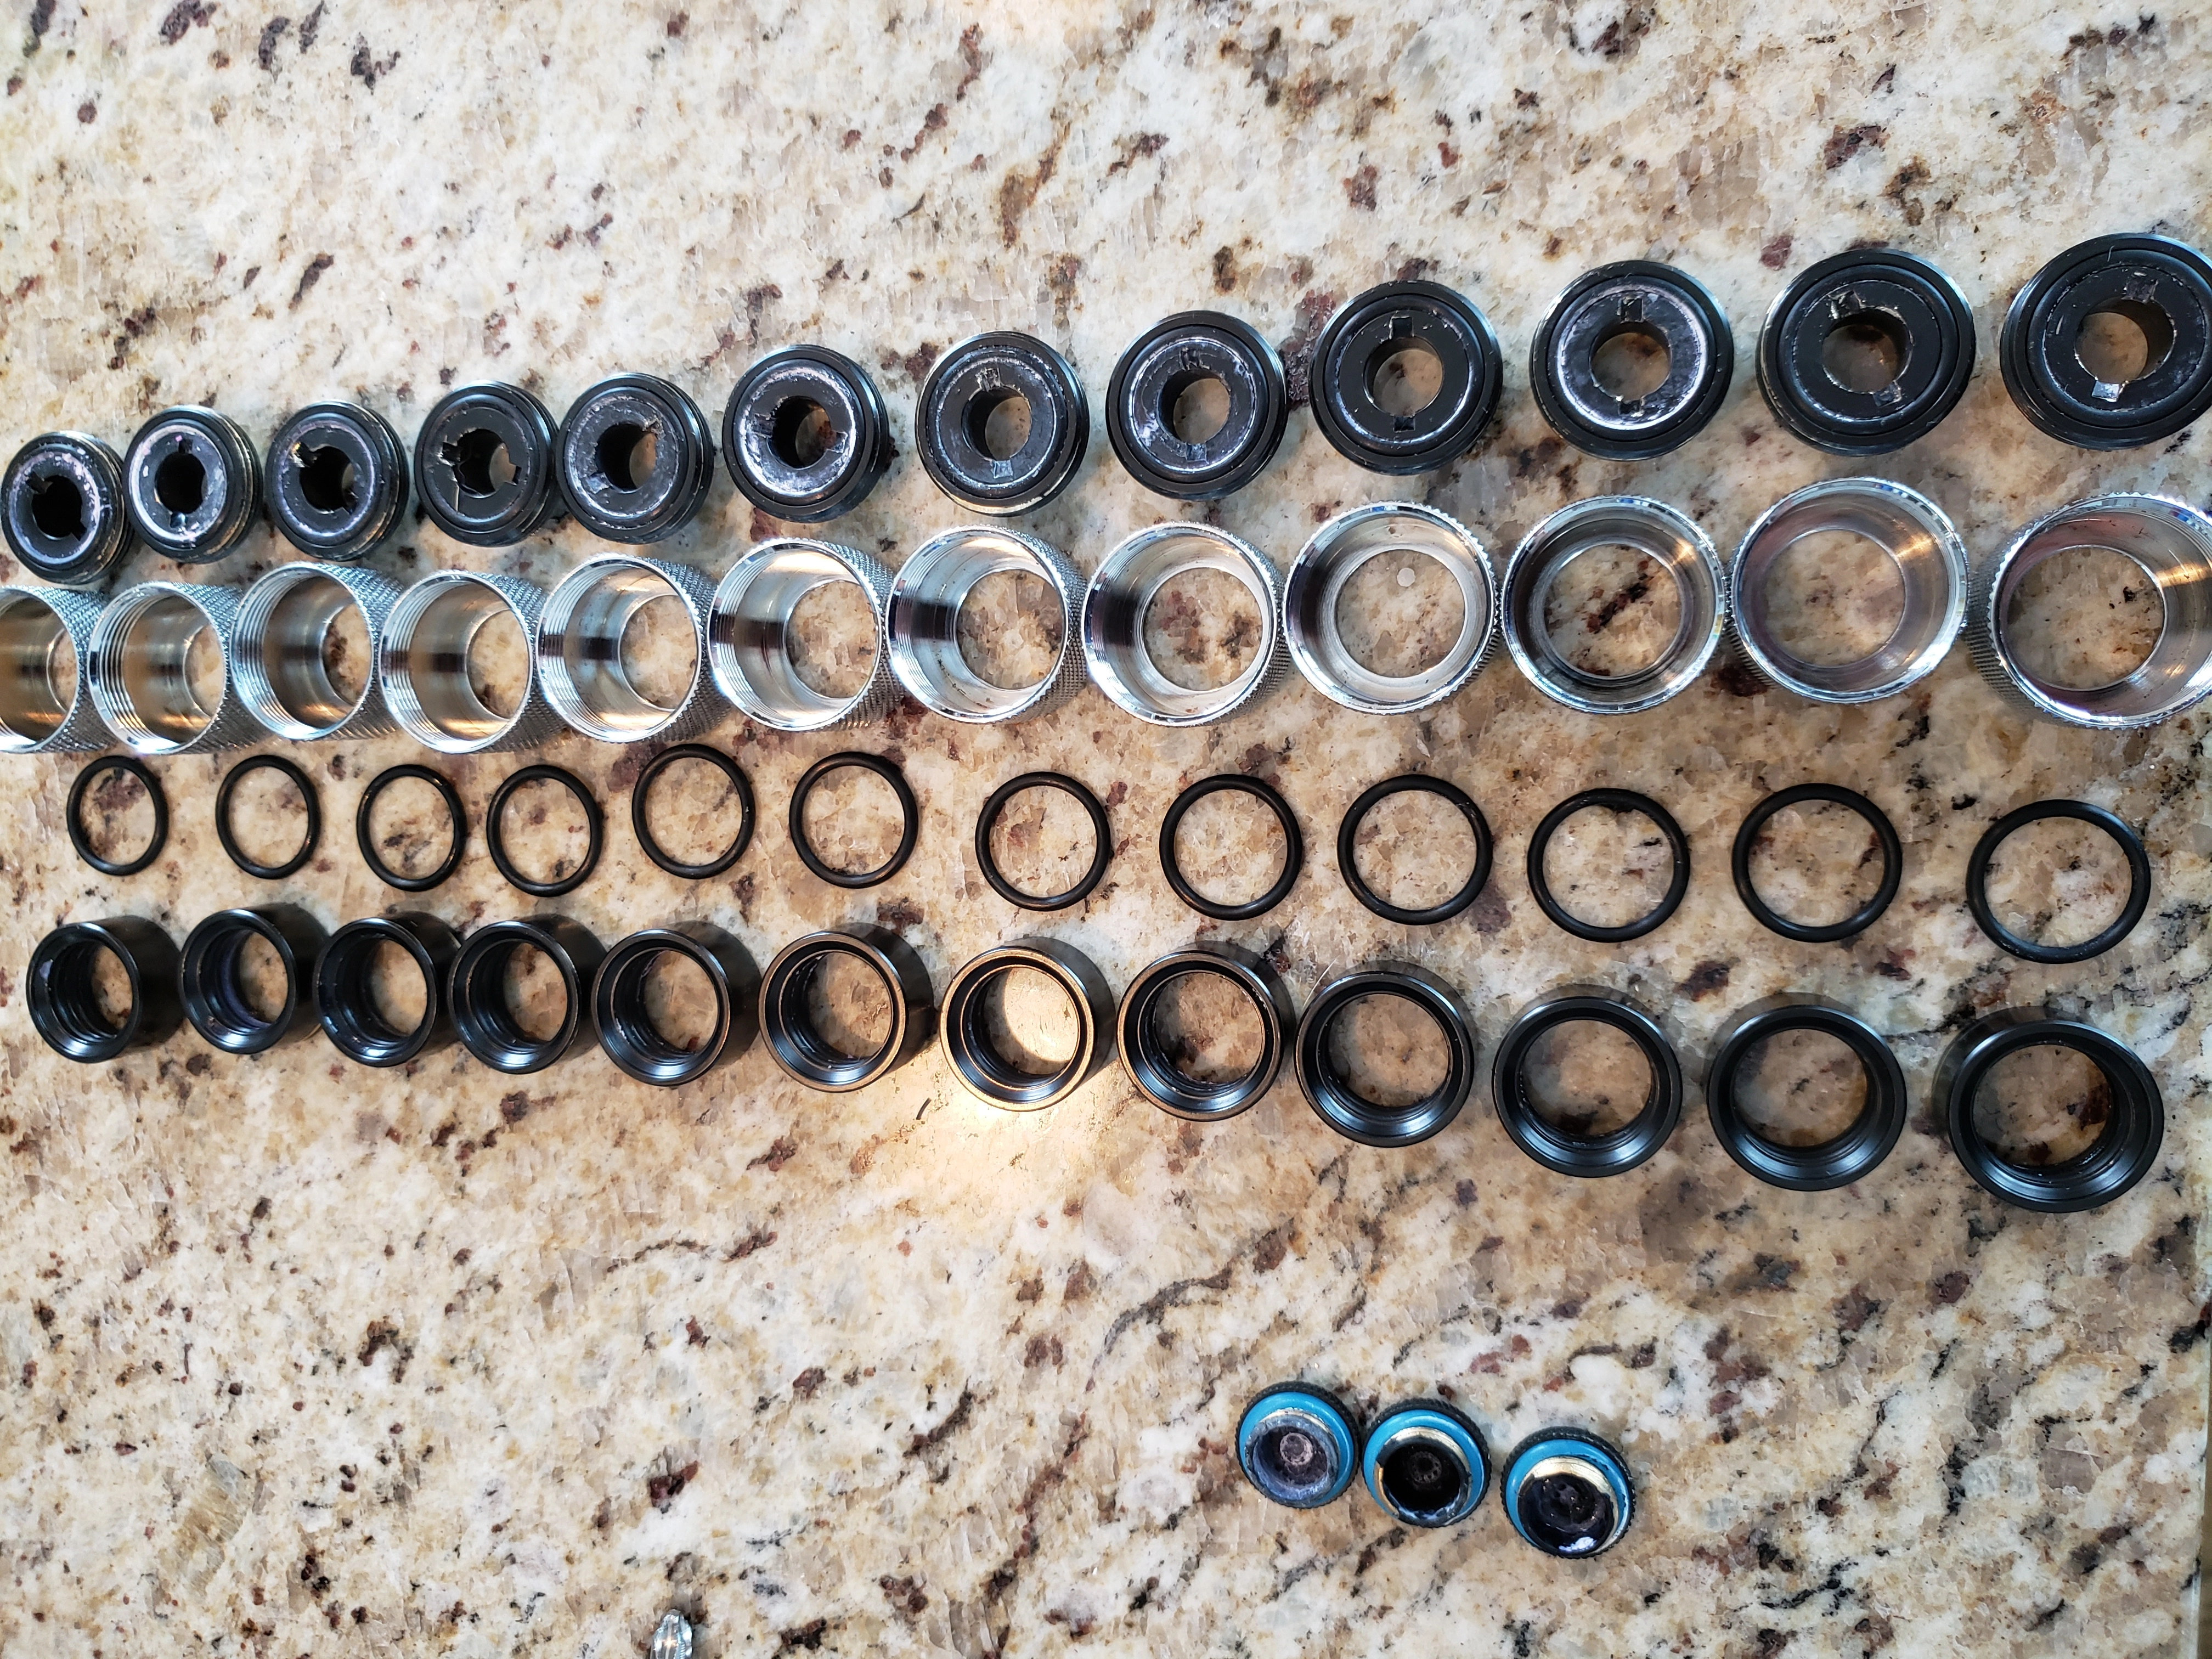
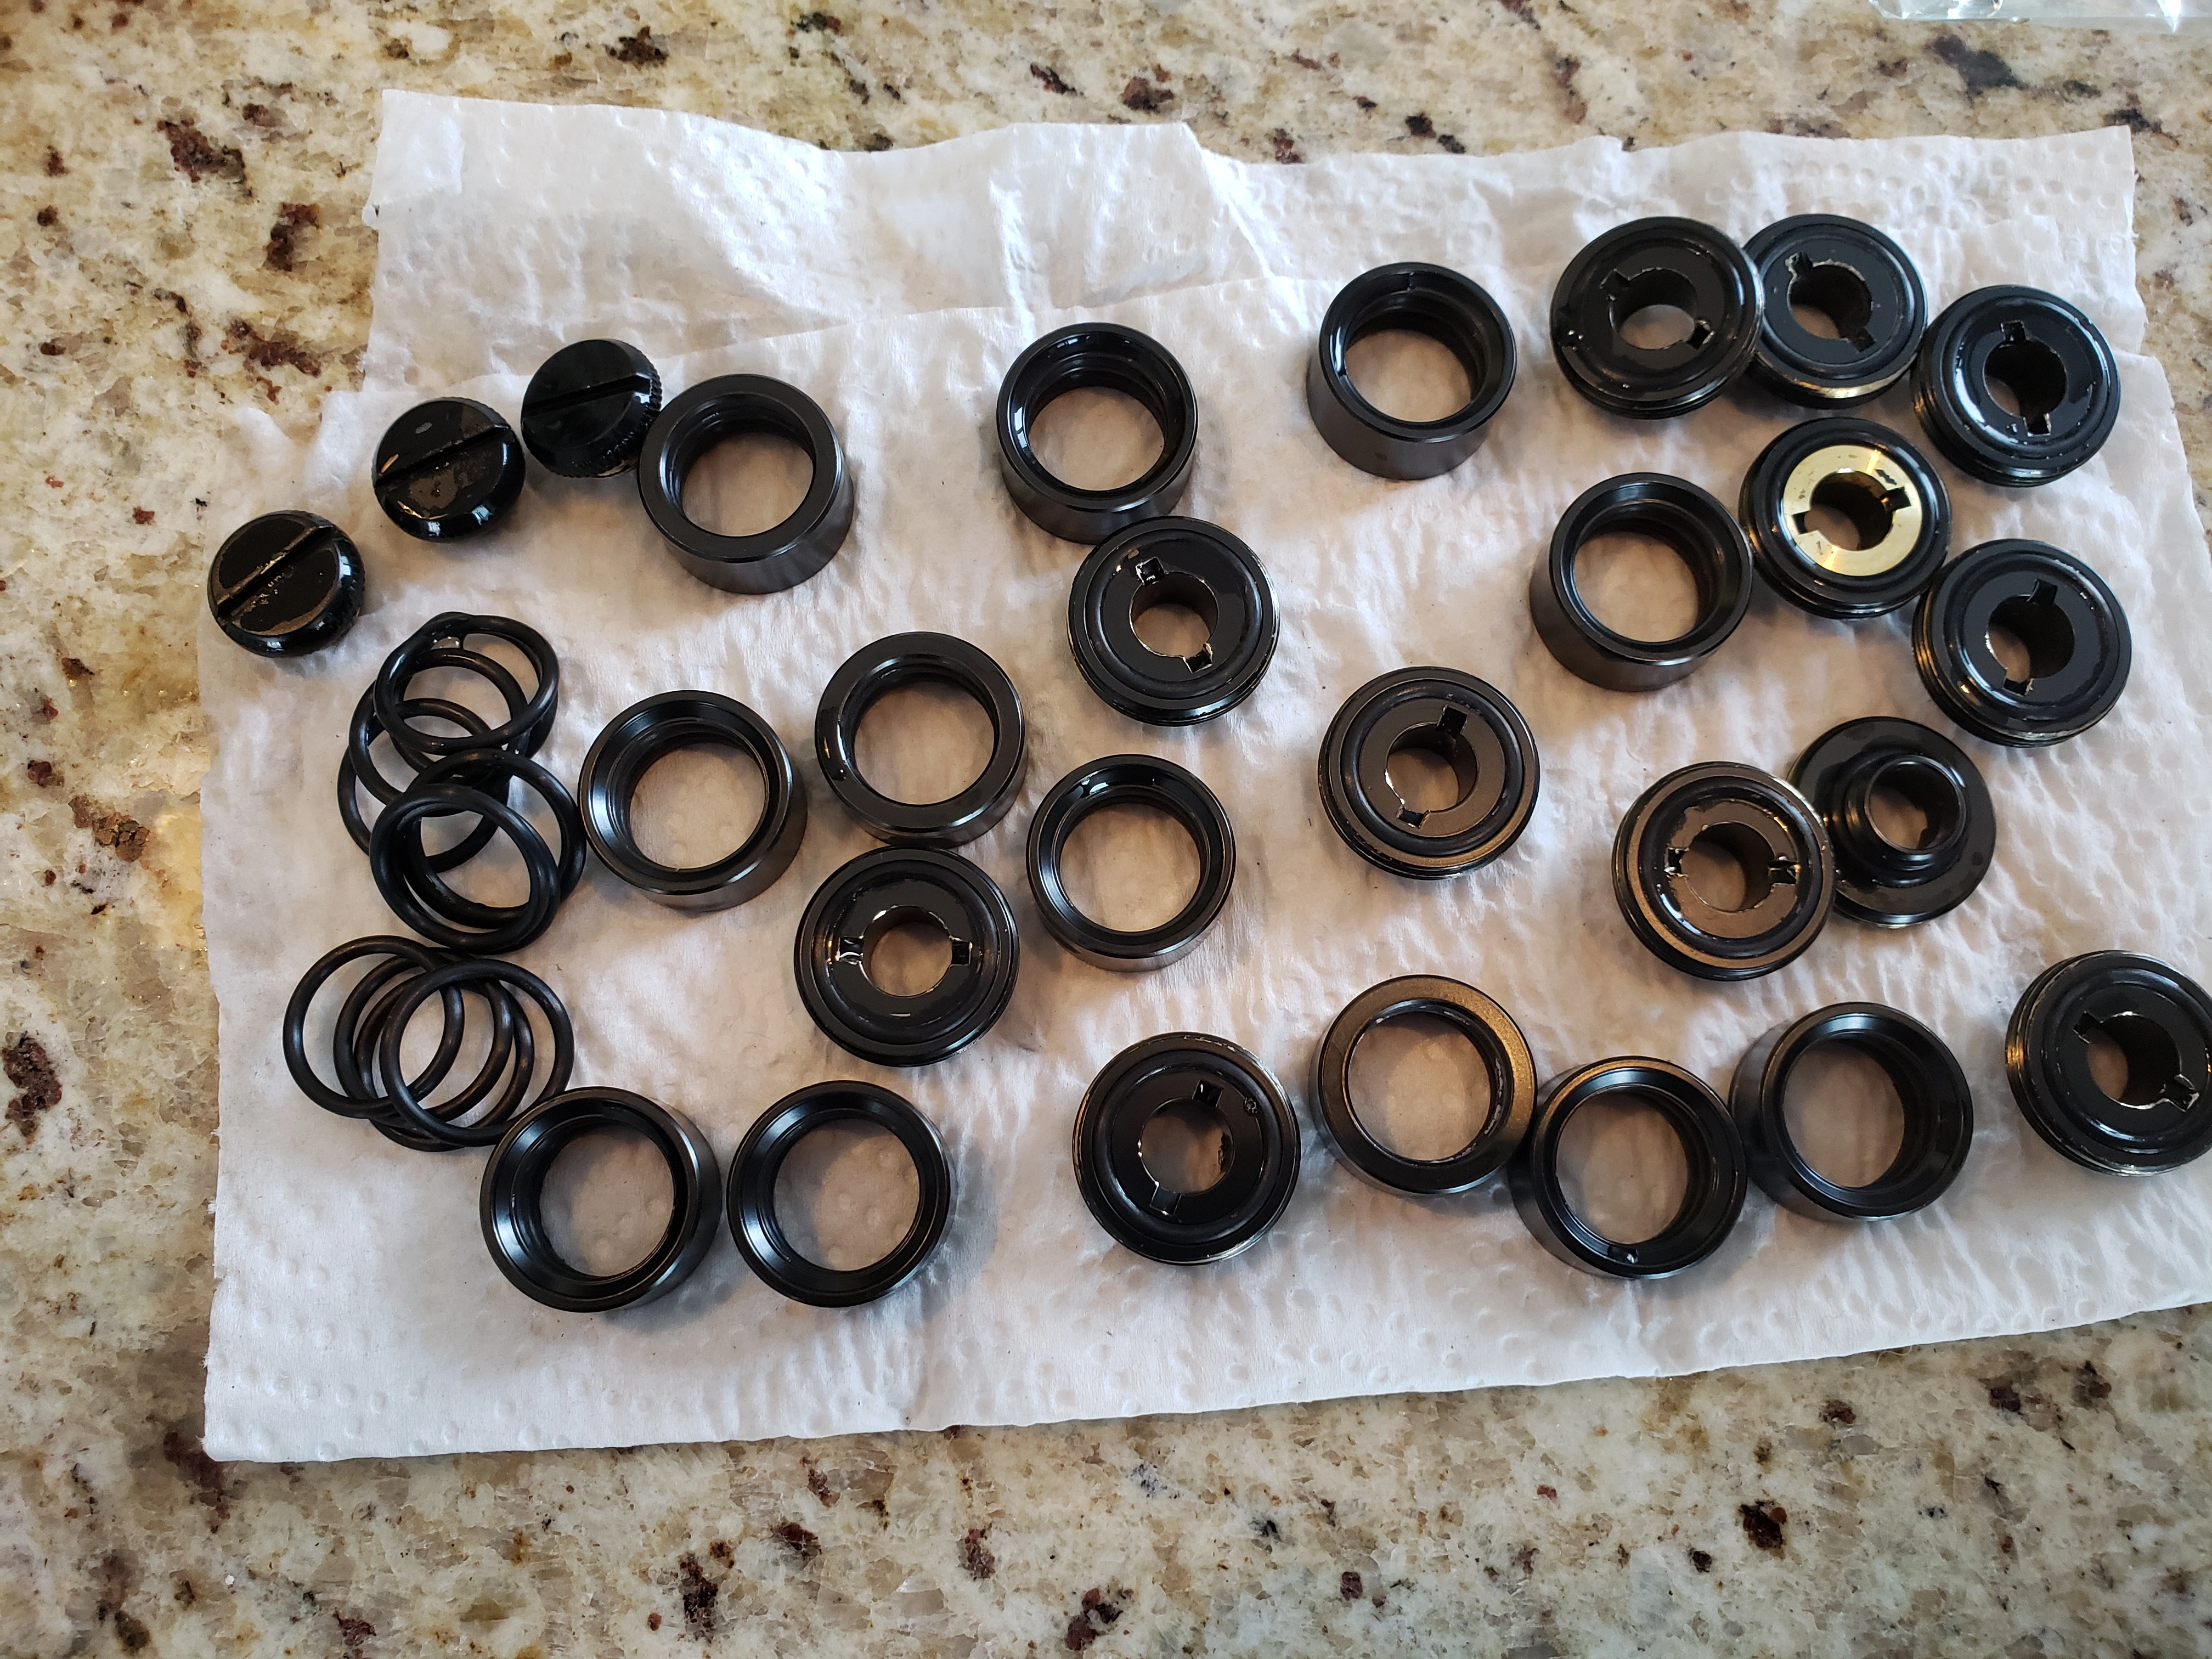
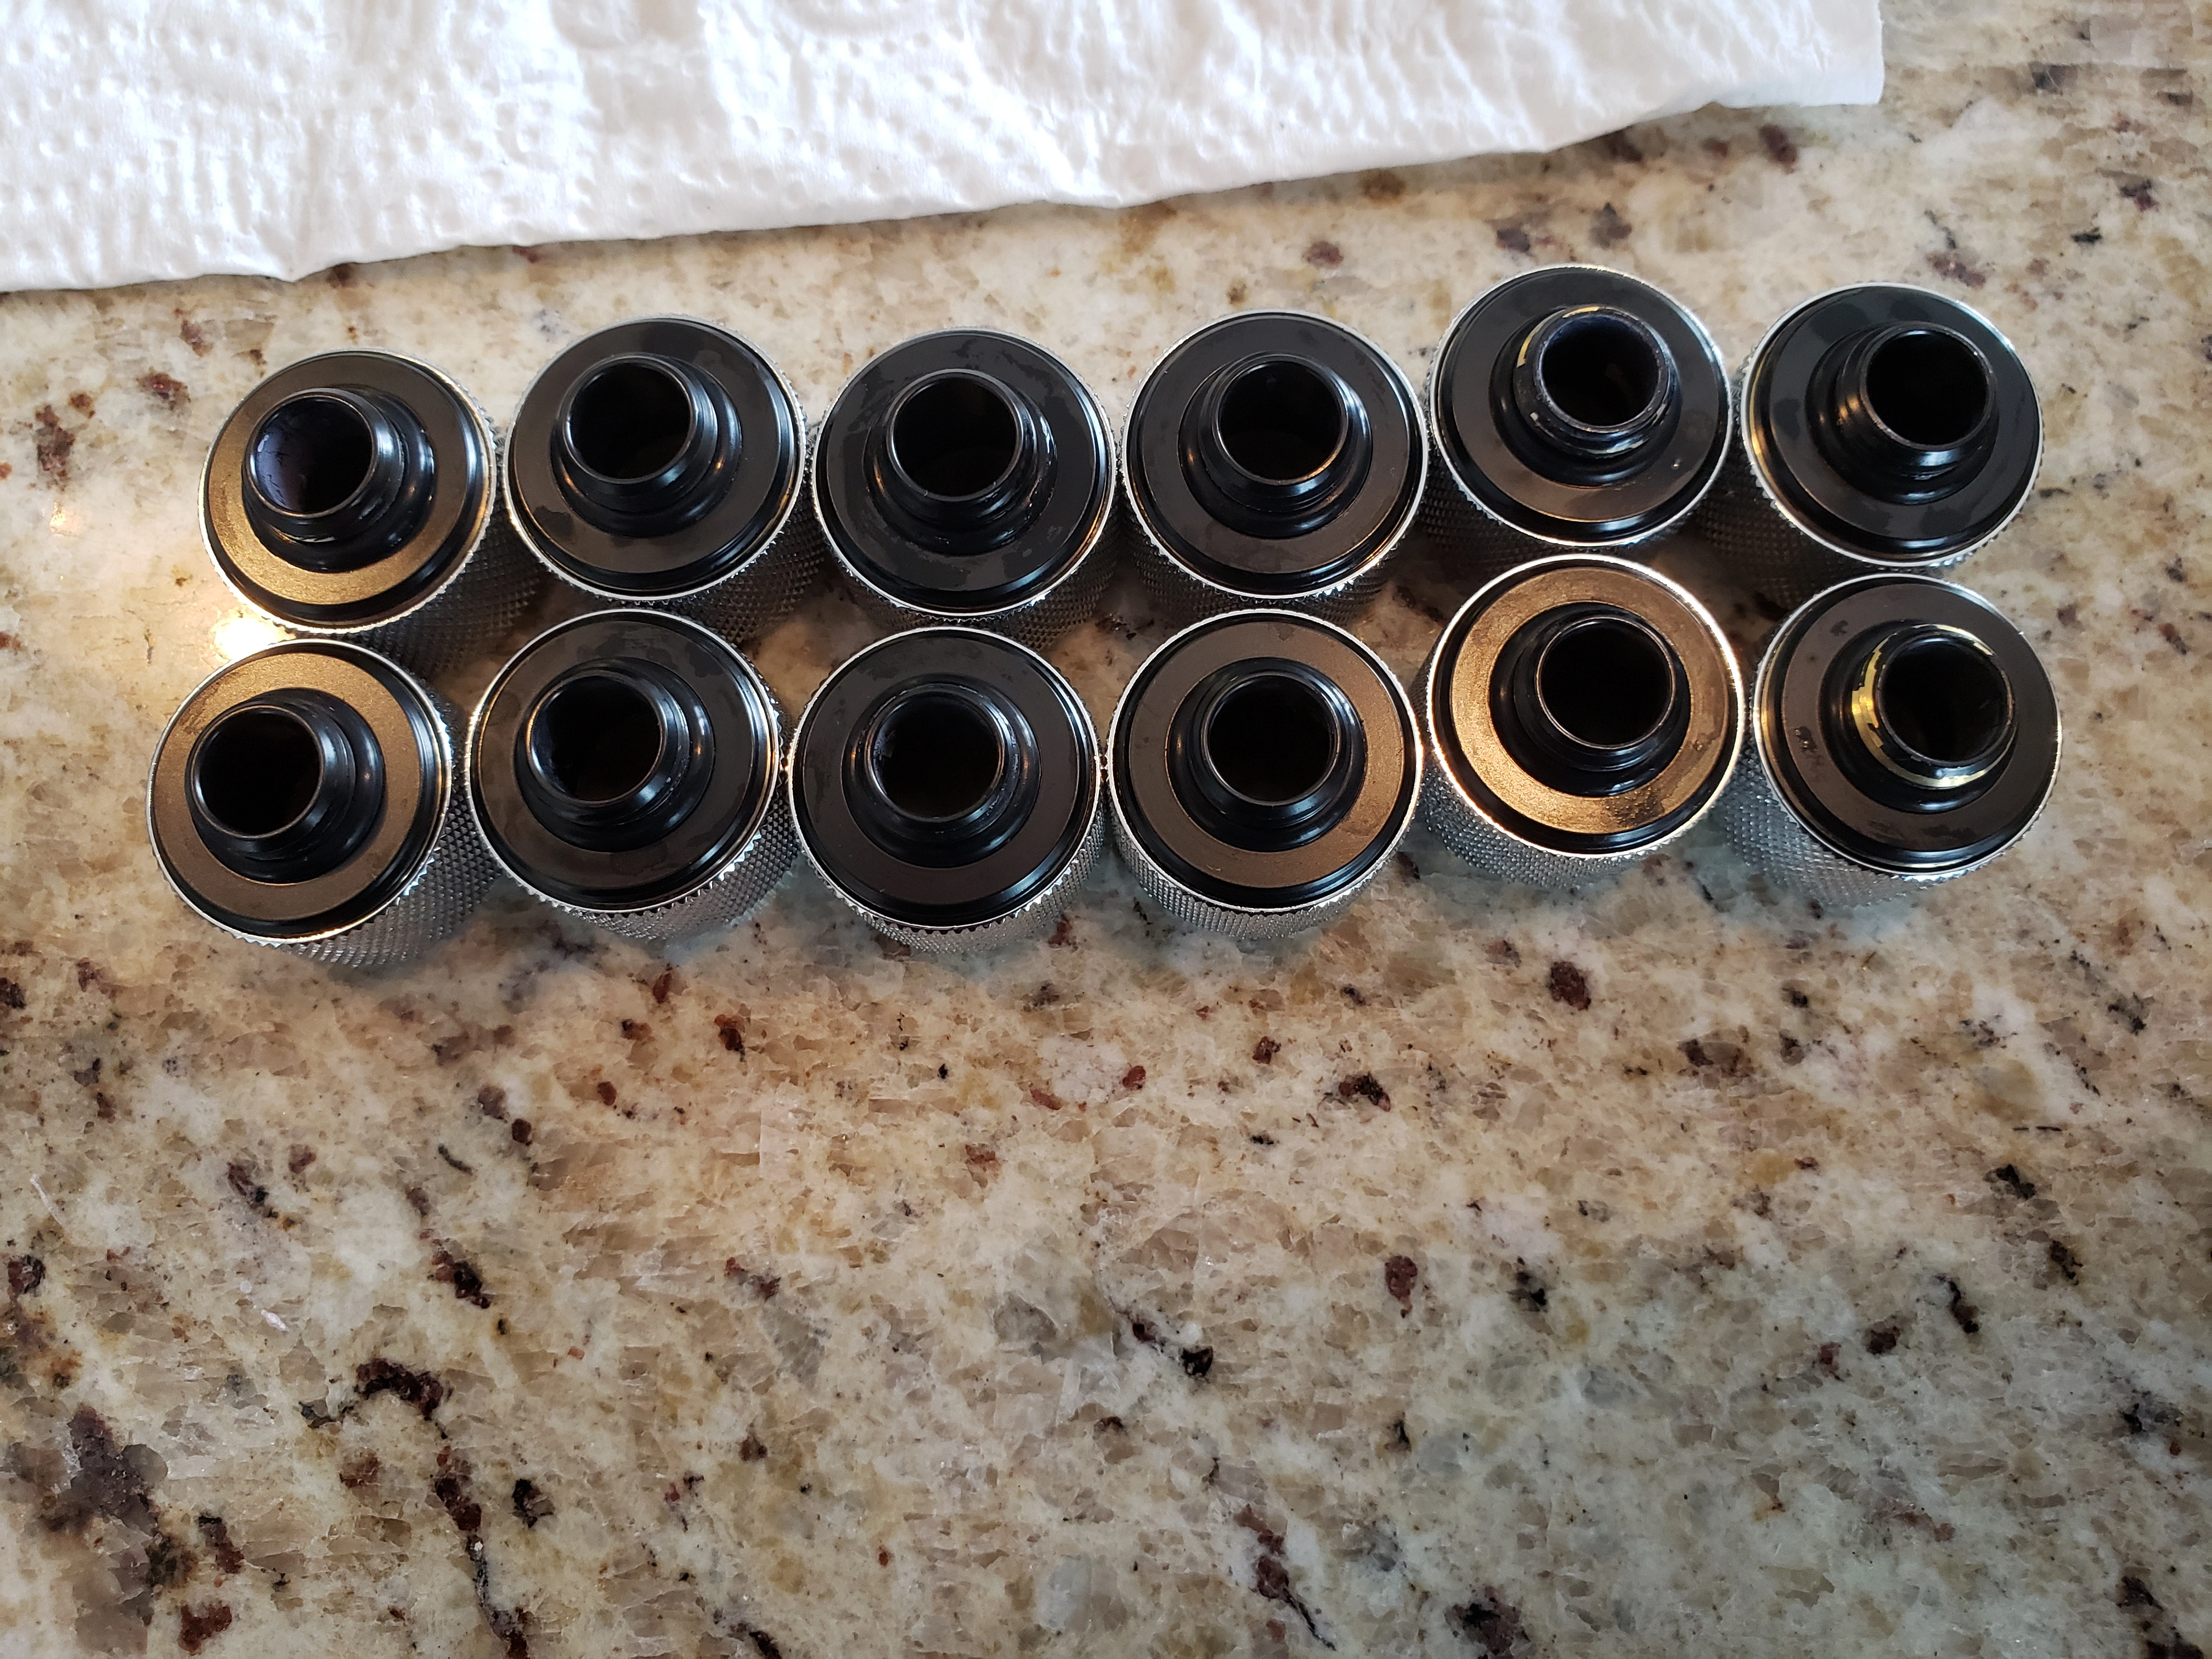
Cleaning the fittings
A lot of the fittings had their paint wore off already, which is quite concerning honestly but I don't think it'll affect the seal of anything. May actually be worth getting one of those little in-line filter things, but leave that for another time... To clean the fittings I simply tore them all apart, let them soak in soapy water and used a tooth brush to scrape off all that pink gunk.

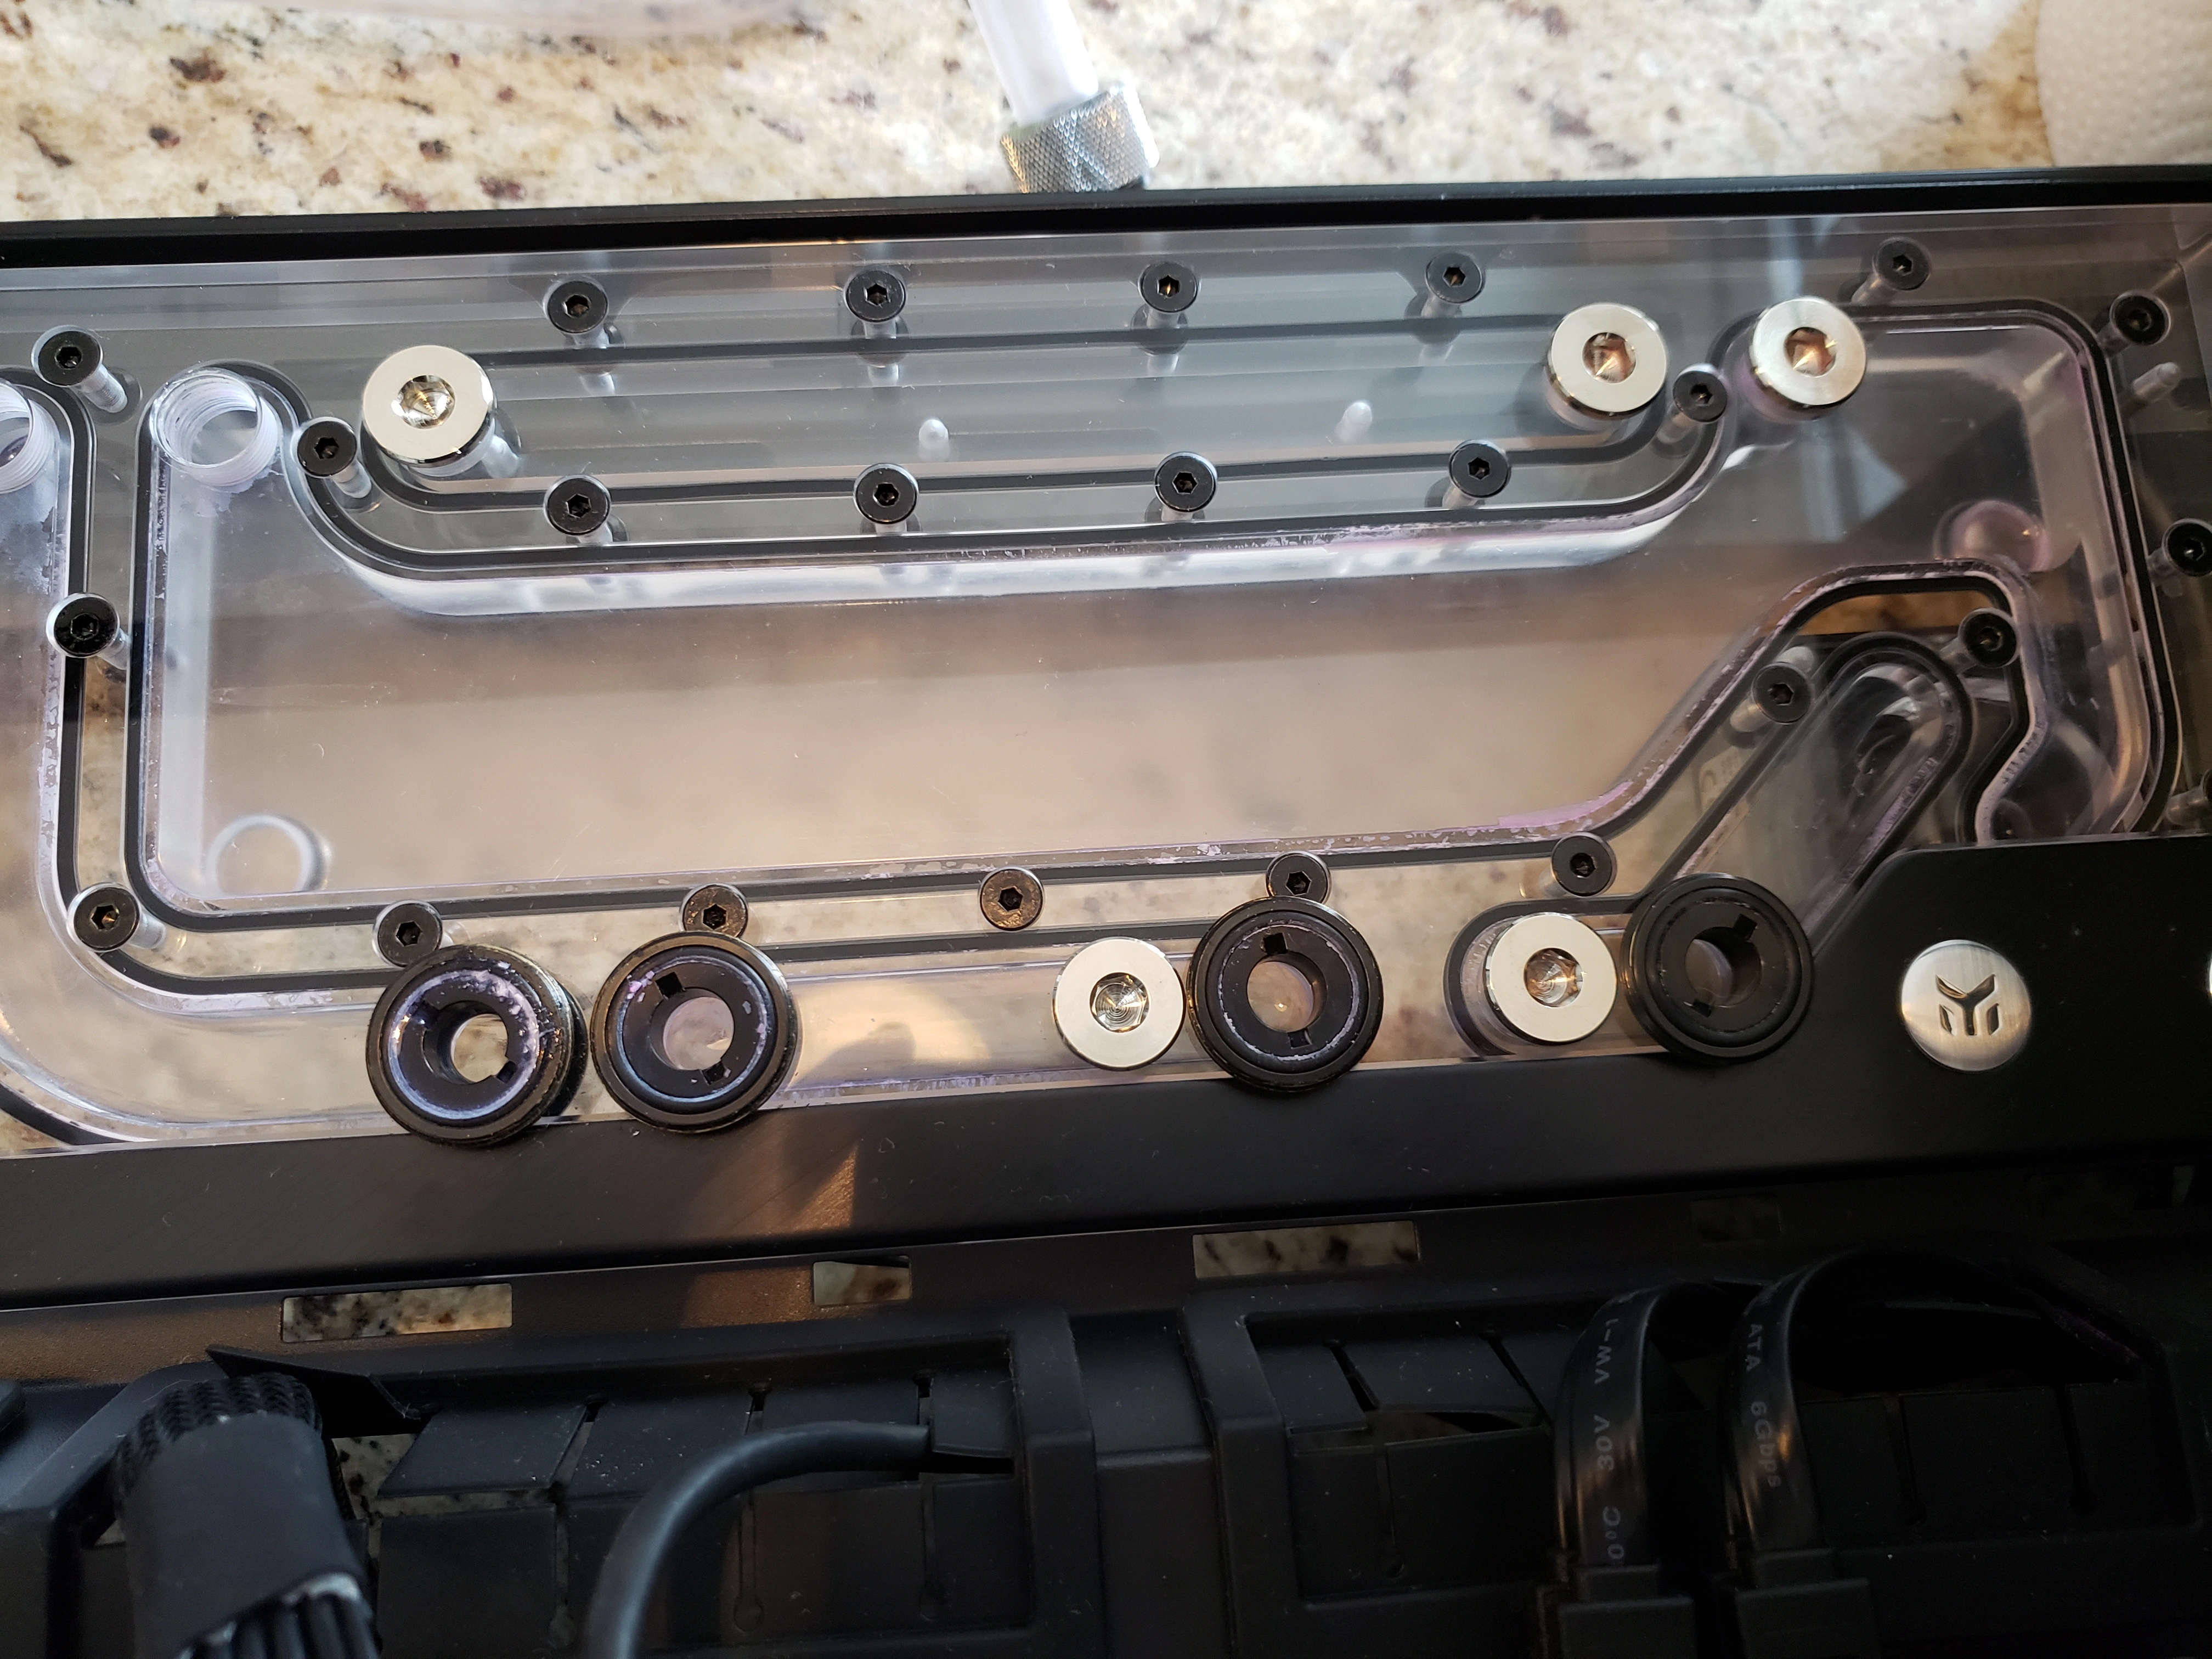
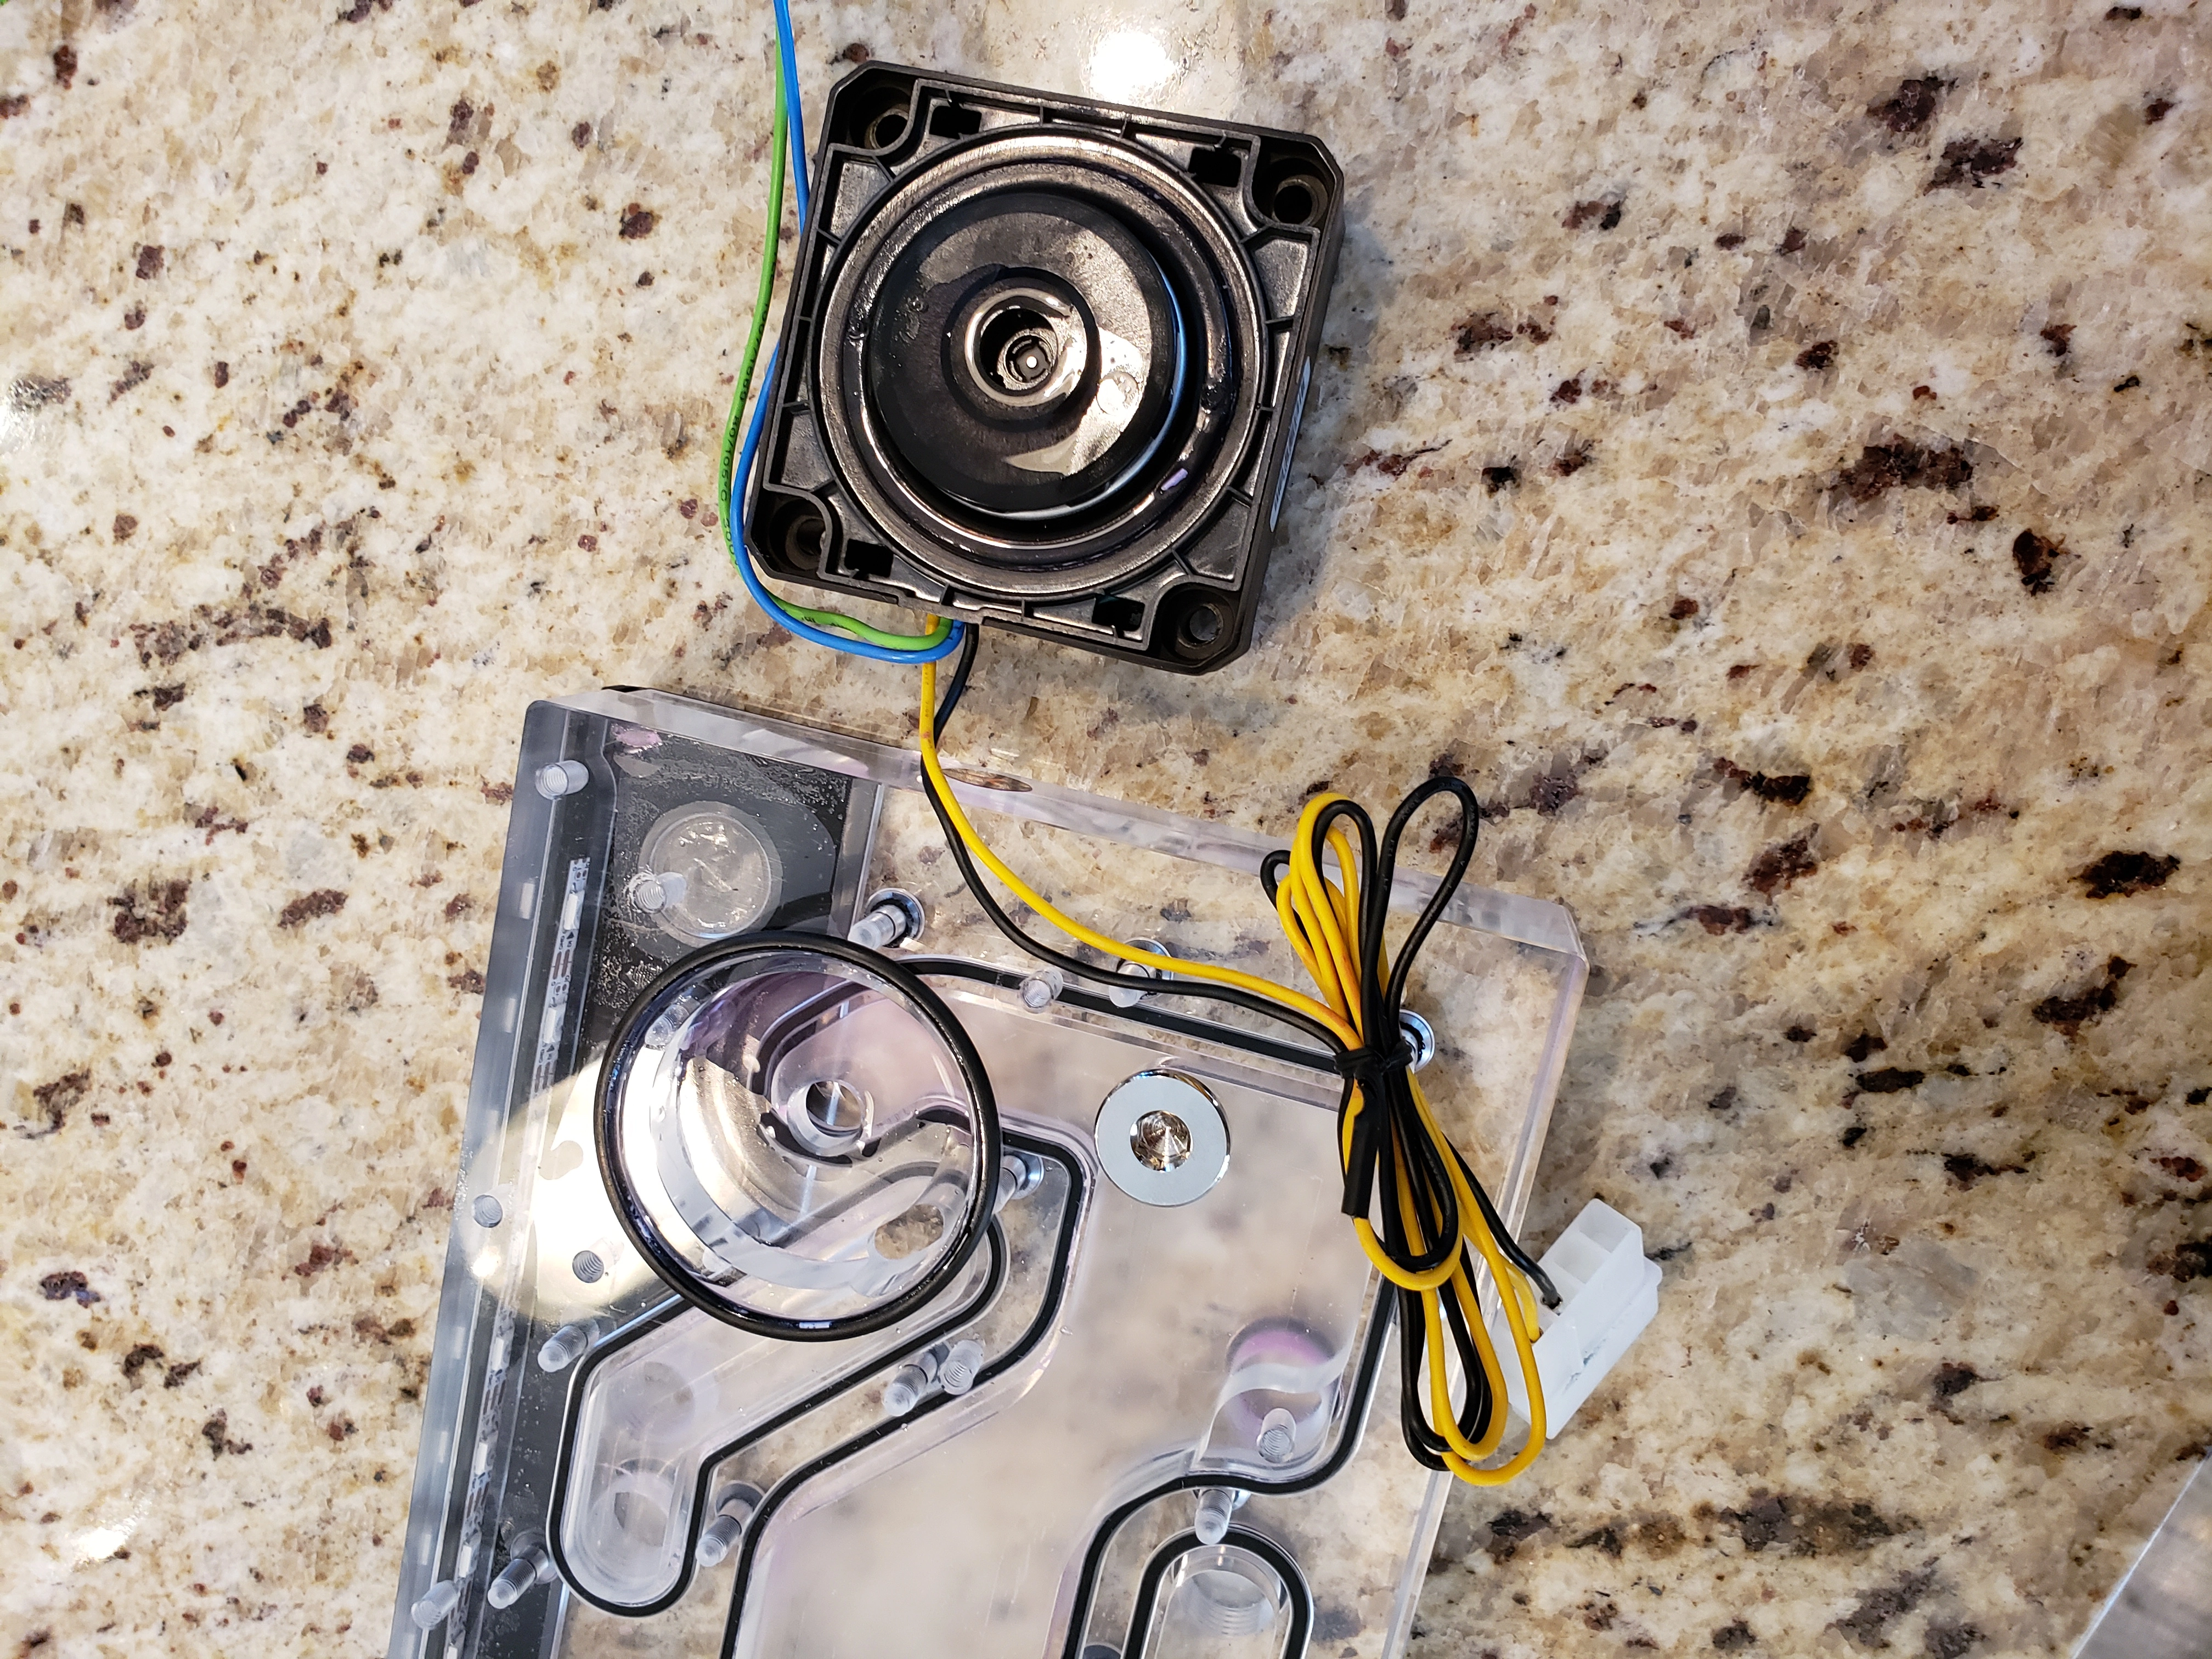
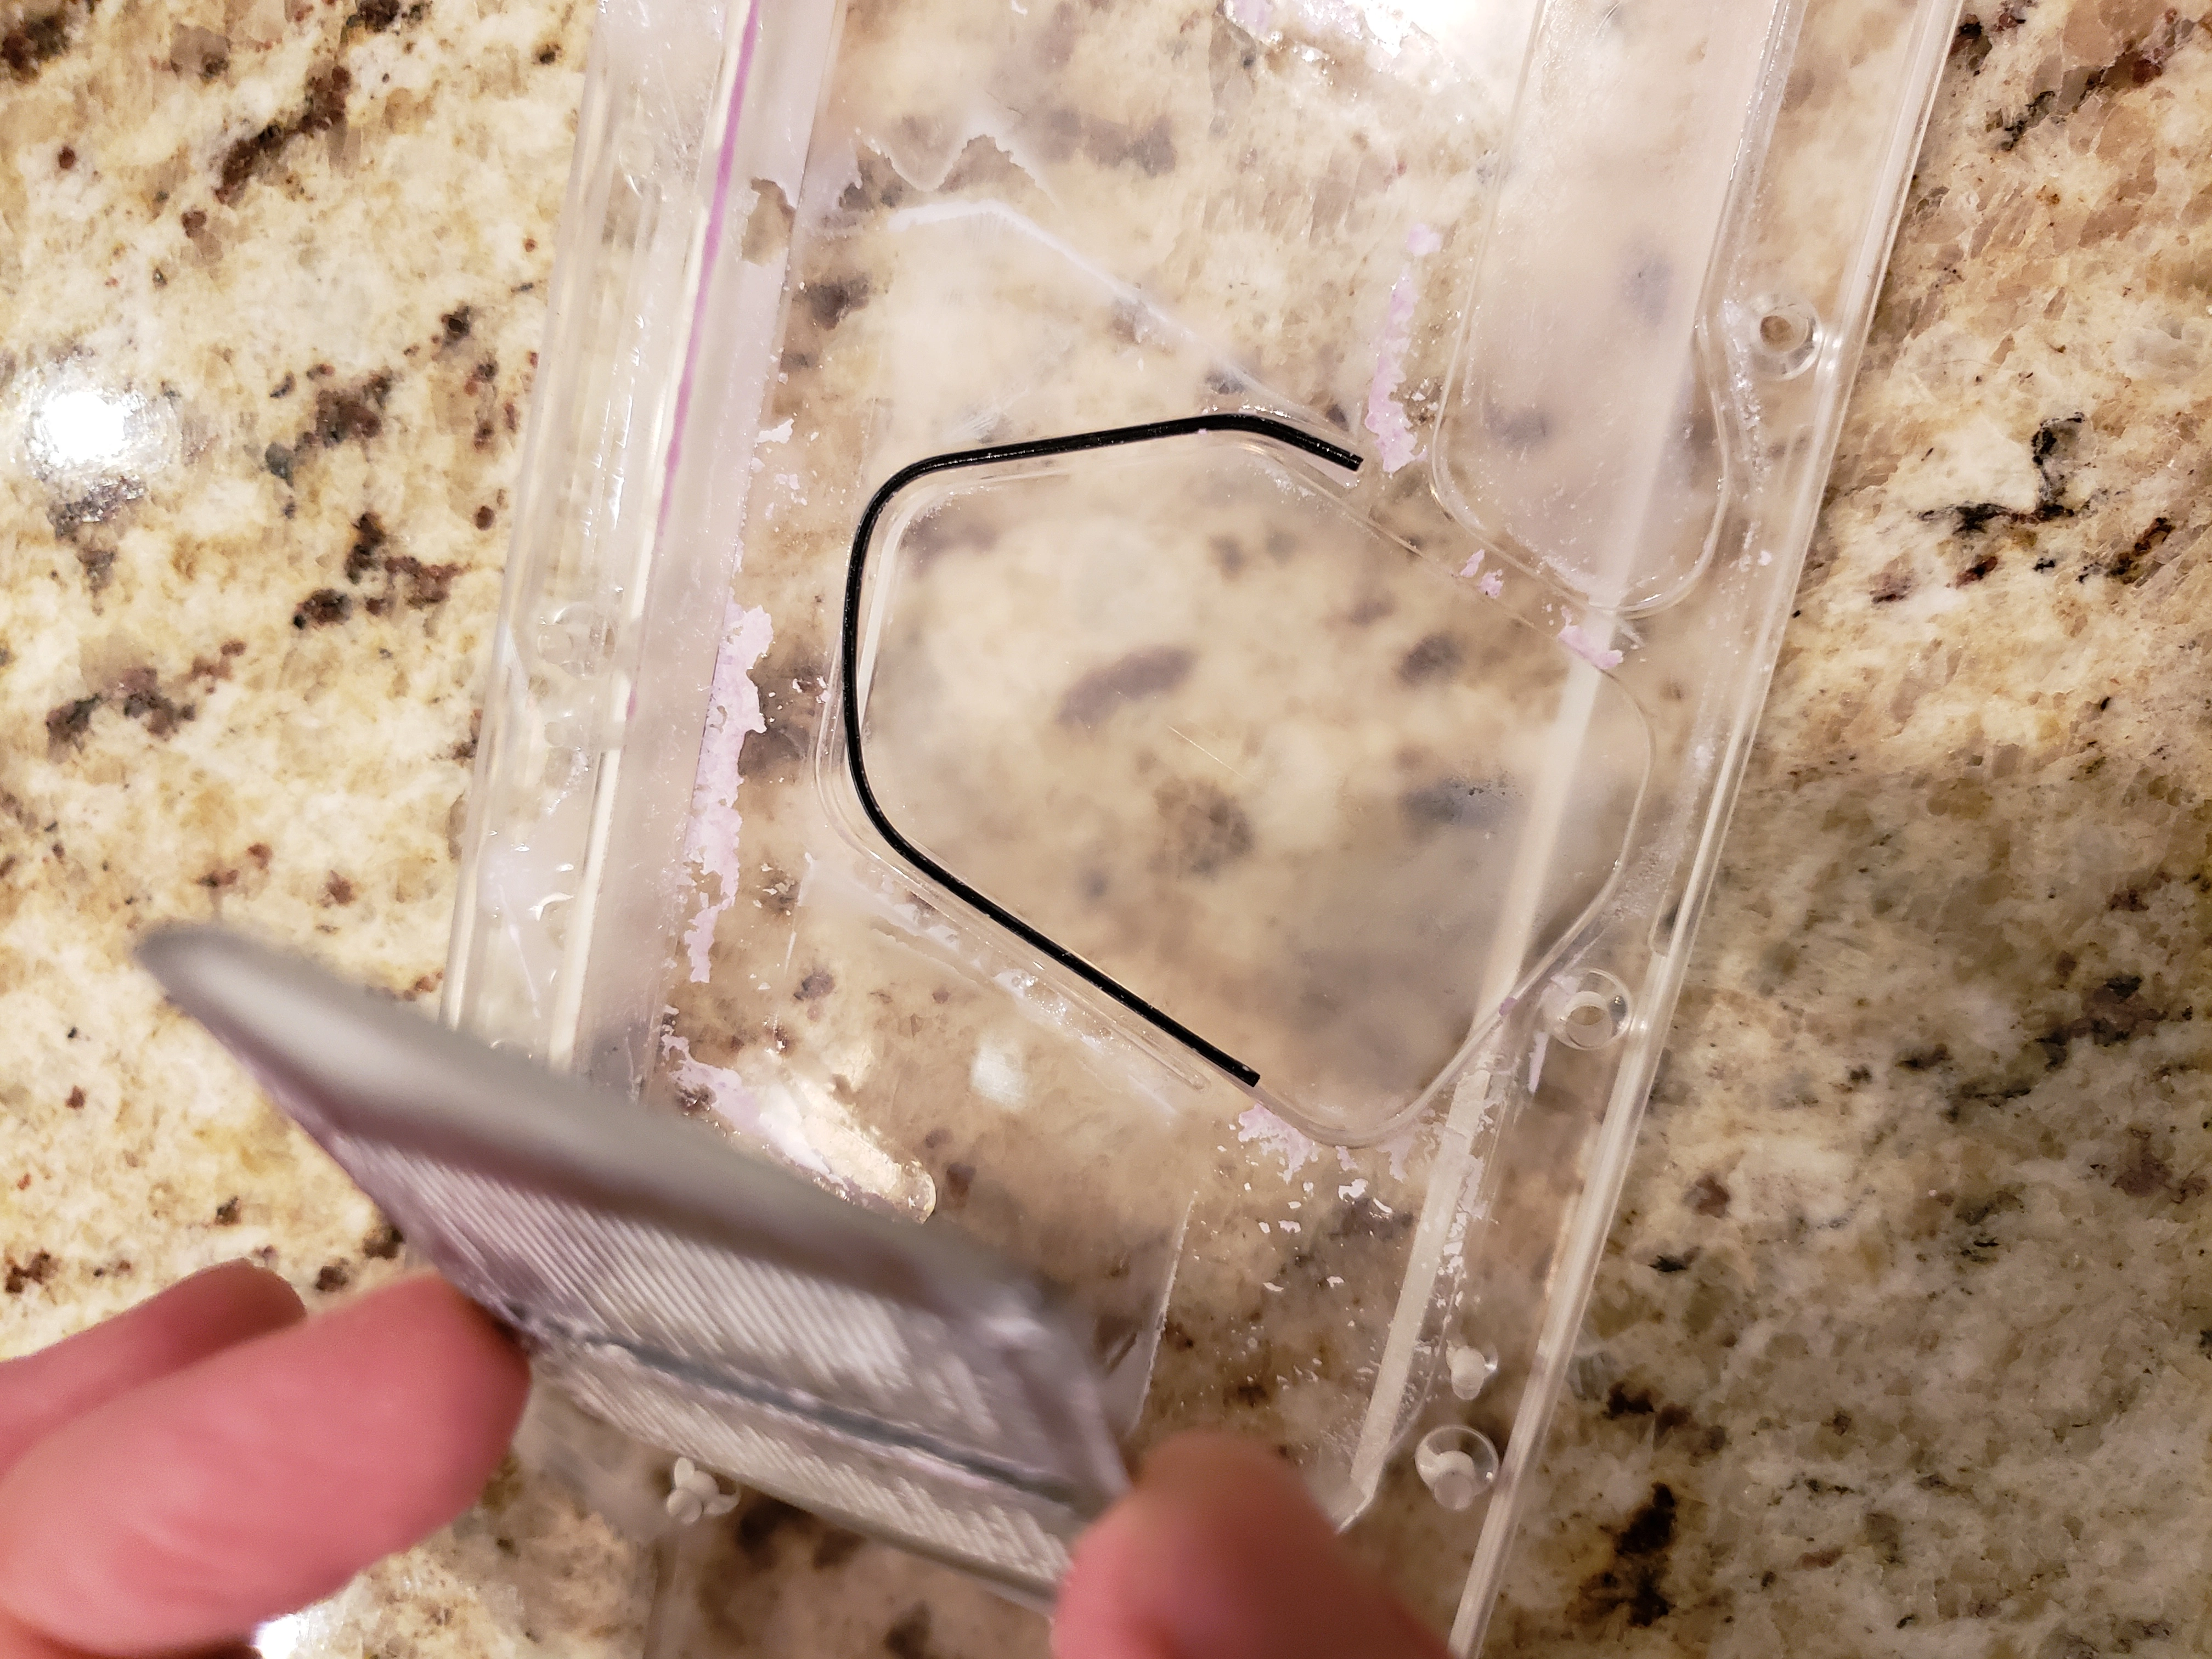
Cleaning the Distro Plate
So, I intended to completely rip apart the distro plate. However once I got at it, I realized that the only way to get it entirely appart was to remove a black strip of metal along one edge which is only held on with some double-sided tape/glue. I knew if I ripped that off, it would never be the same... So I resorted to plugging it up, half-filling it with soapy water and shaking the hell out of it for a few hours. It sucked, but I got the majority of the gunk out... hopefully the rest won't really be visible once it's filled and lit.

 I also took the pump off and cleaned that out too, it was also cool to see how easy it was to swap the pump out - It's fairly noisy and has an unpleasant ween to it, I may get a different one in the future.
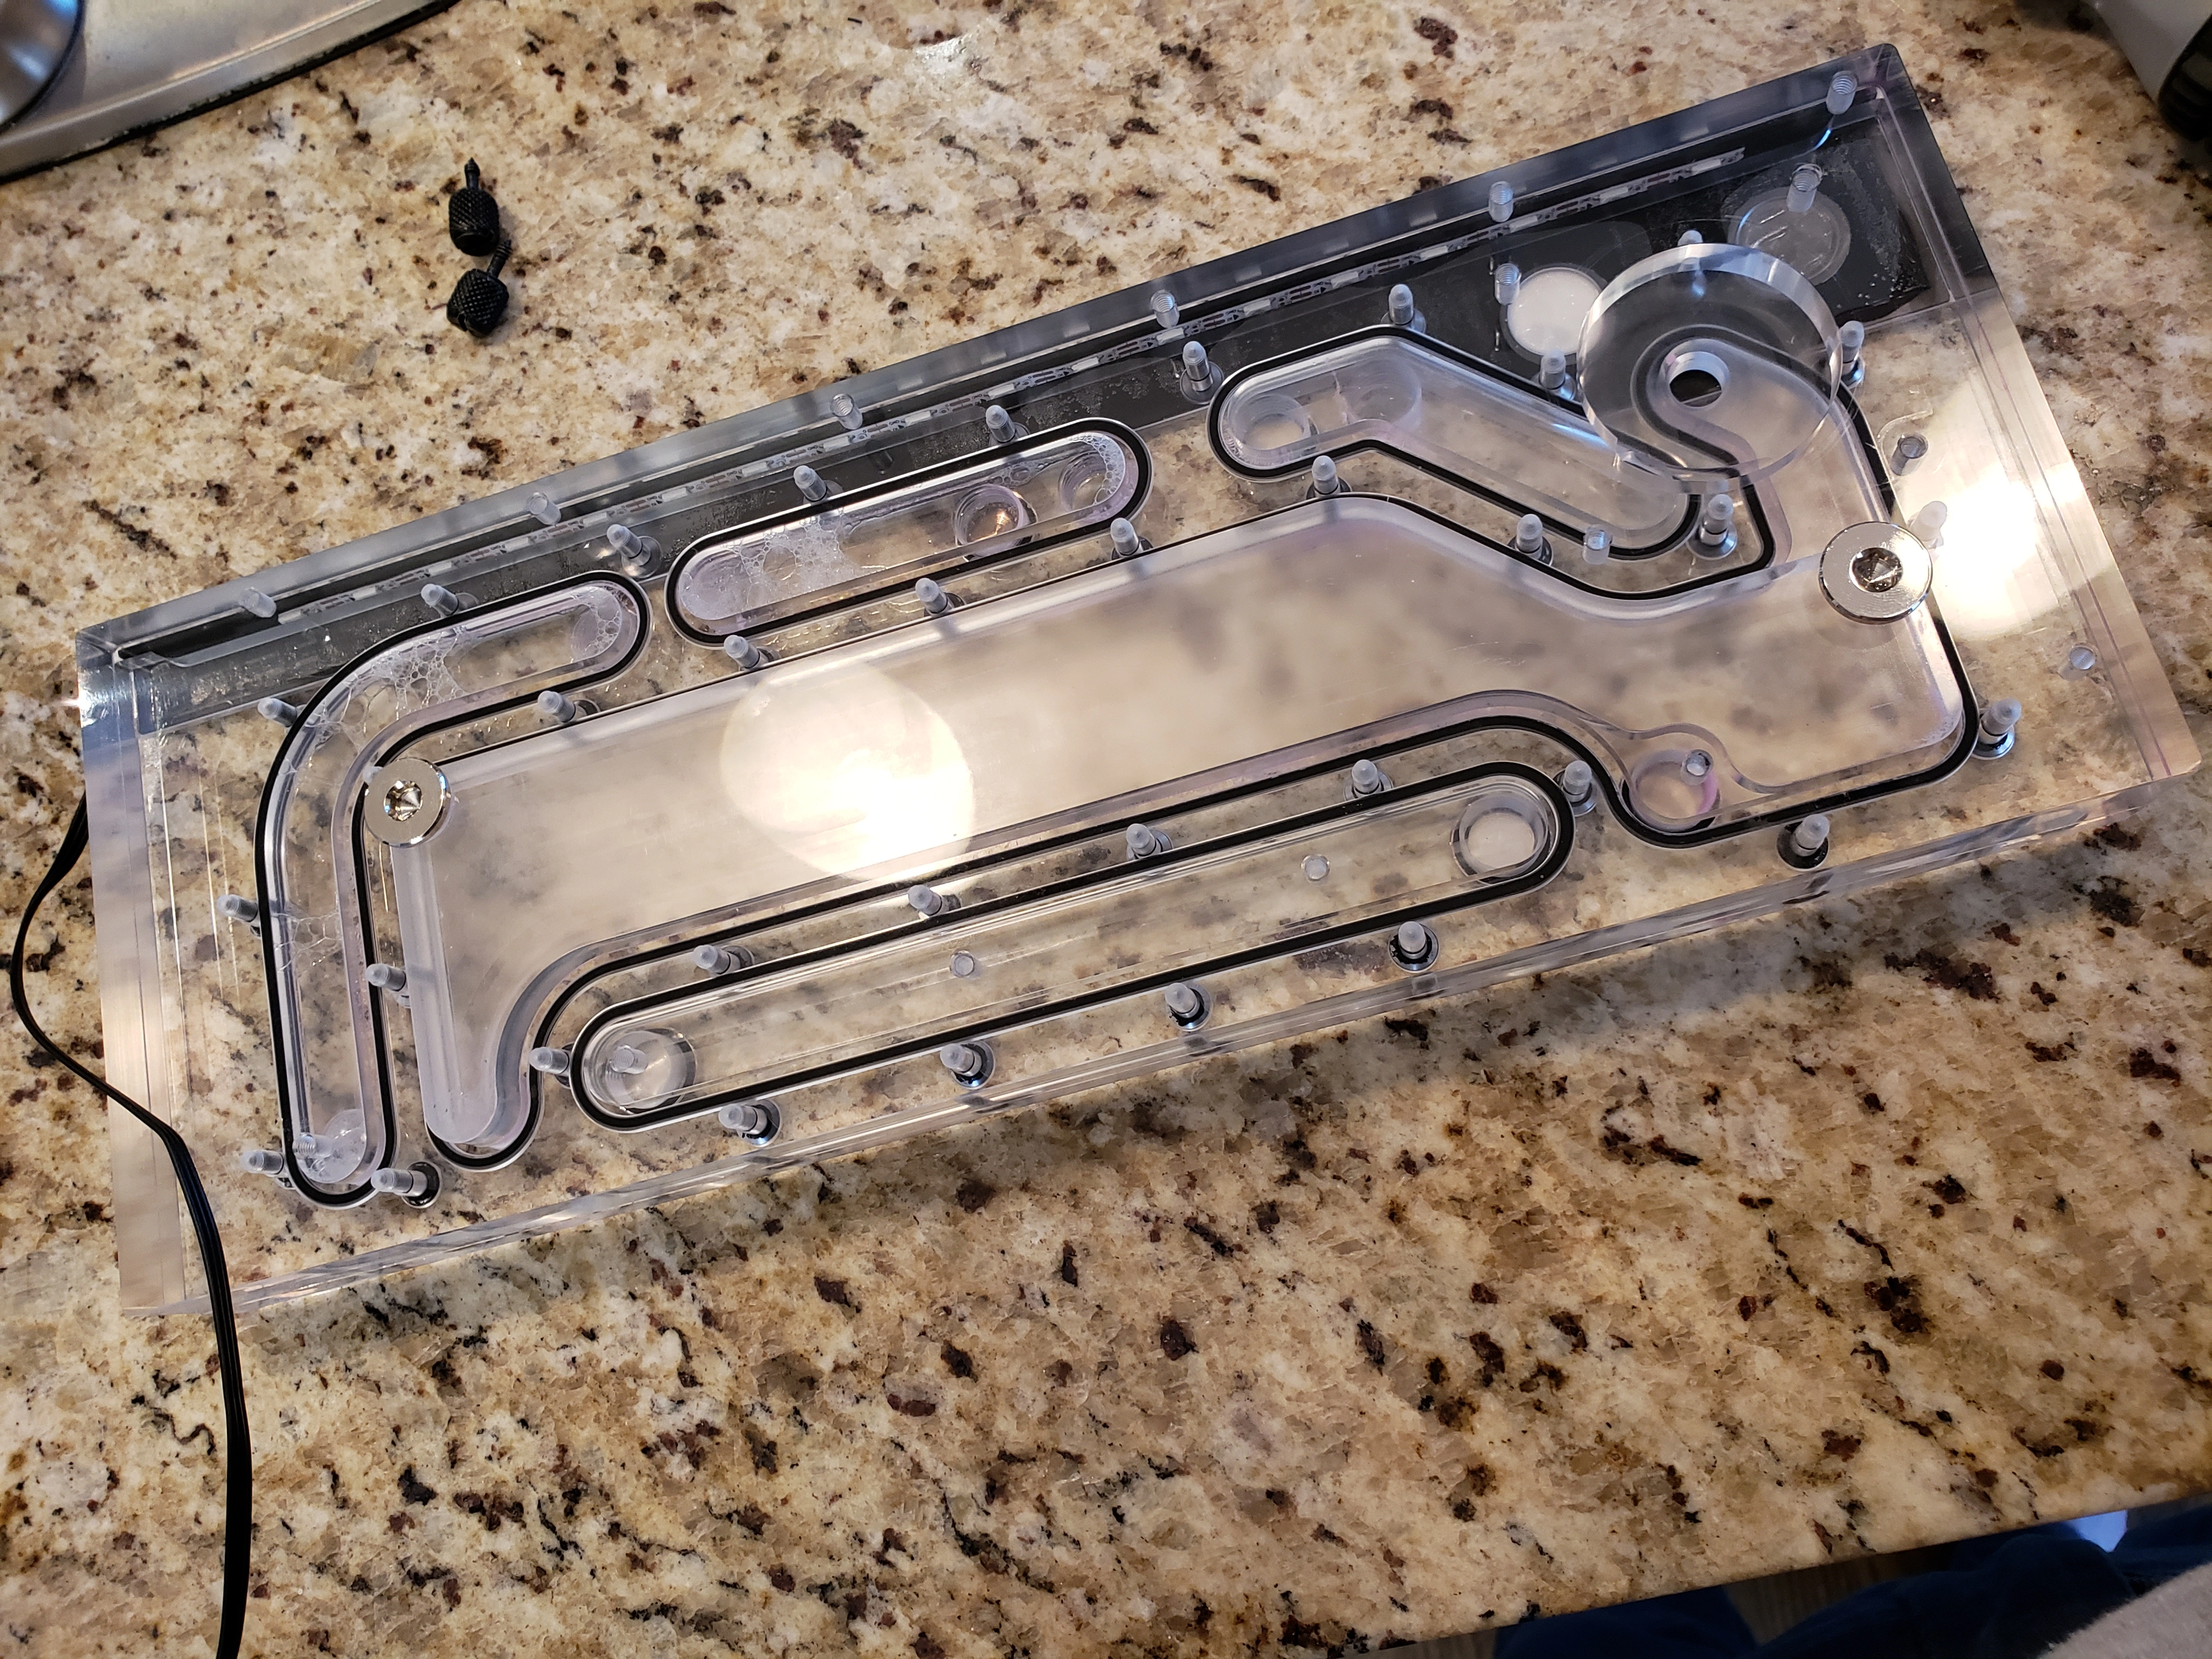
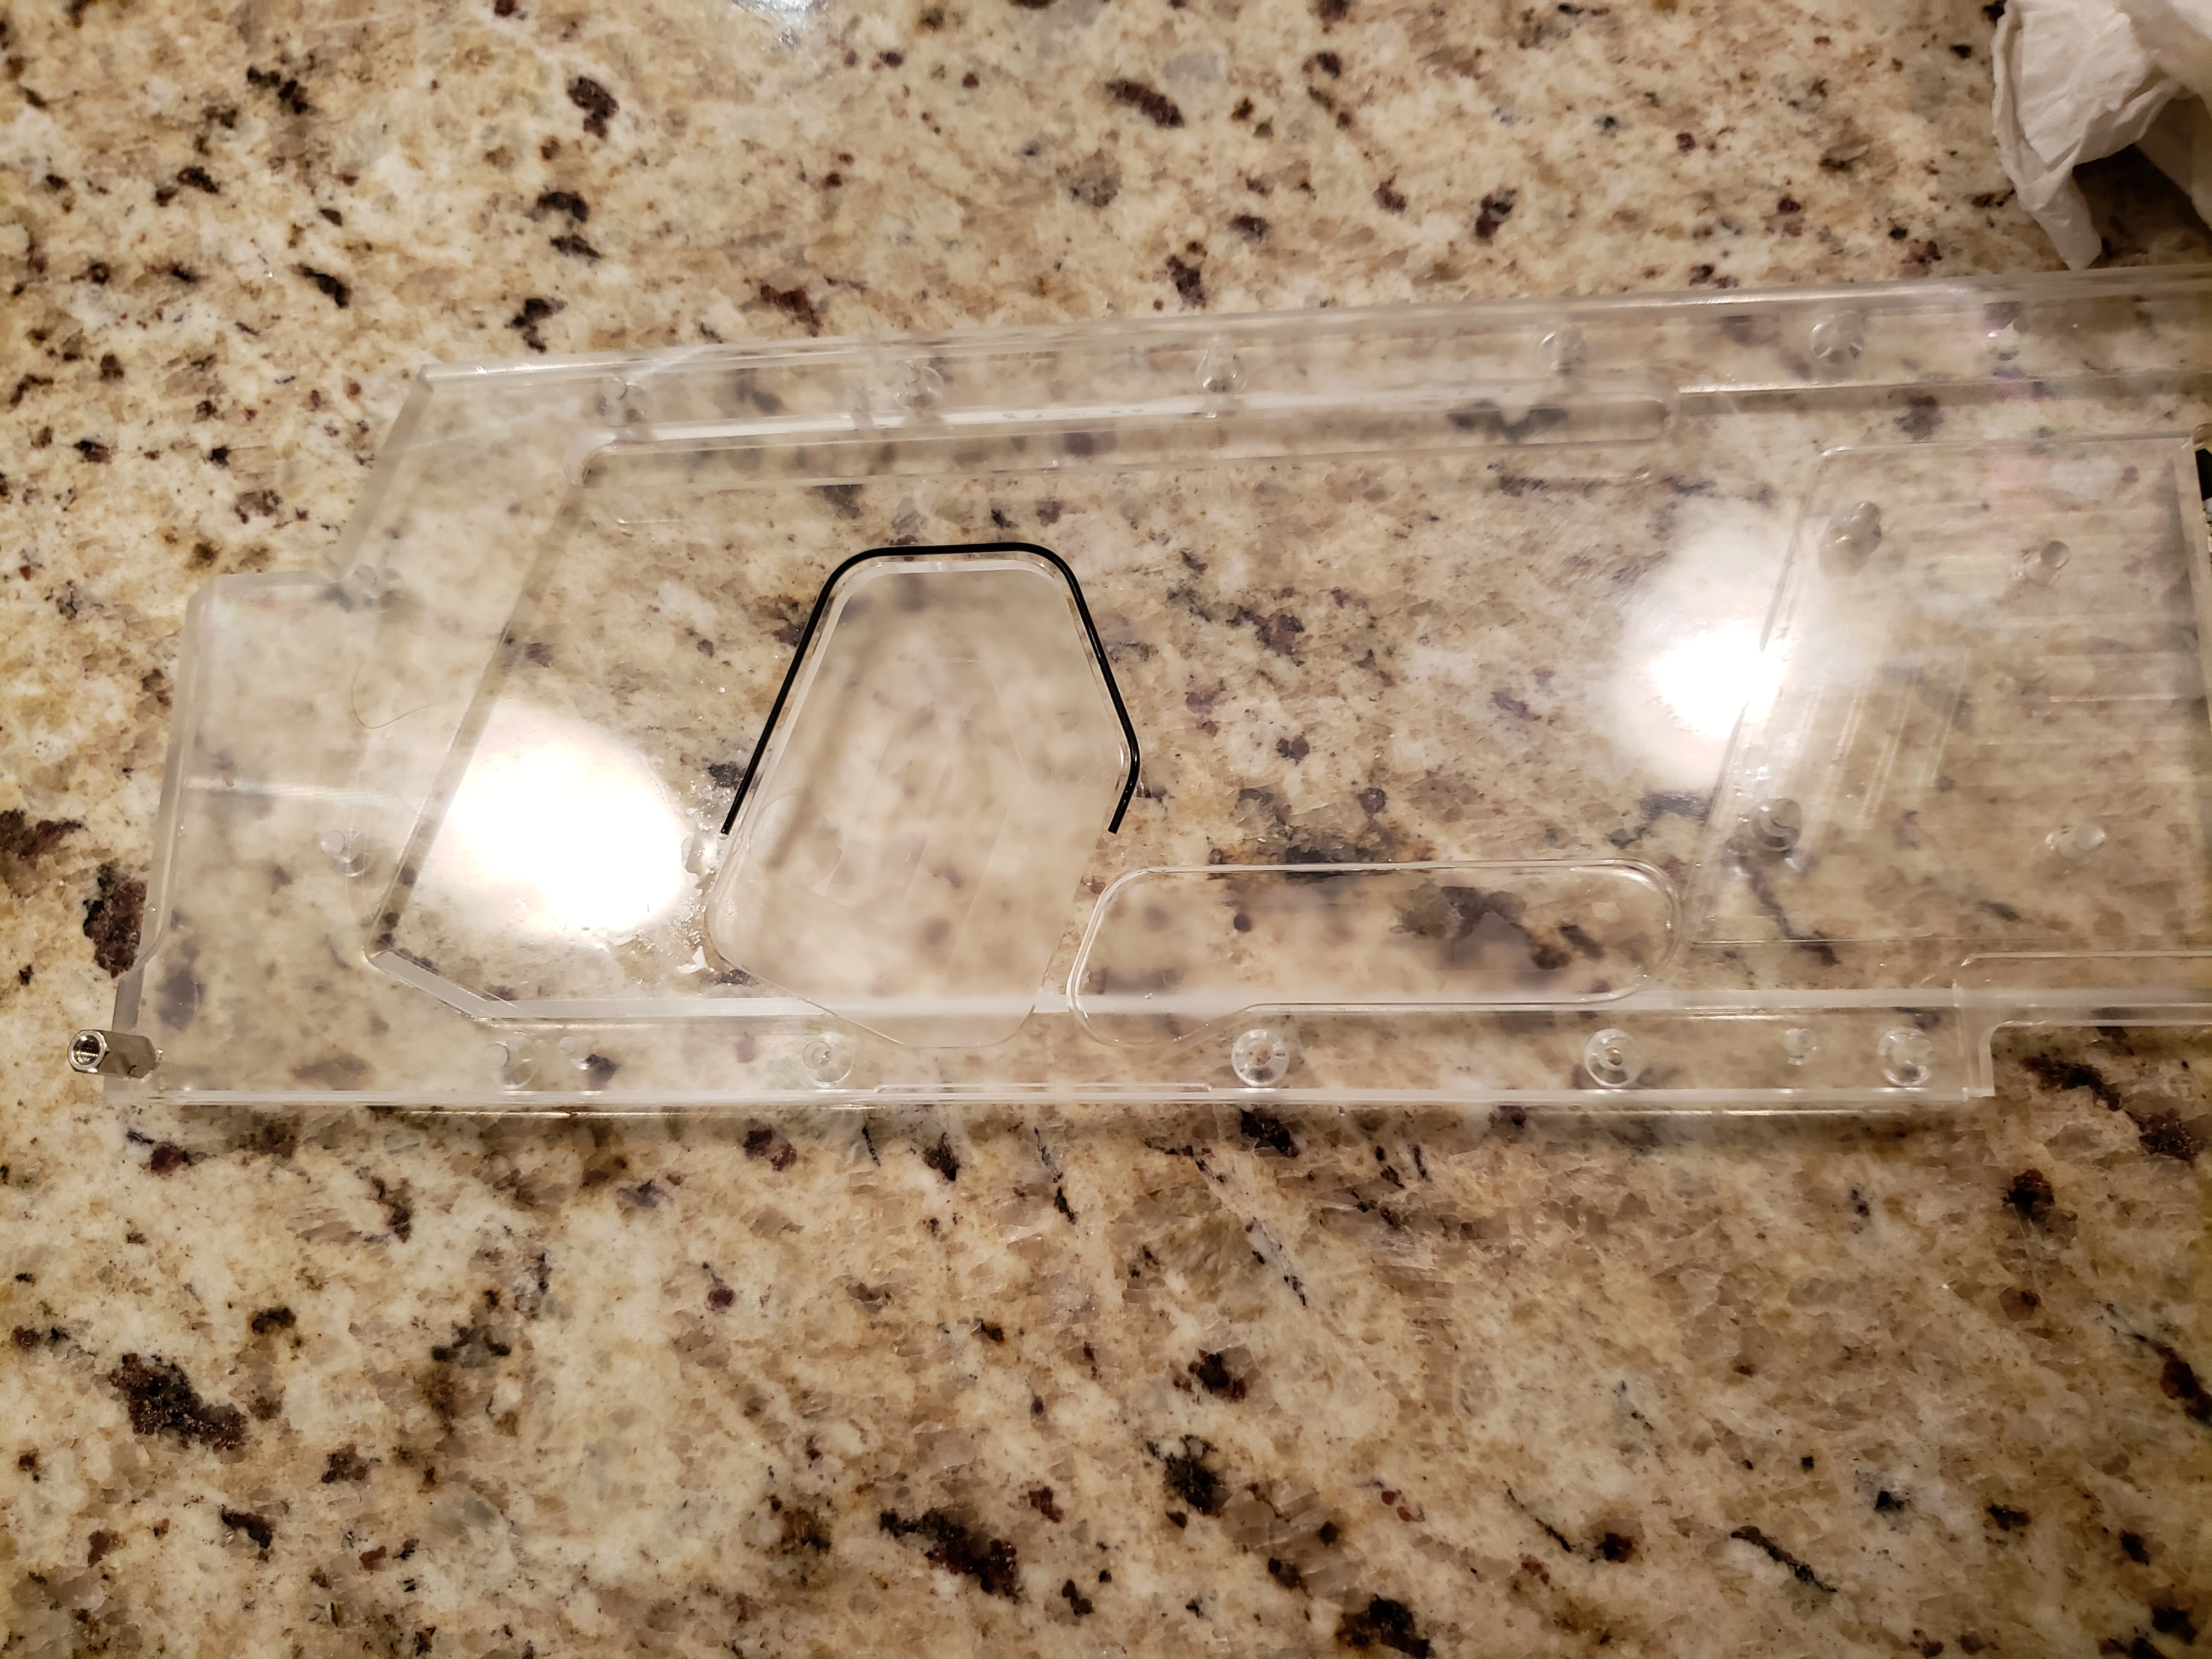
 The end result was good enough.
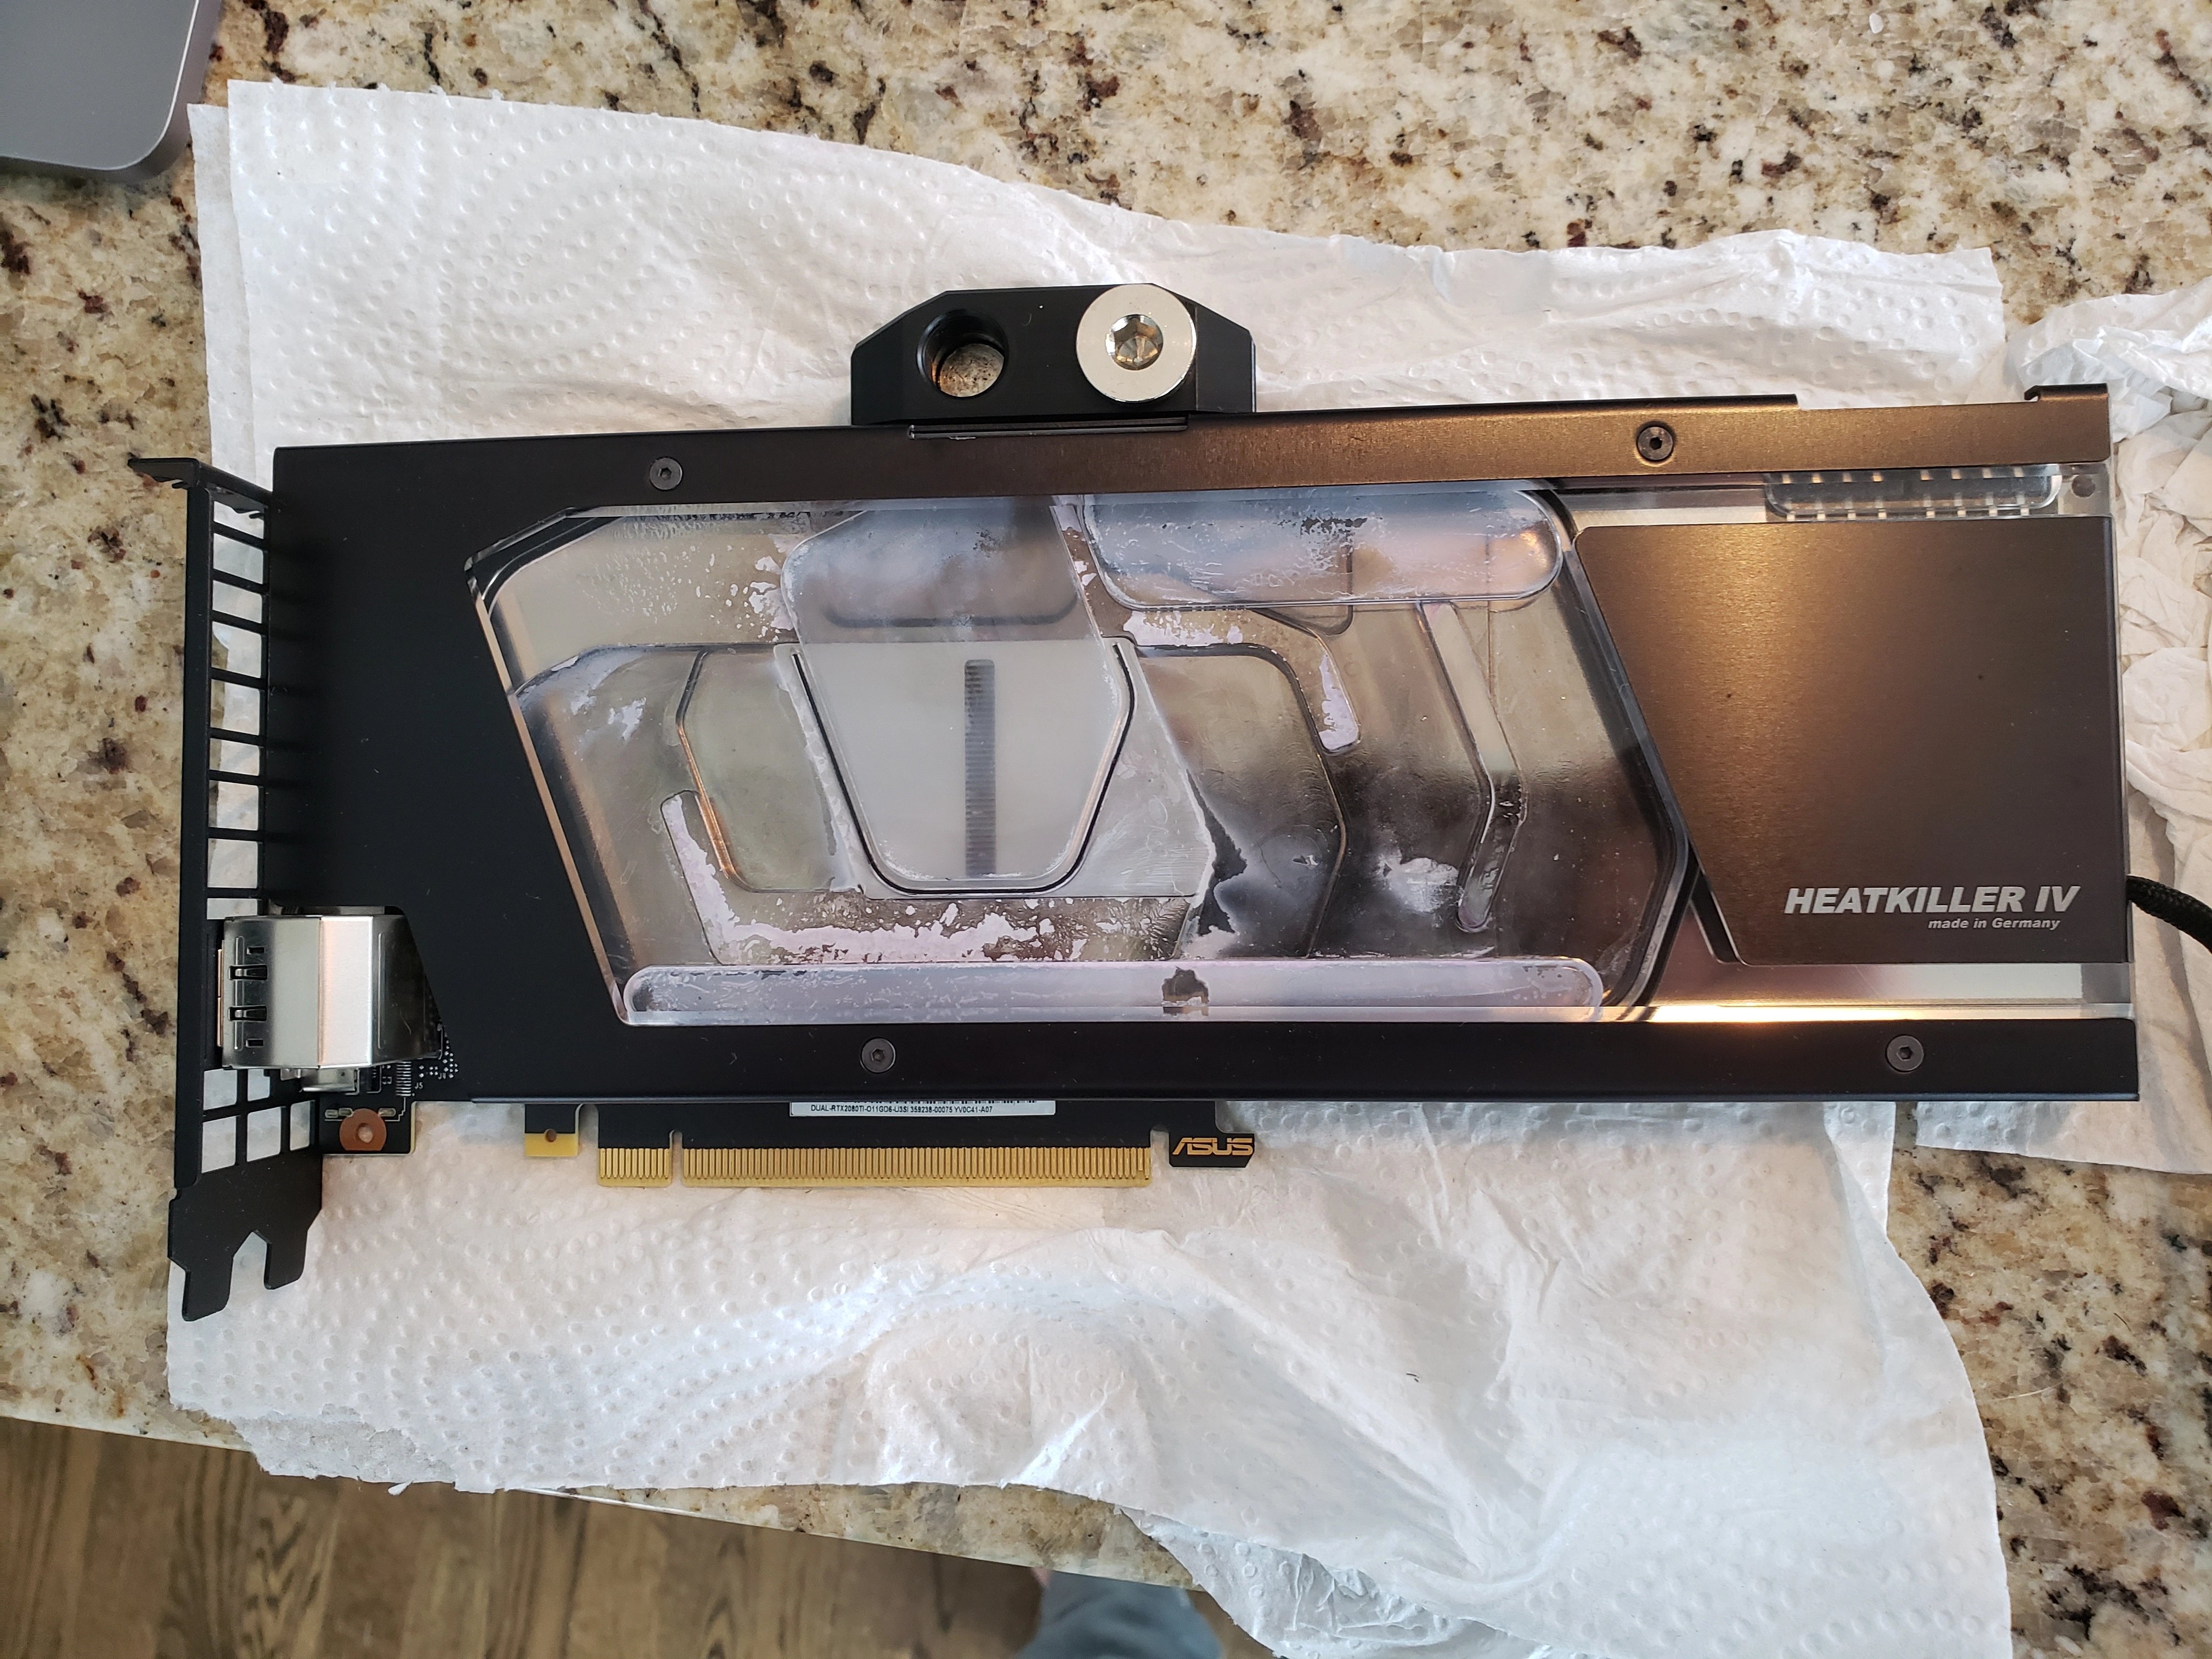
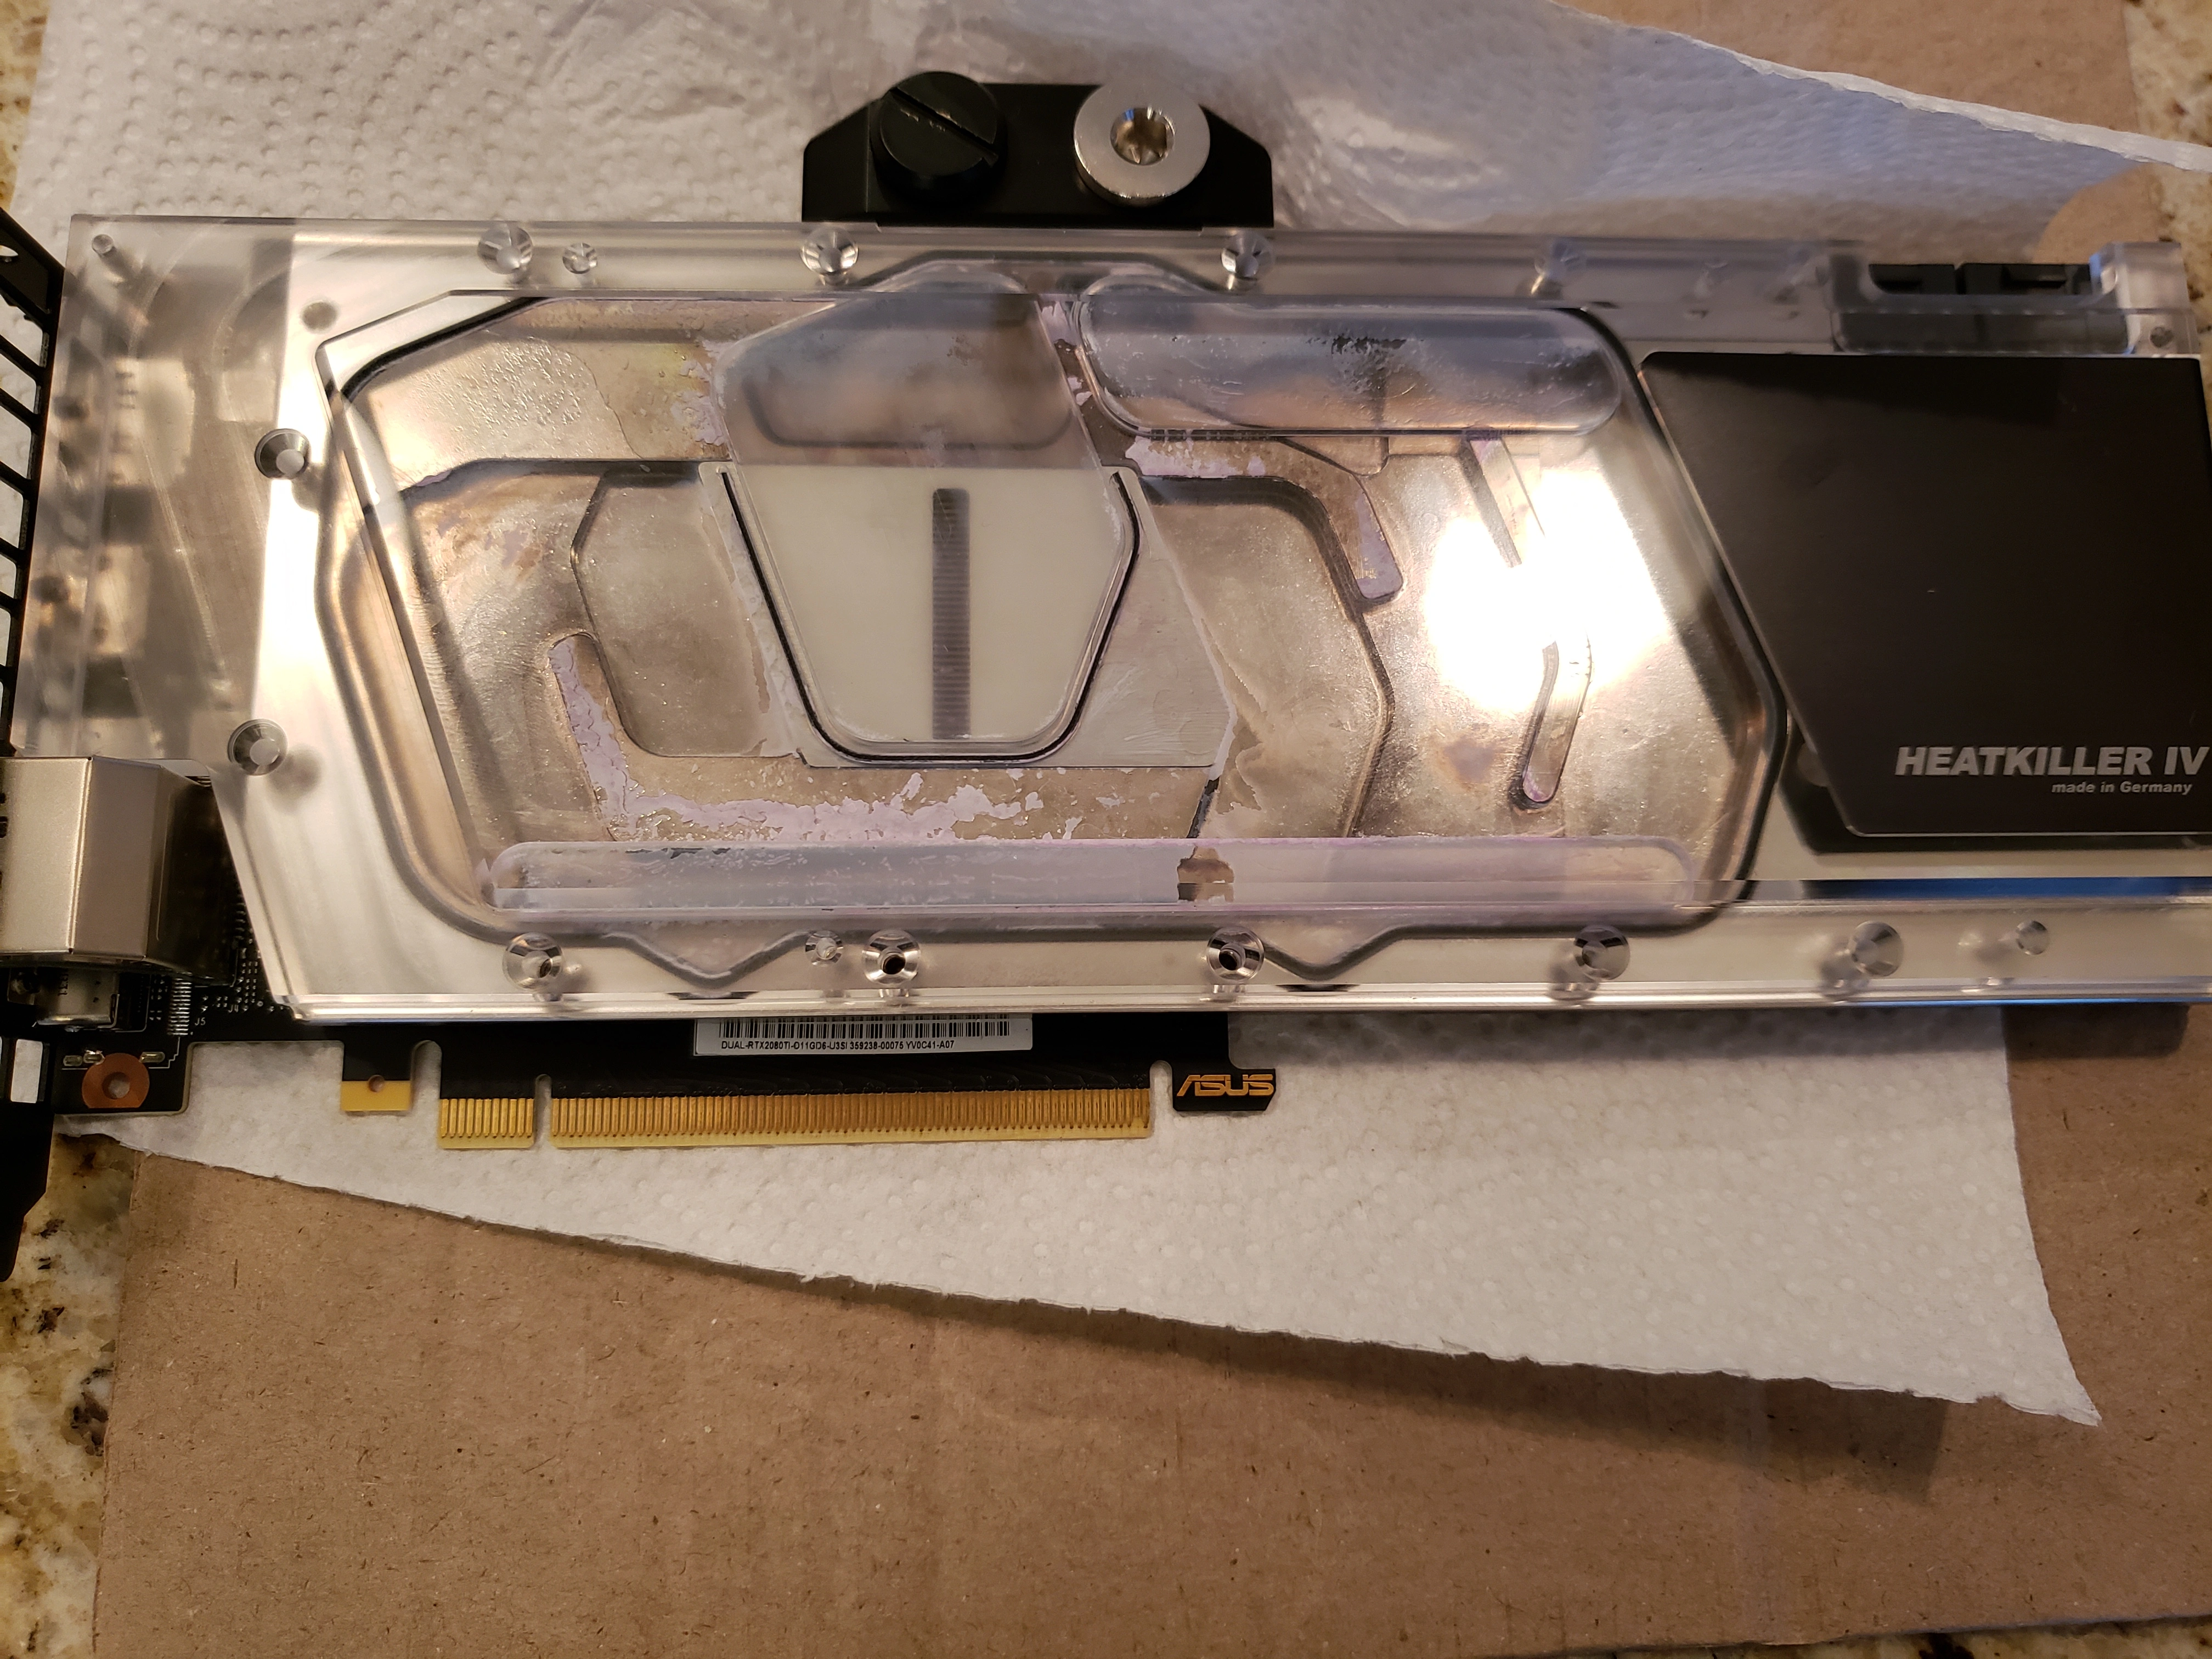
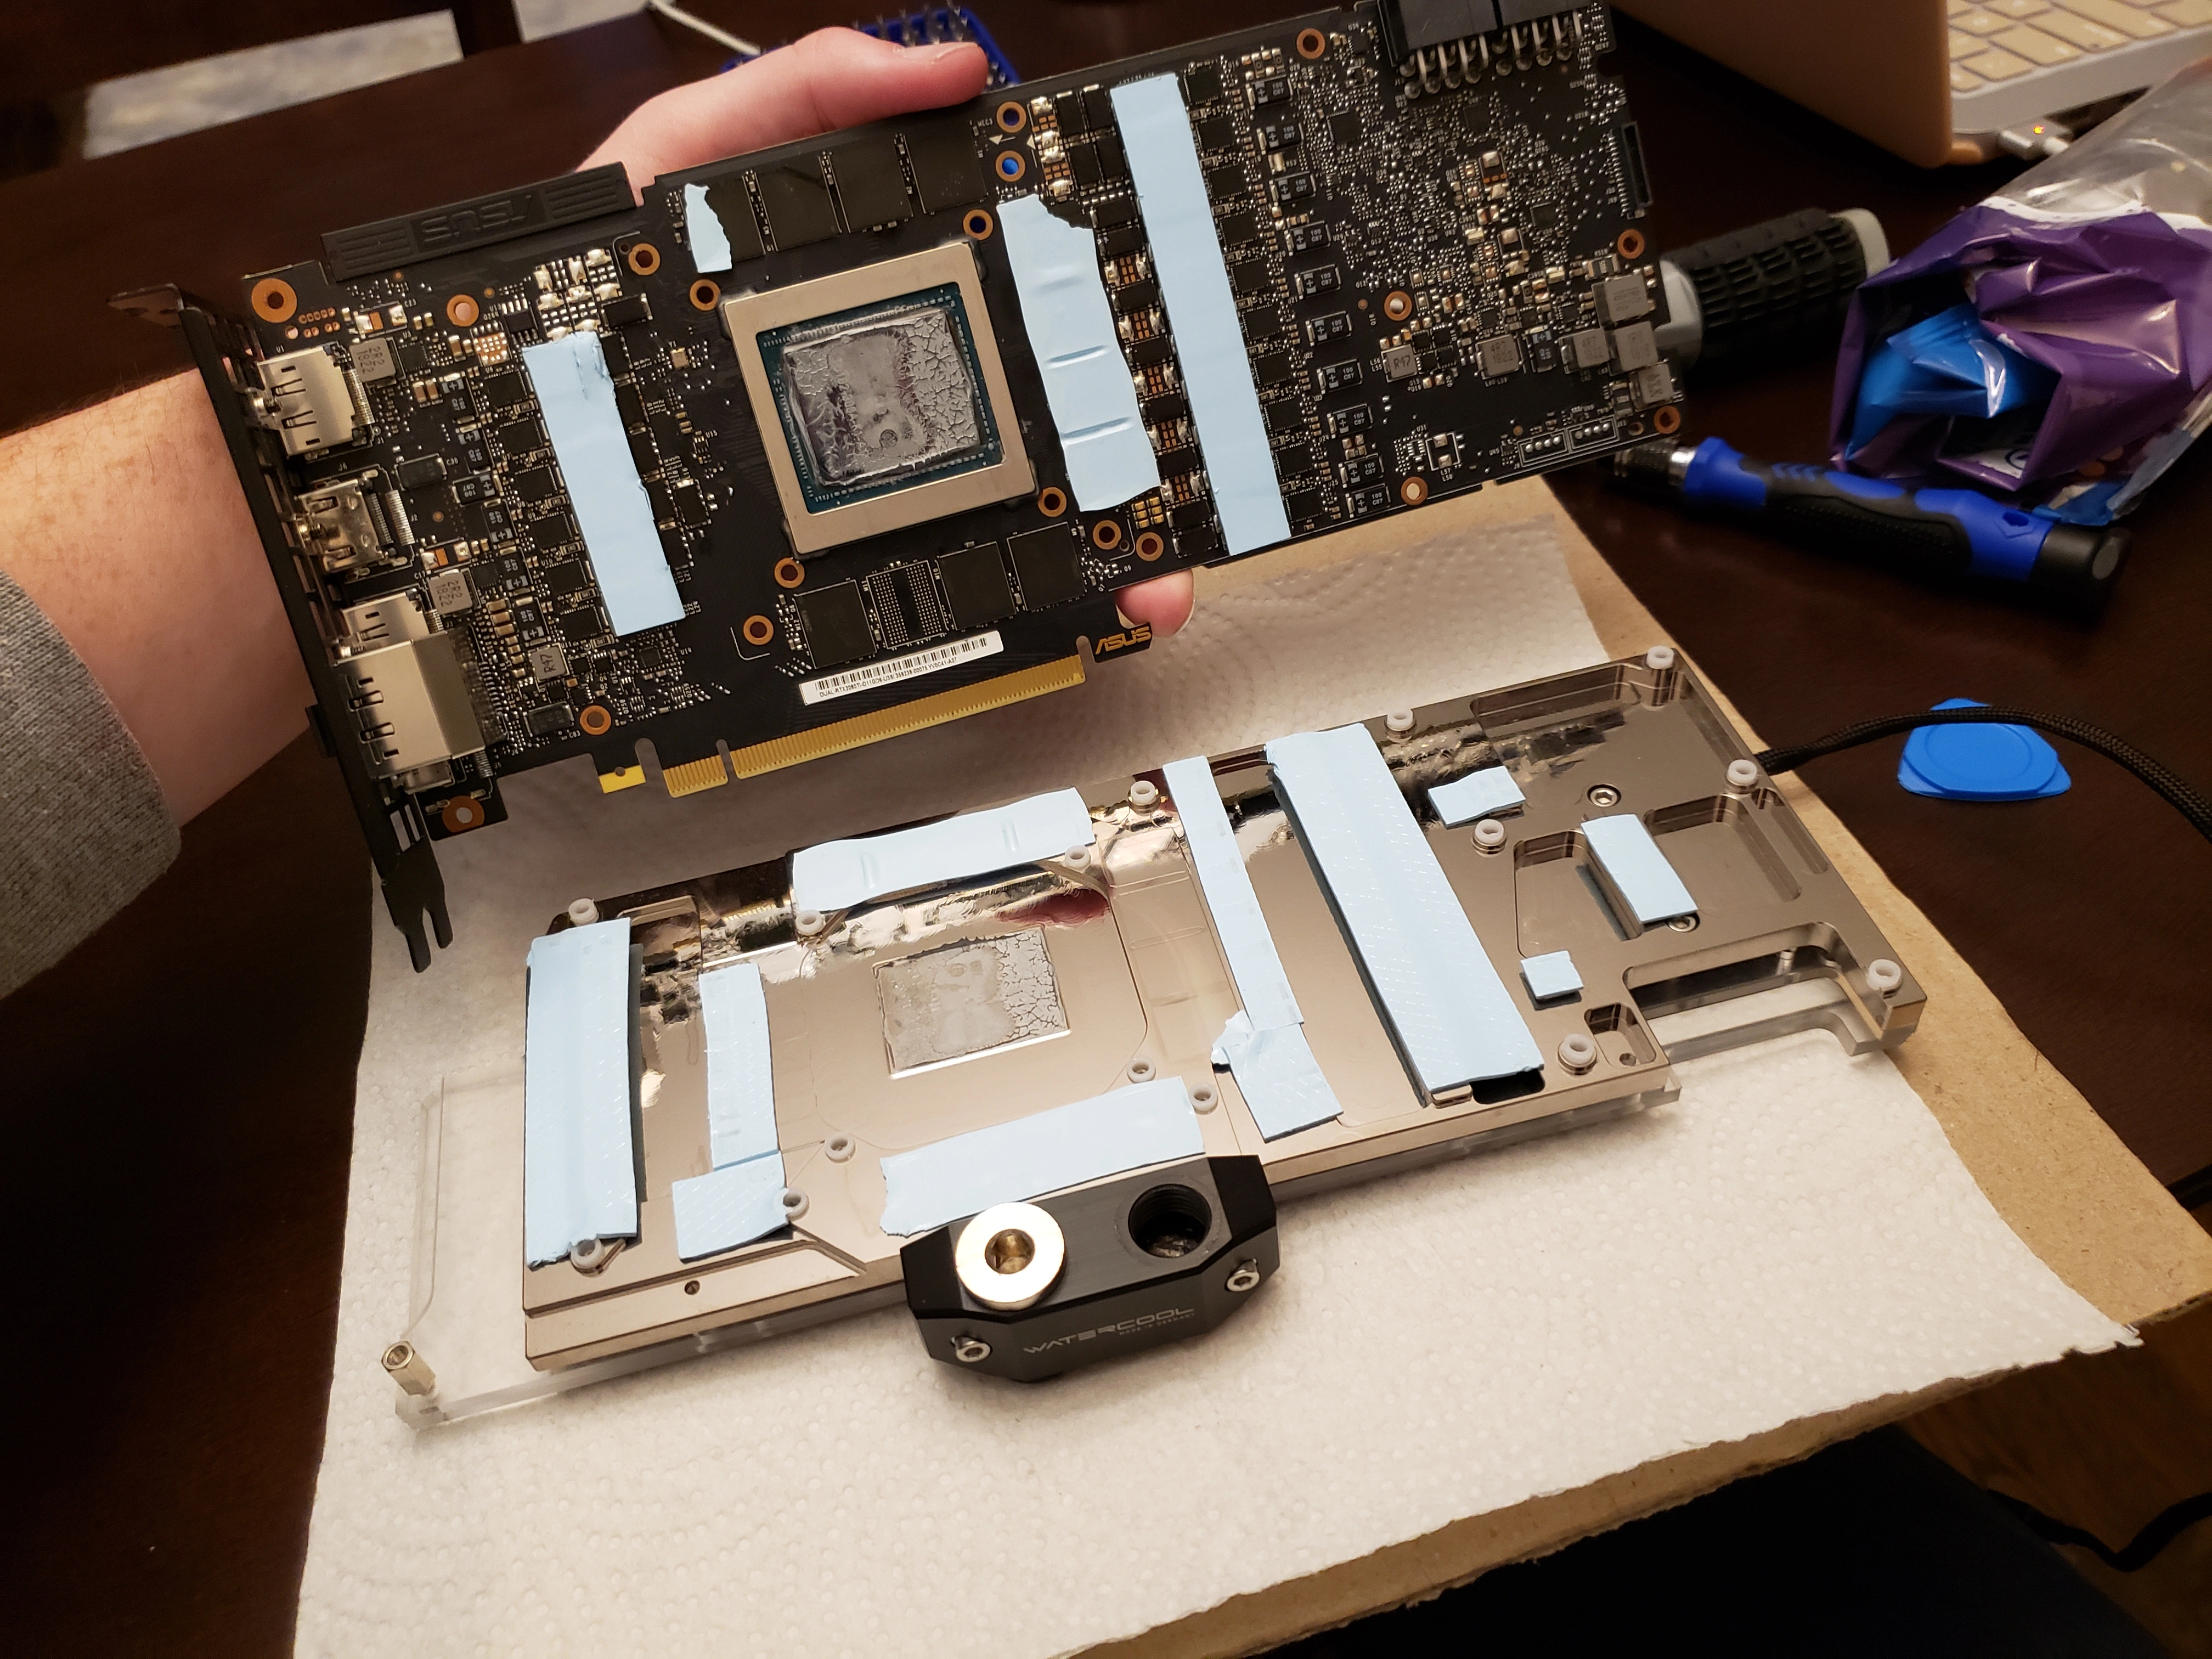
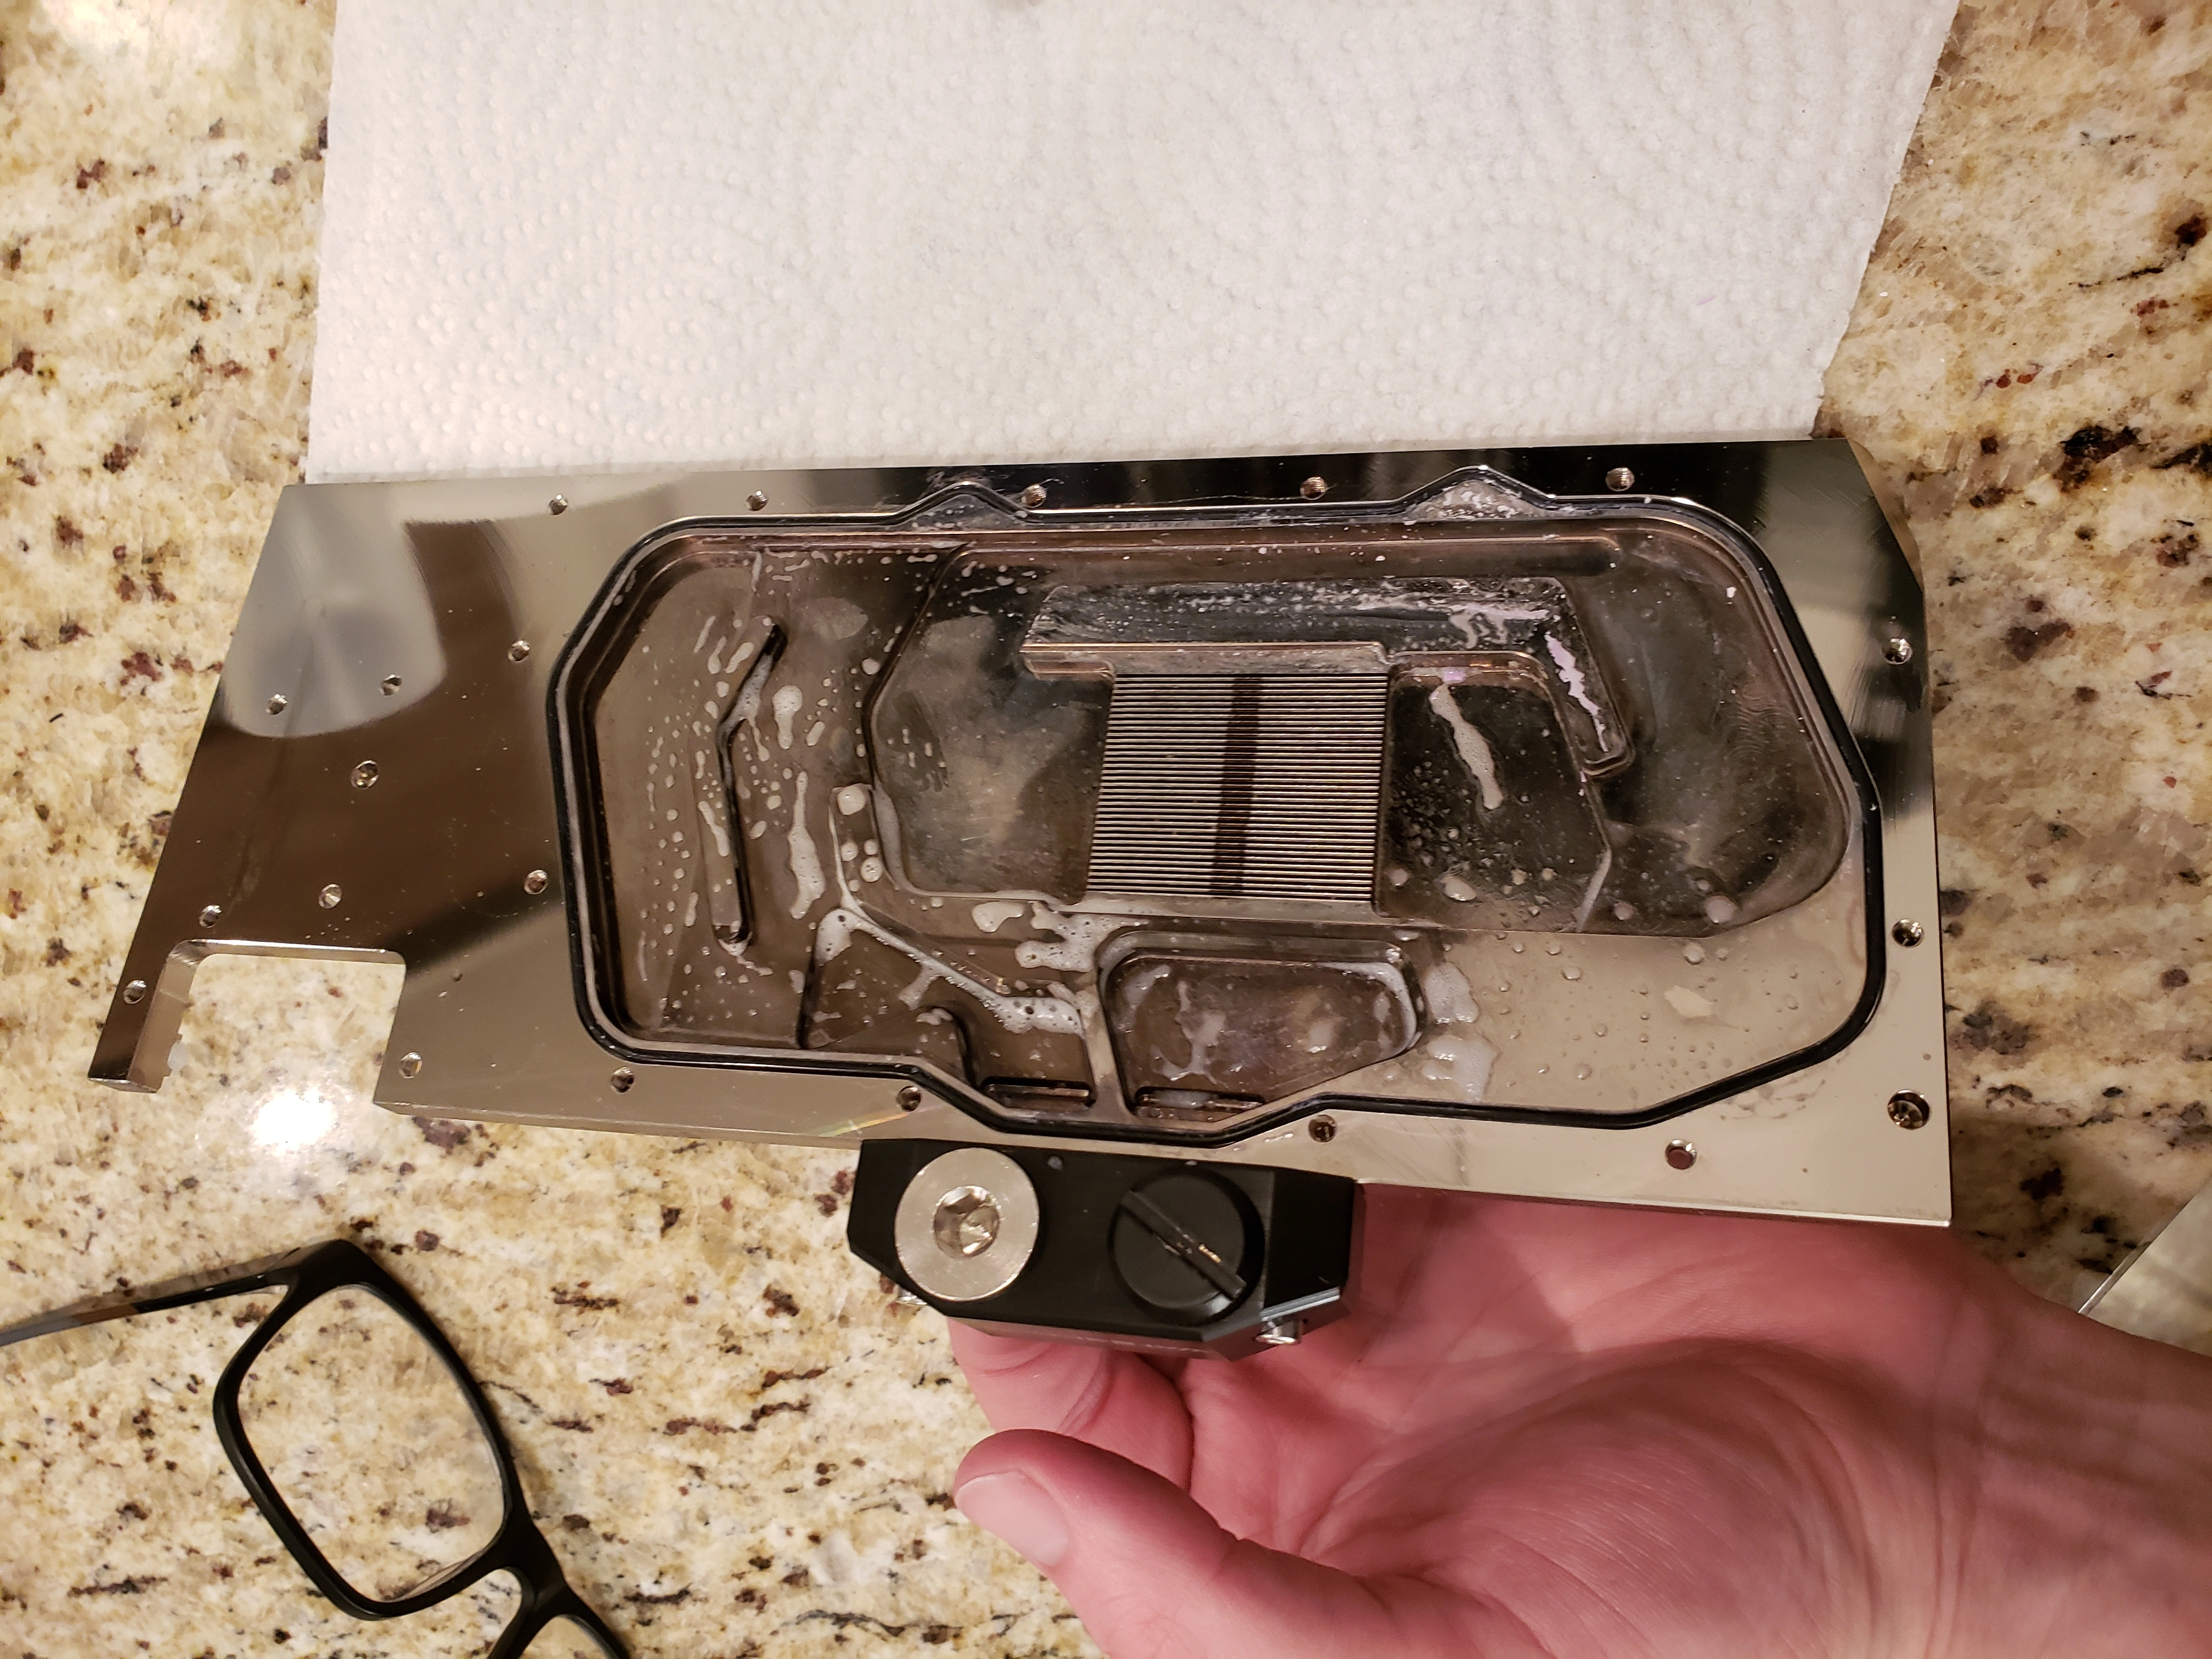
Cleaning the GPU Block
Cleaning the GPU block was a little scary, and had a few surprises...
So, I thought I could simply remove the front-plate without having to take the whole thing apart. Wrong. There were two little bolts embedded in the middle that were impossible to get without taking the whole thing apart, so I had to take it alllll apart, make sure I didn't mess up the thermal pads, clean it, reapply paste and put it back together. It was fun though I'm only pretending to be mad.
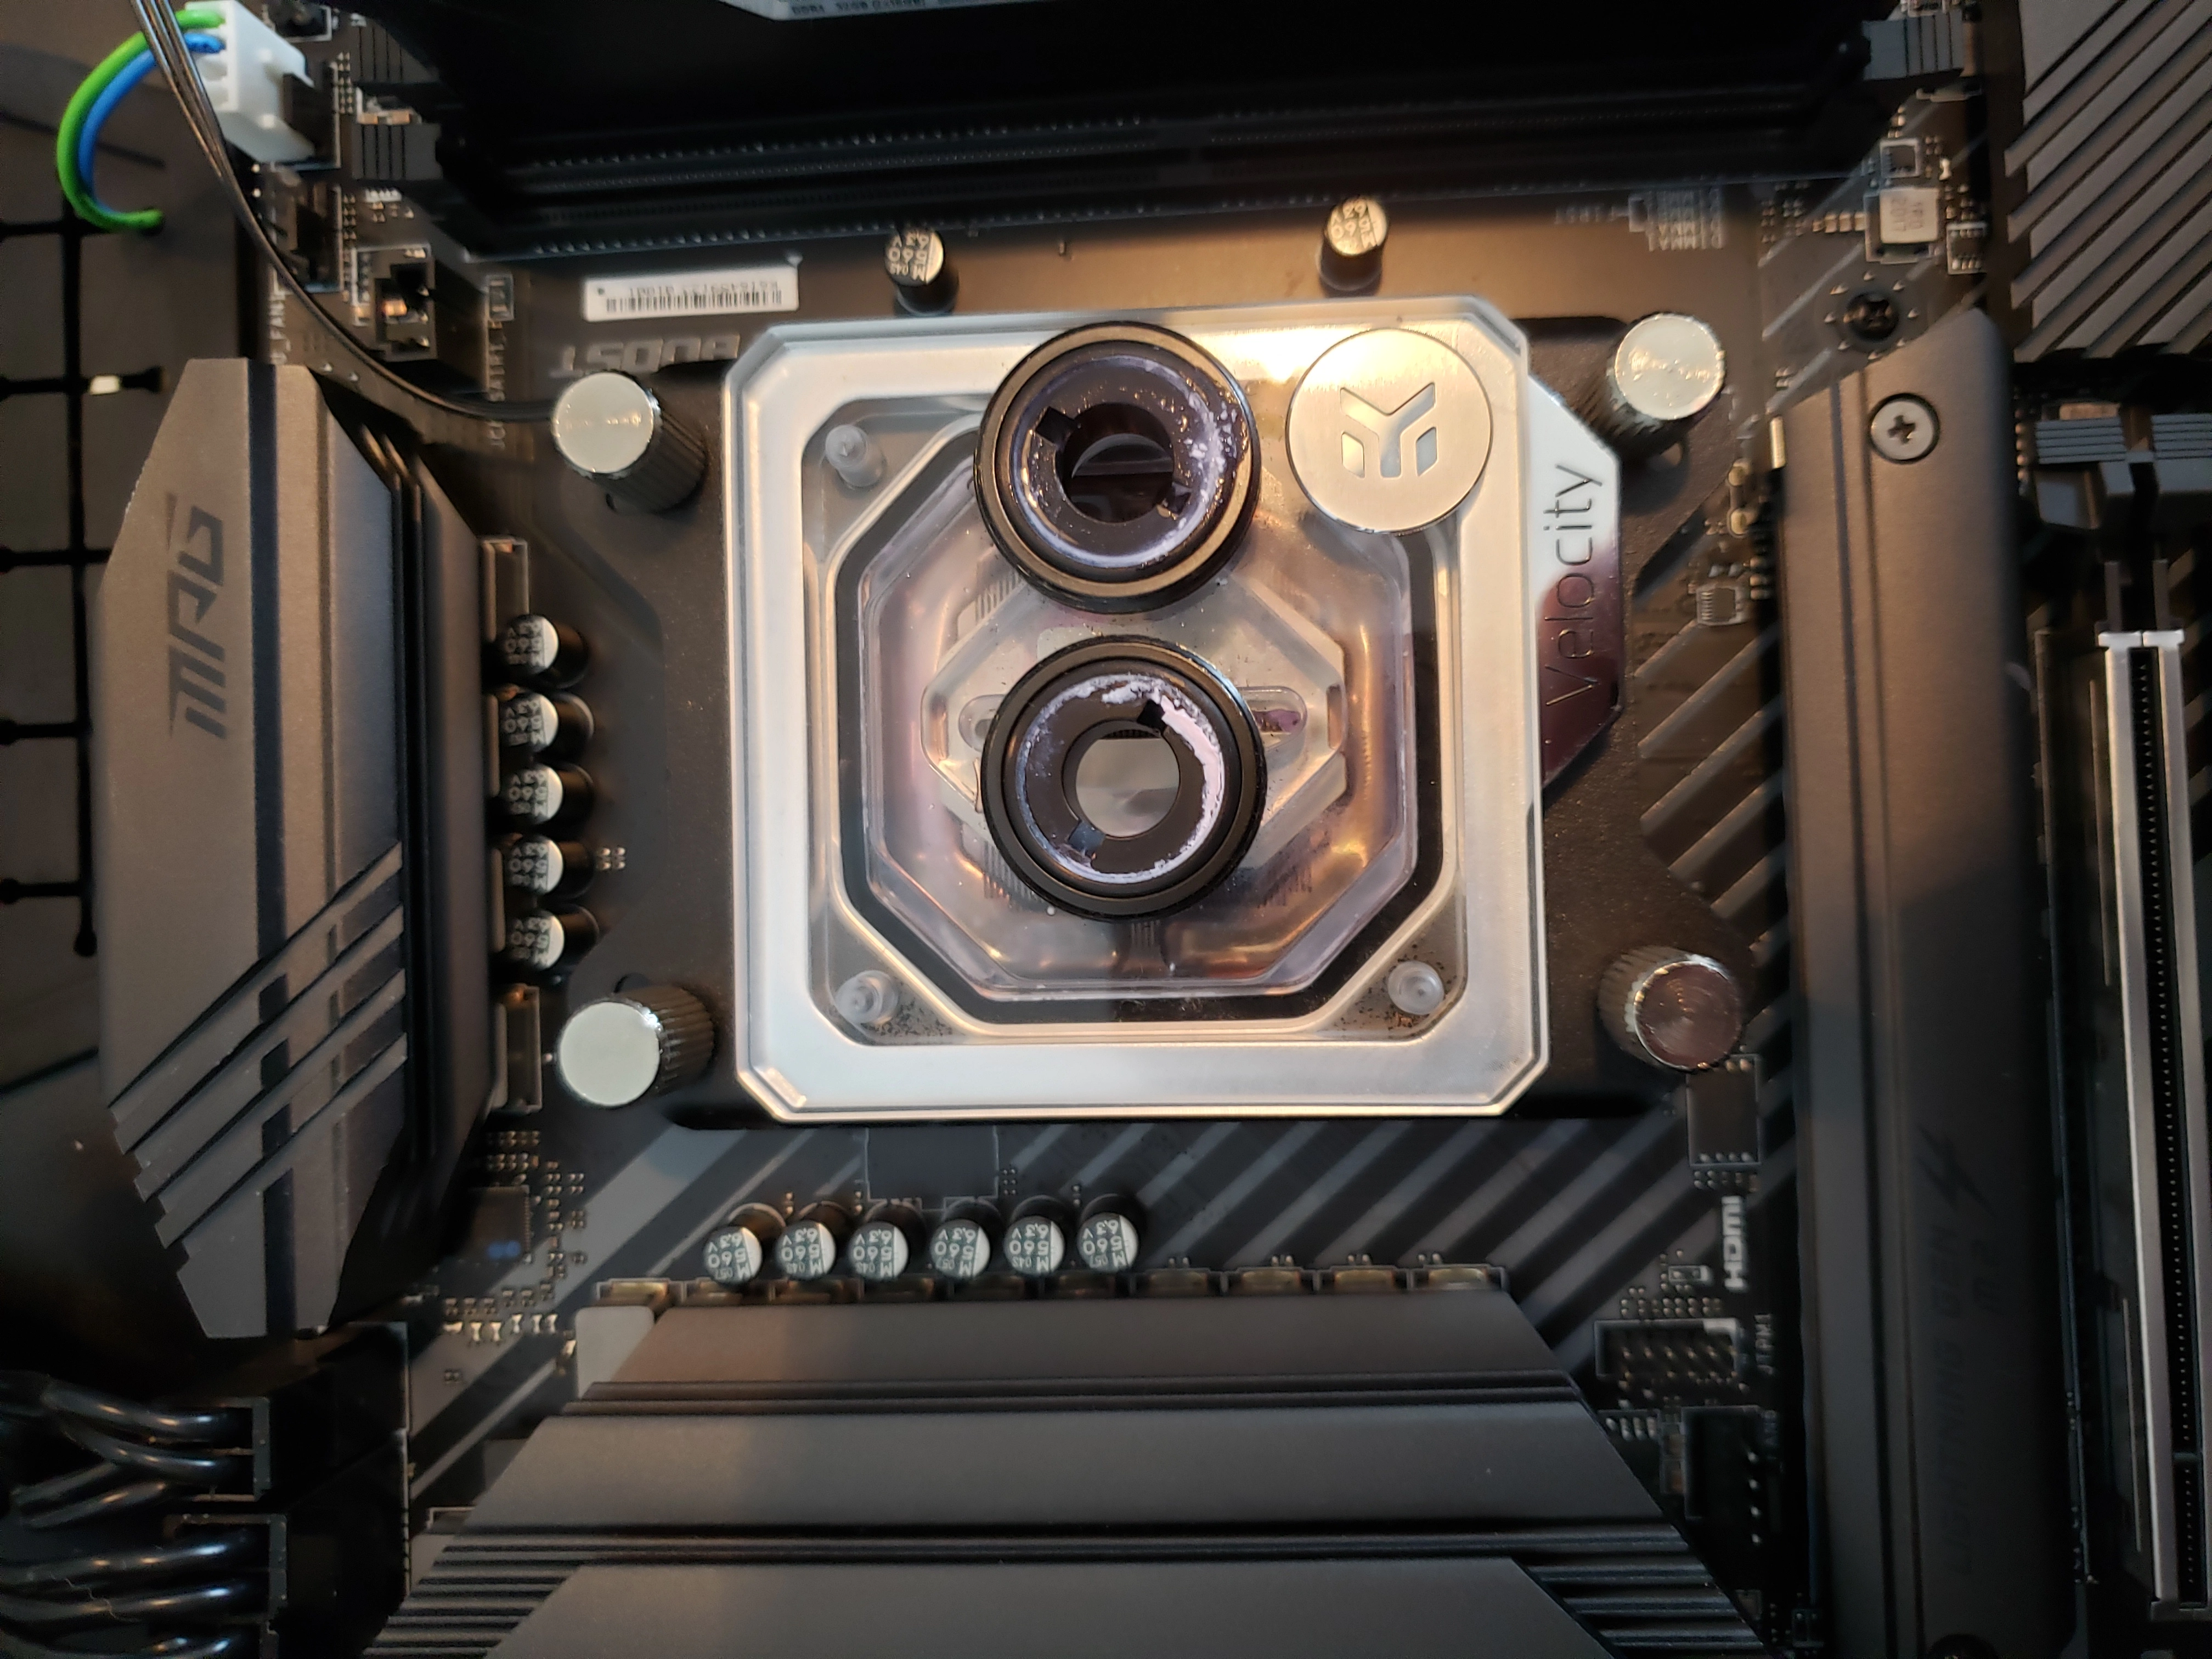
Cleaning the CPU Block
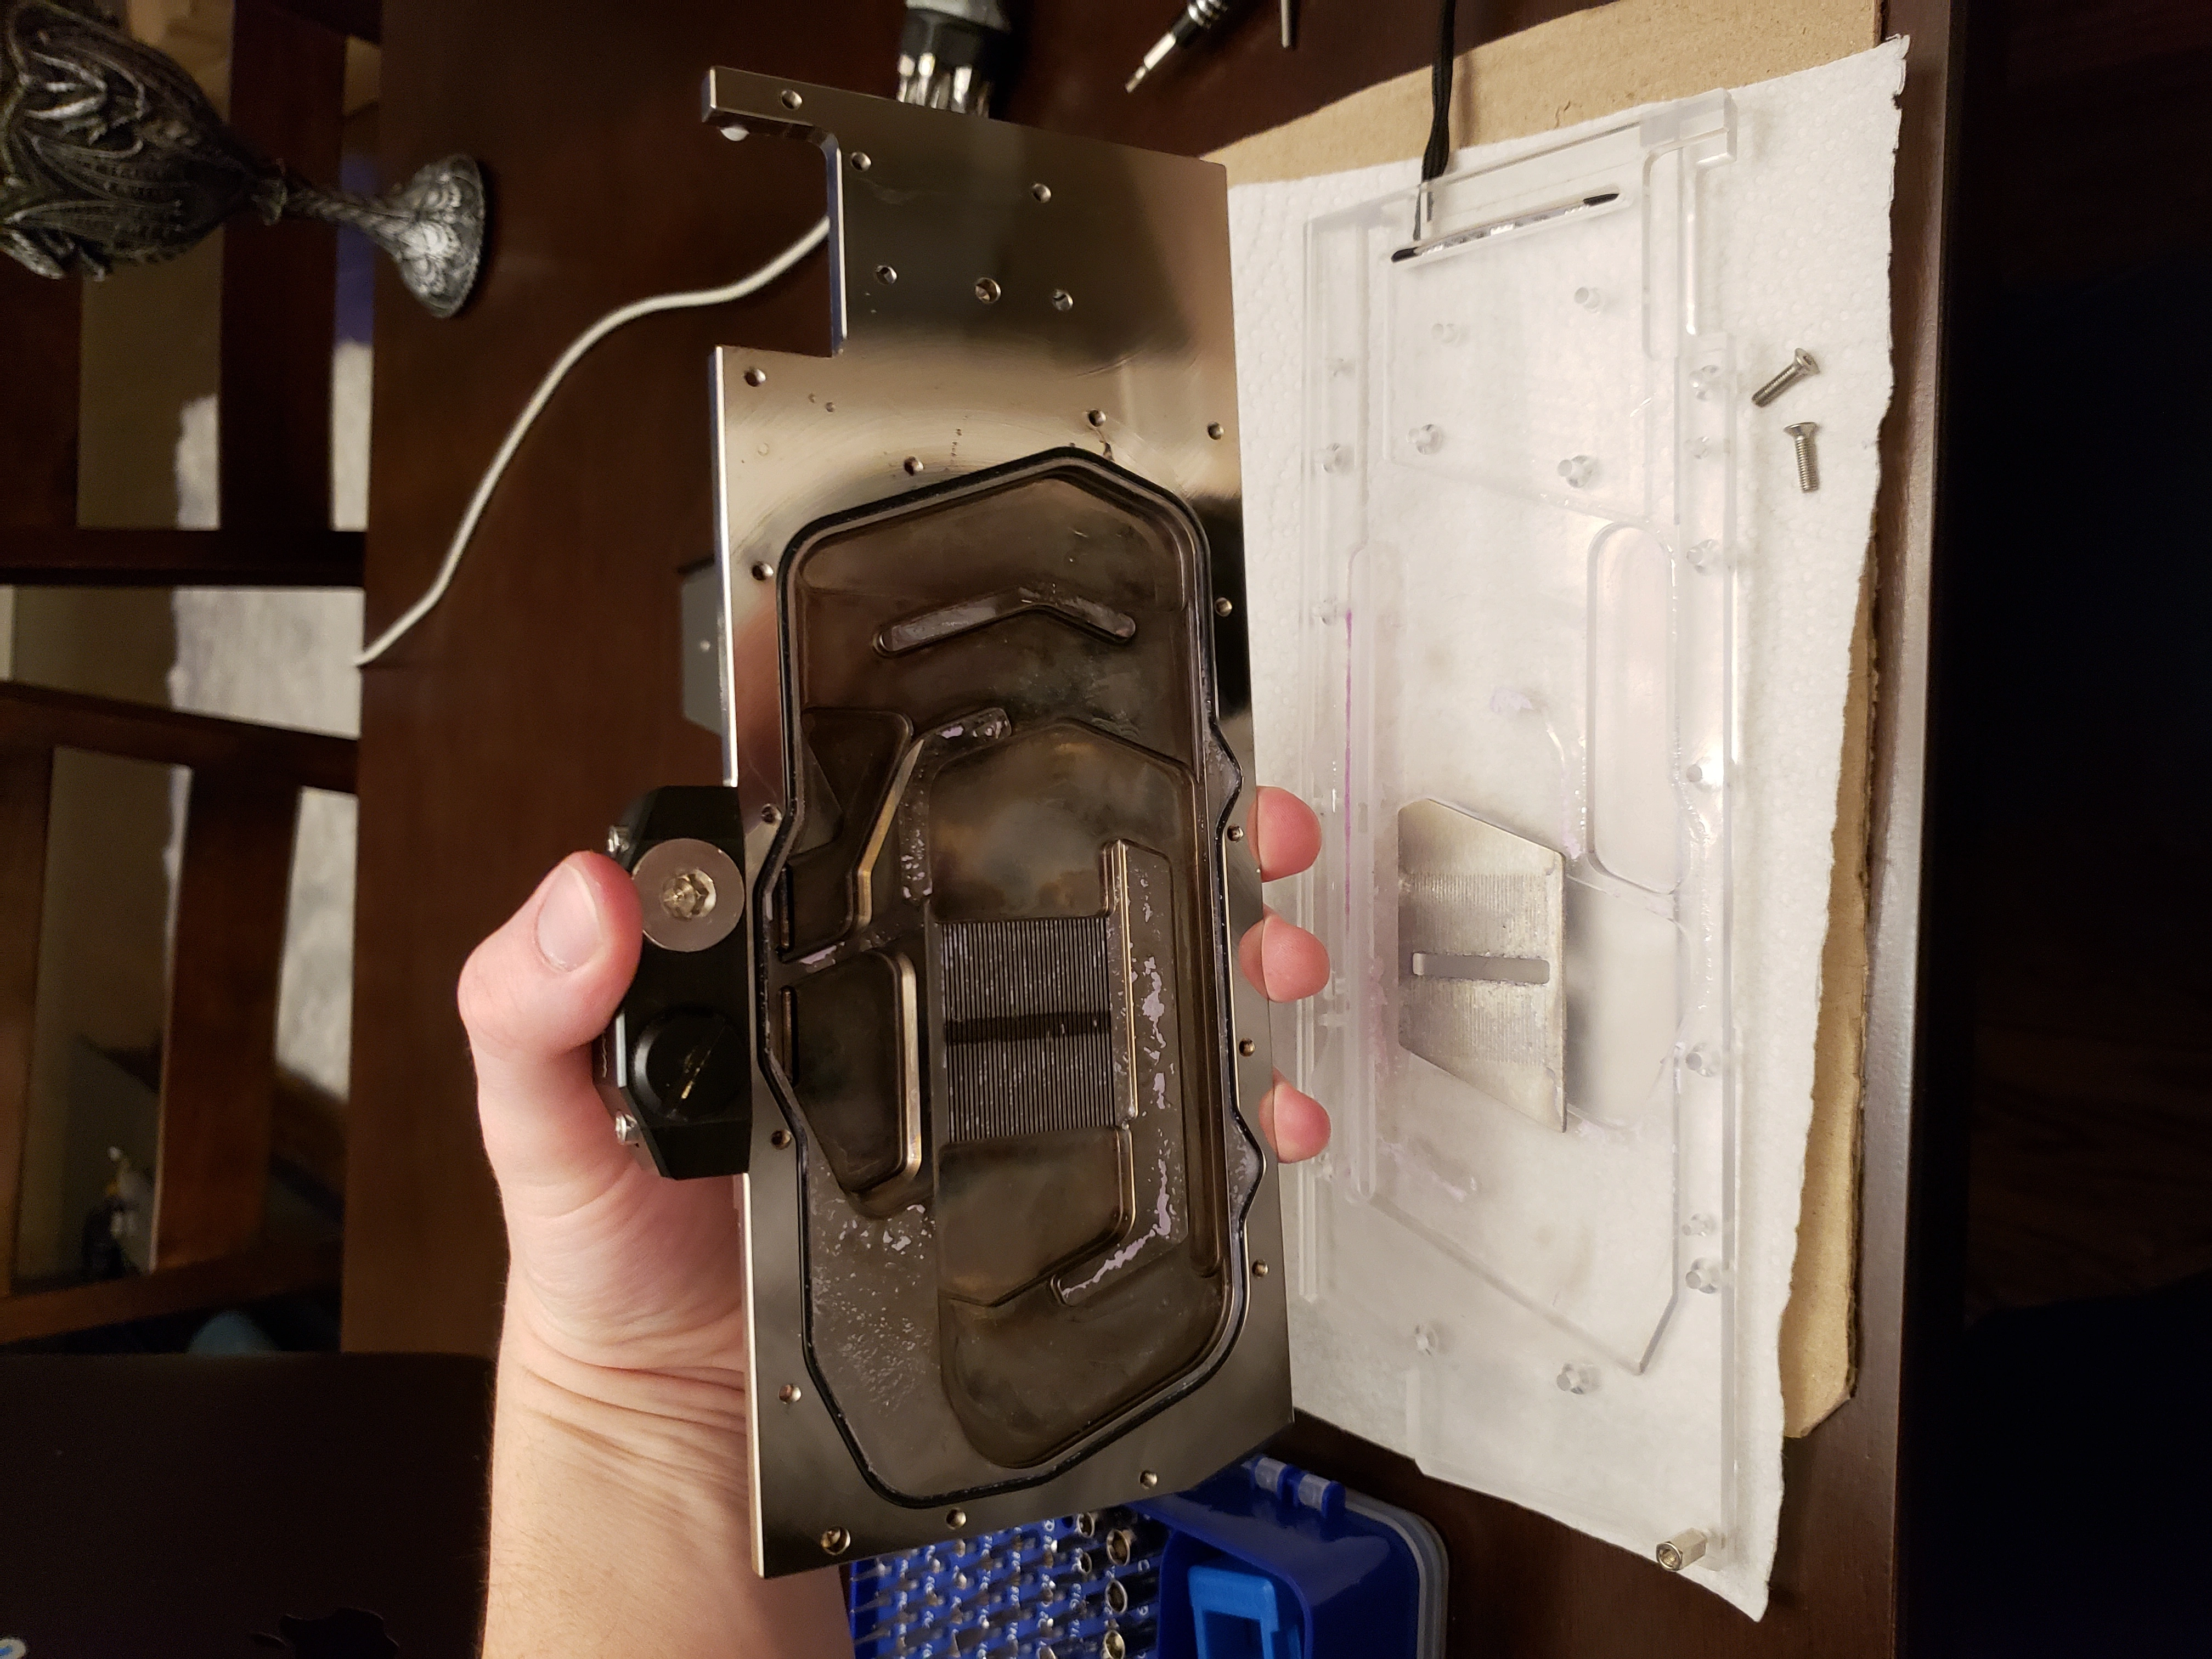
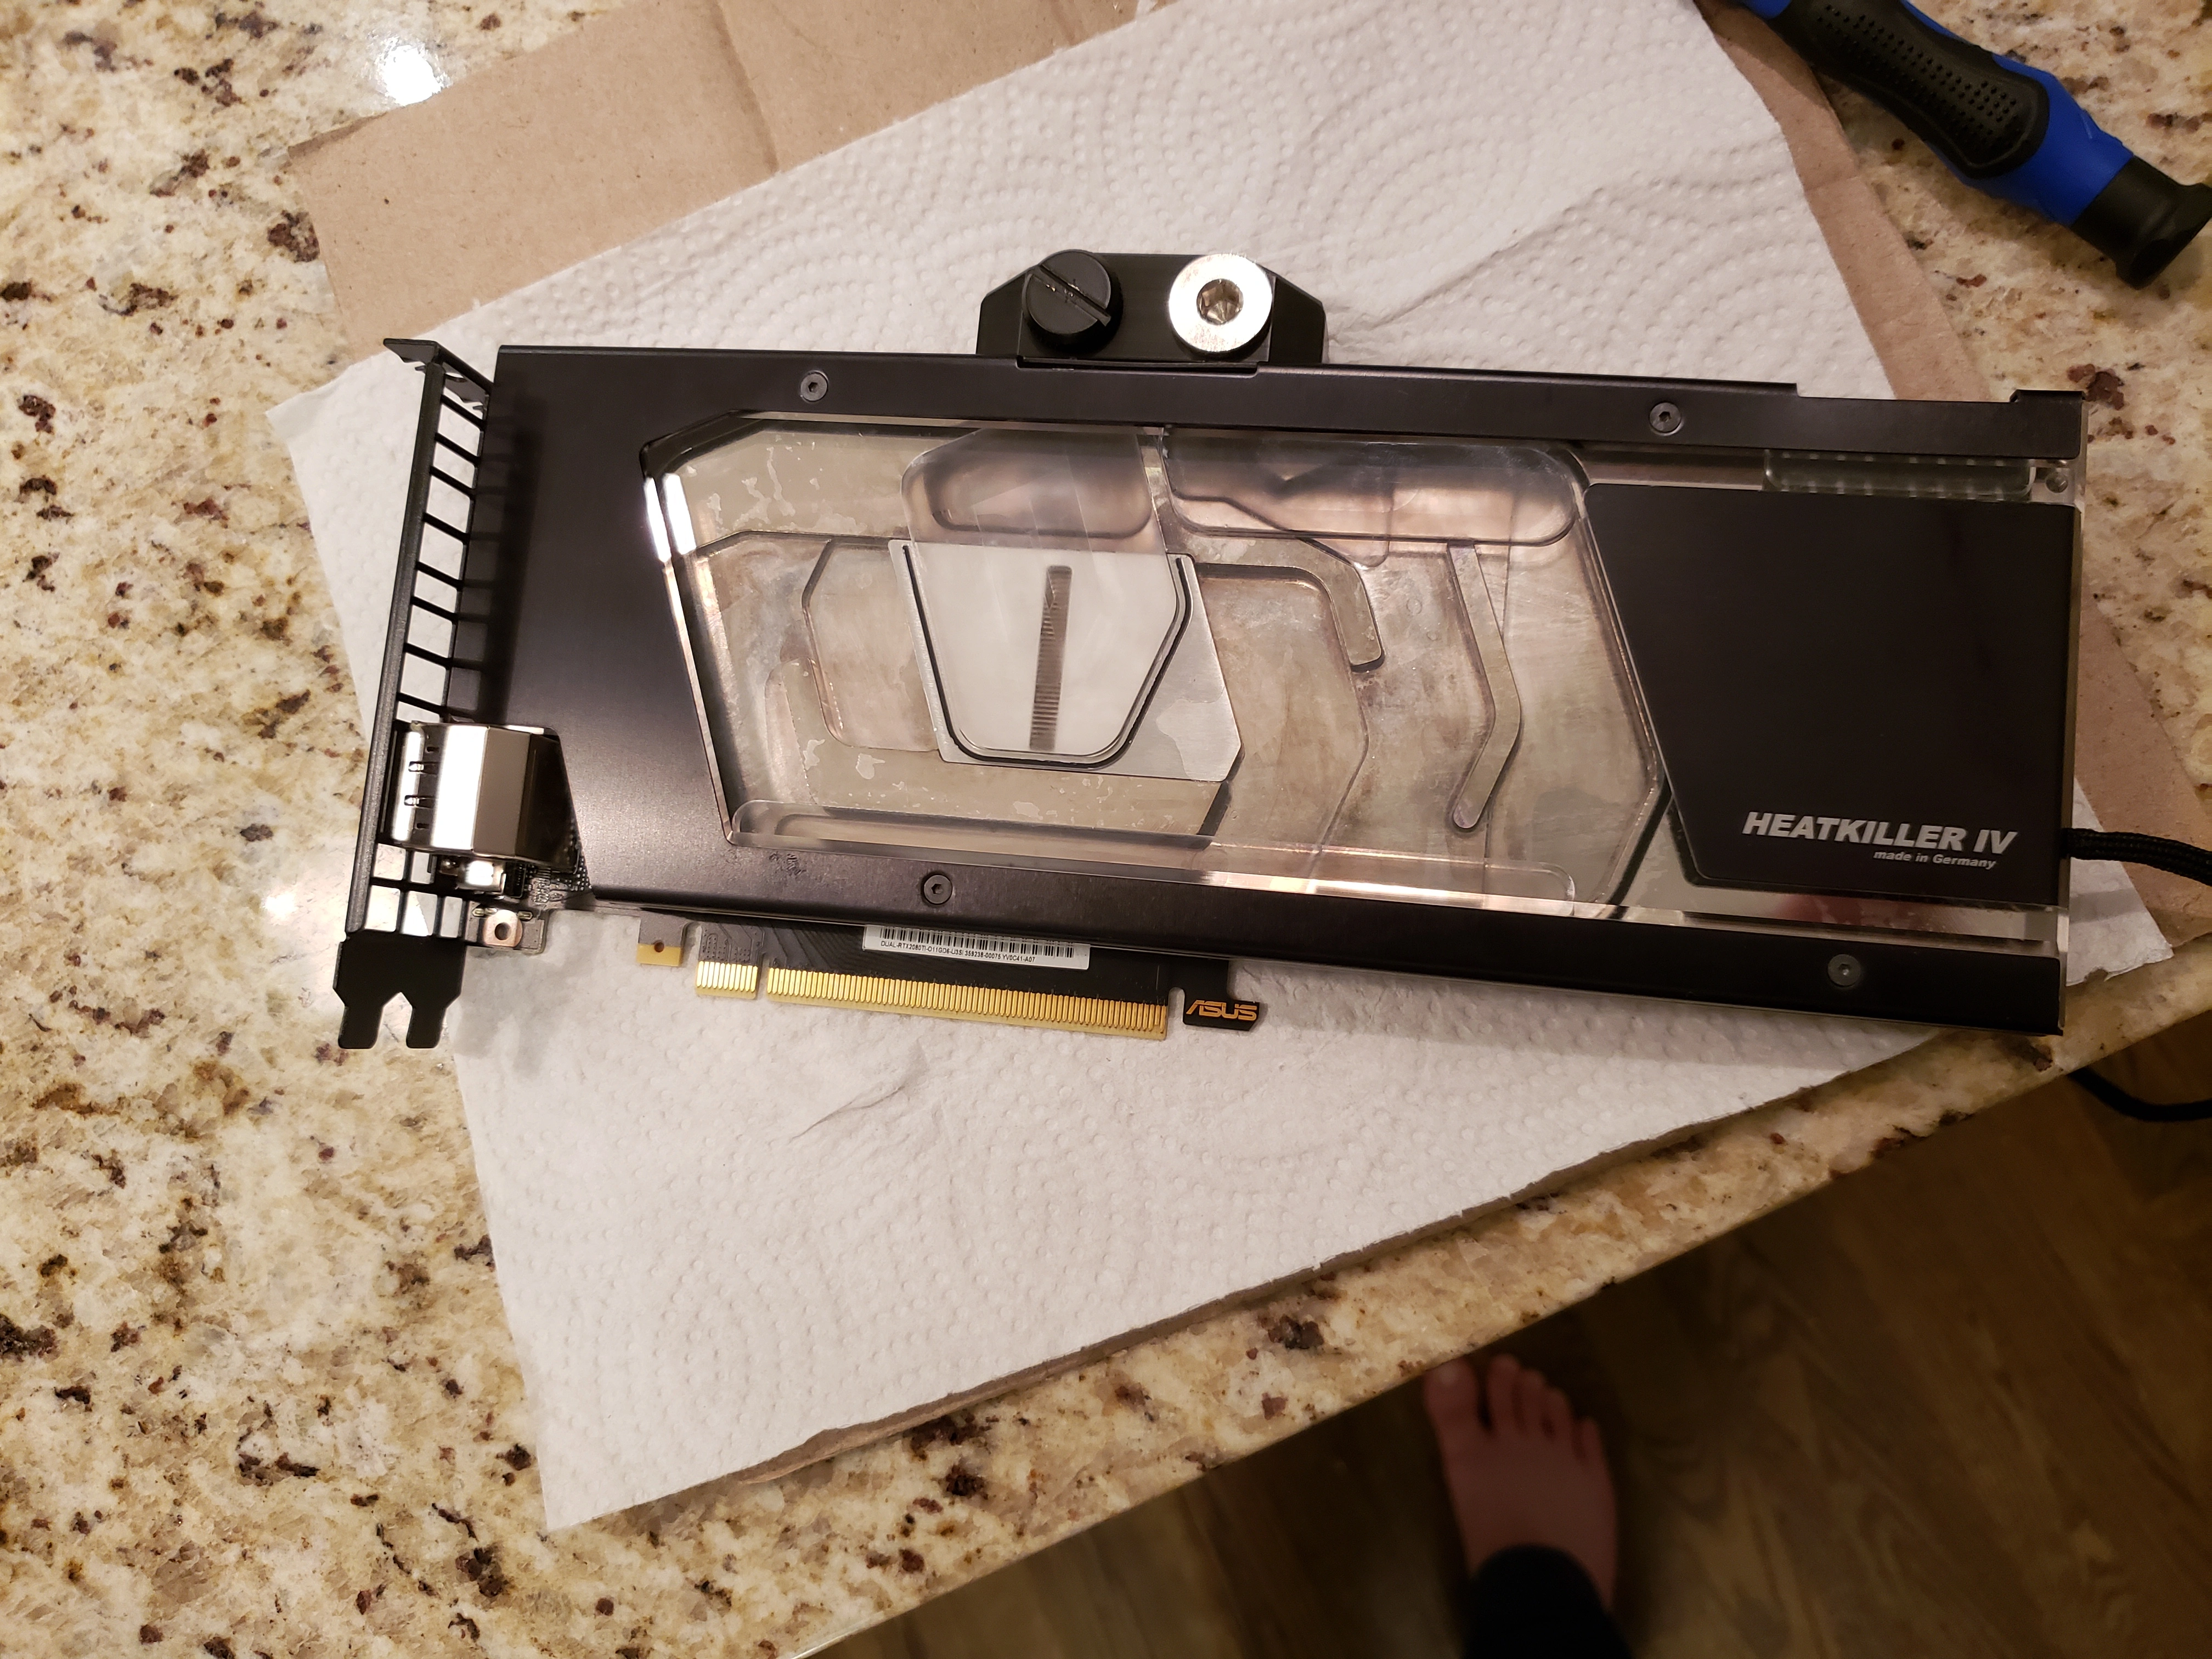
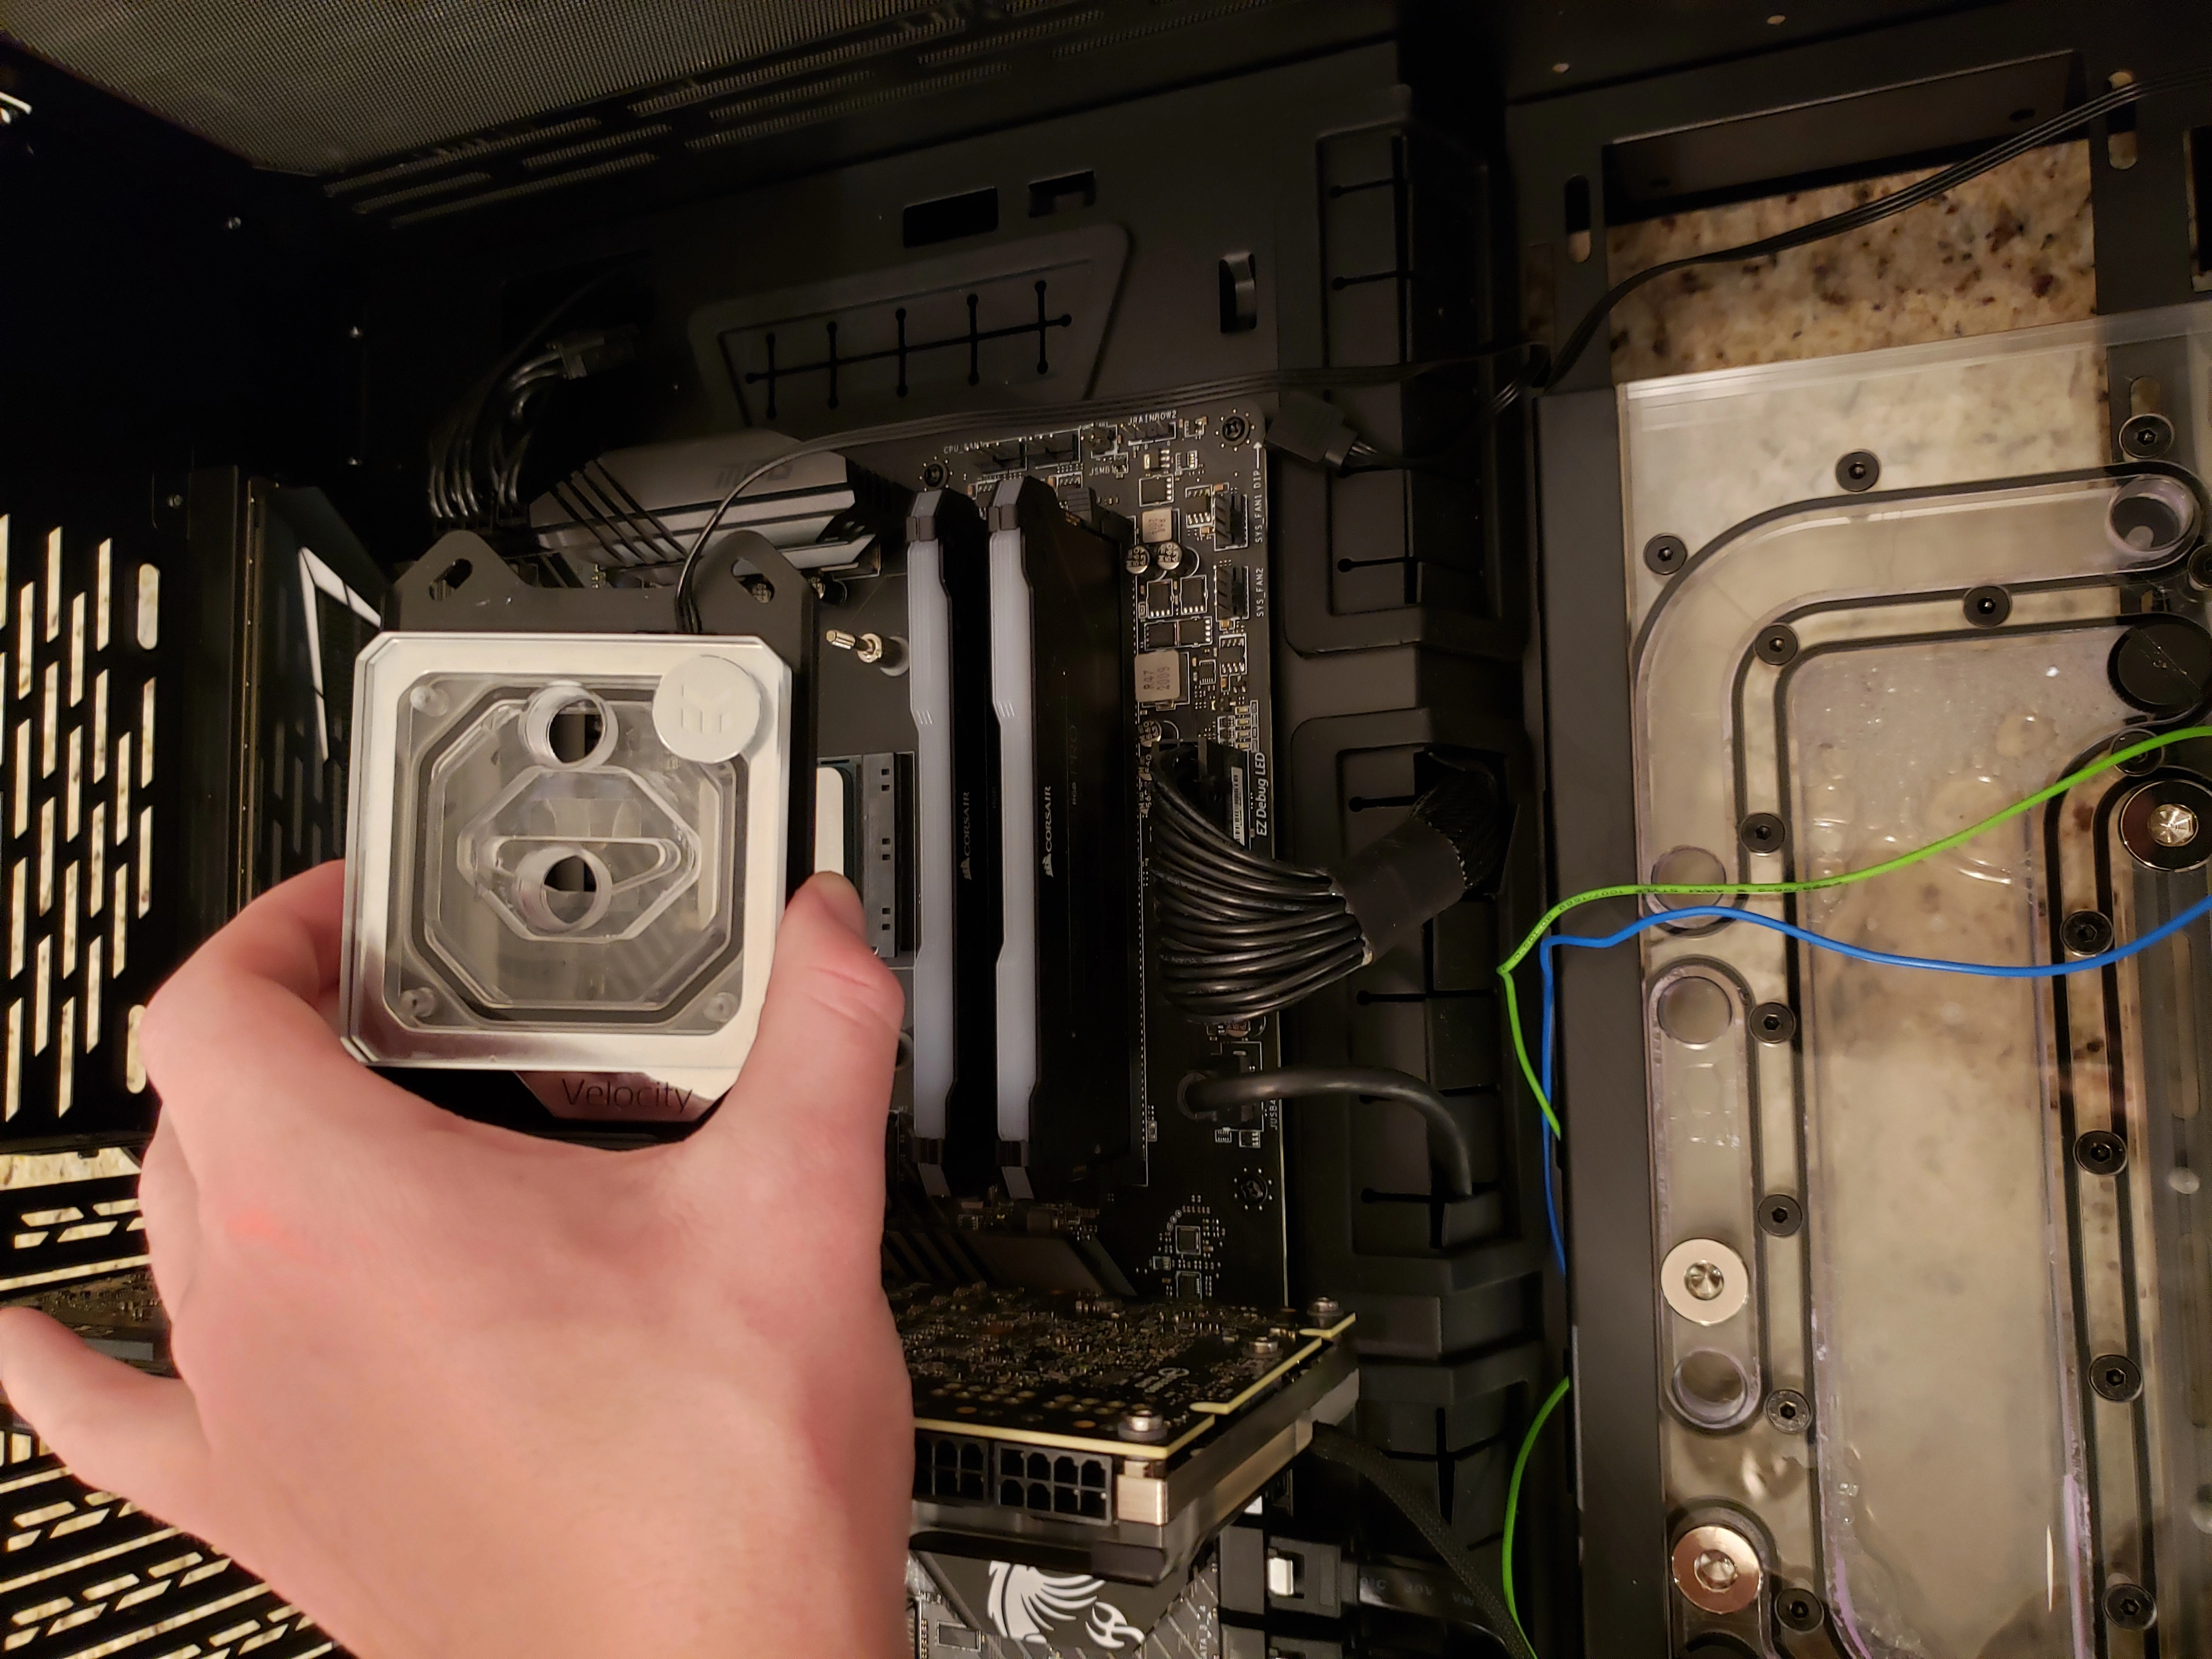
The GPU block is a bit of a double-win, it needed to be cleaned and I also didn't realize until much later on that I could actually rotate the ports and choose a better orientation for the inlet outlets! First of course, I had to tear it apart:
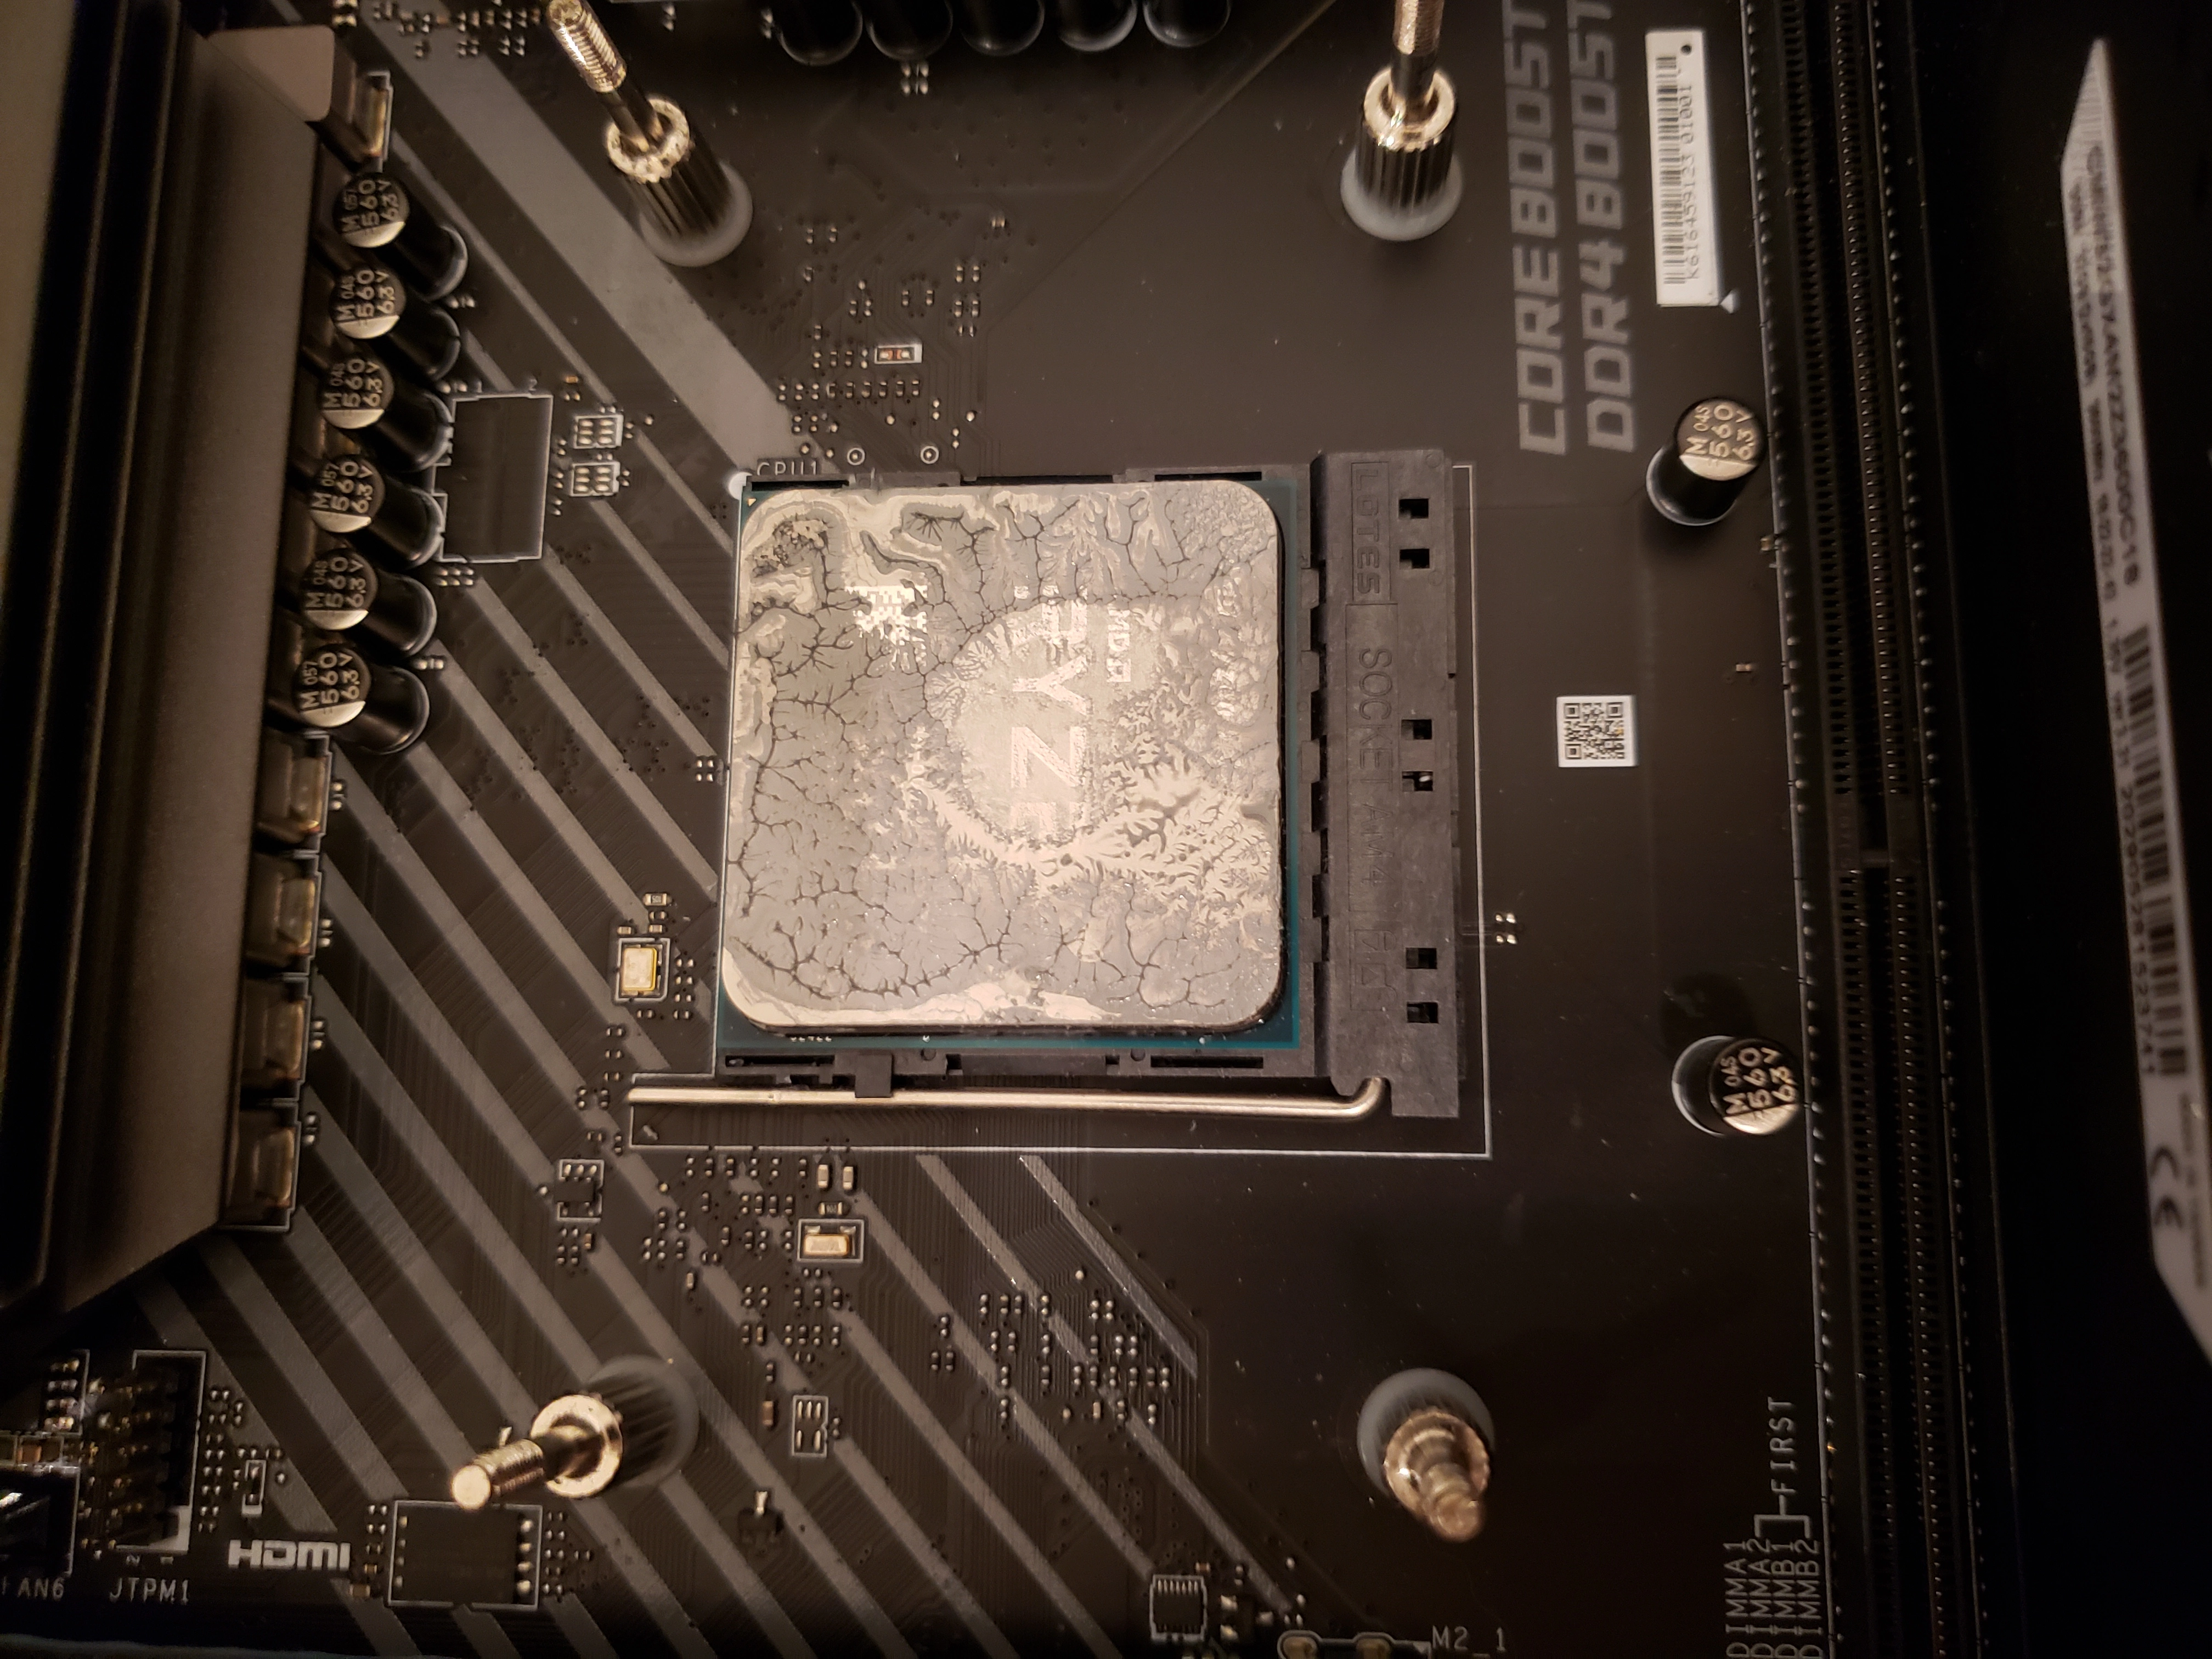
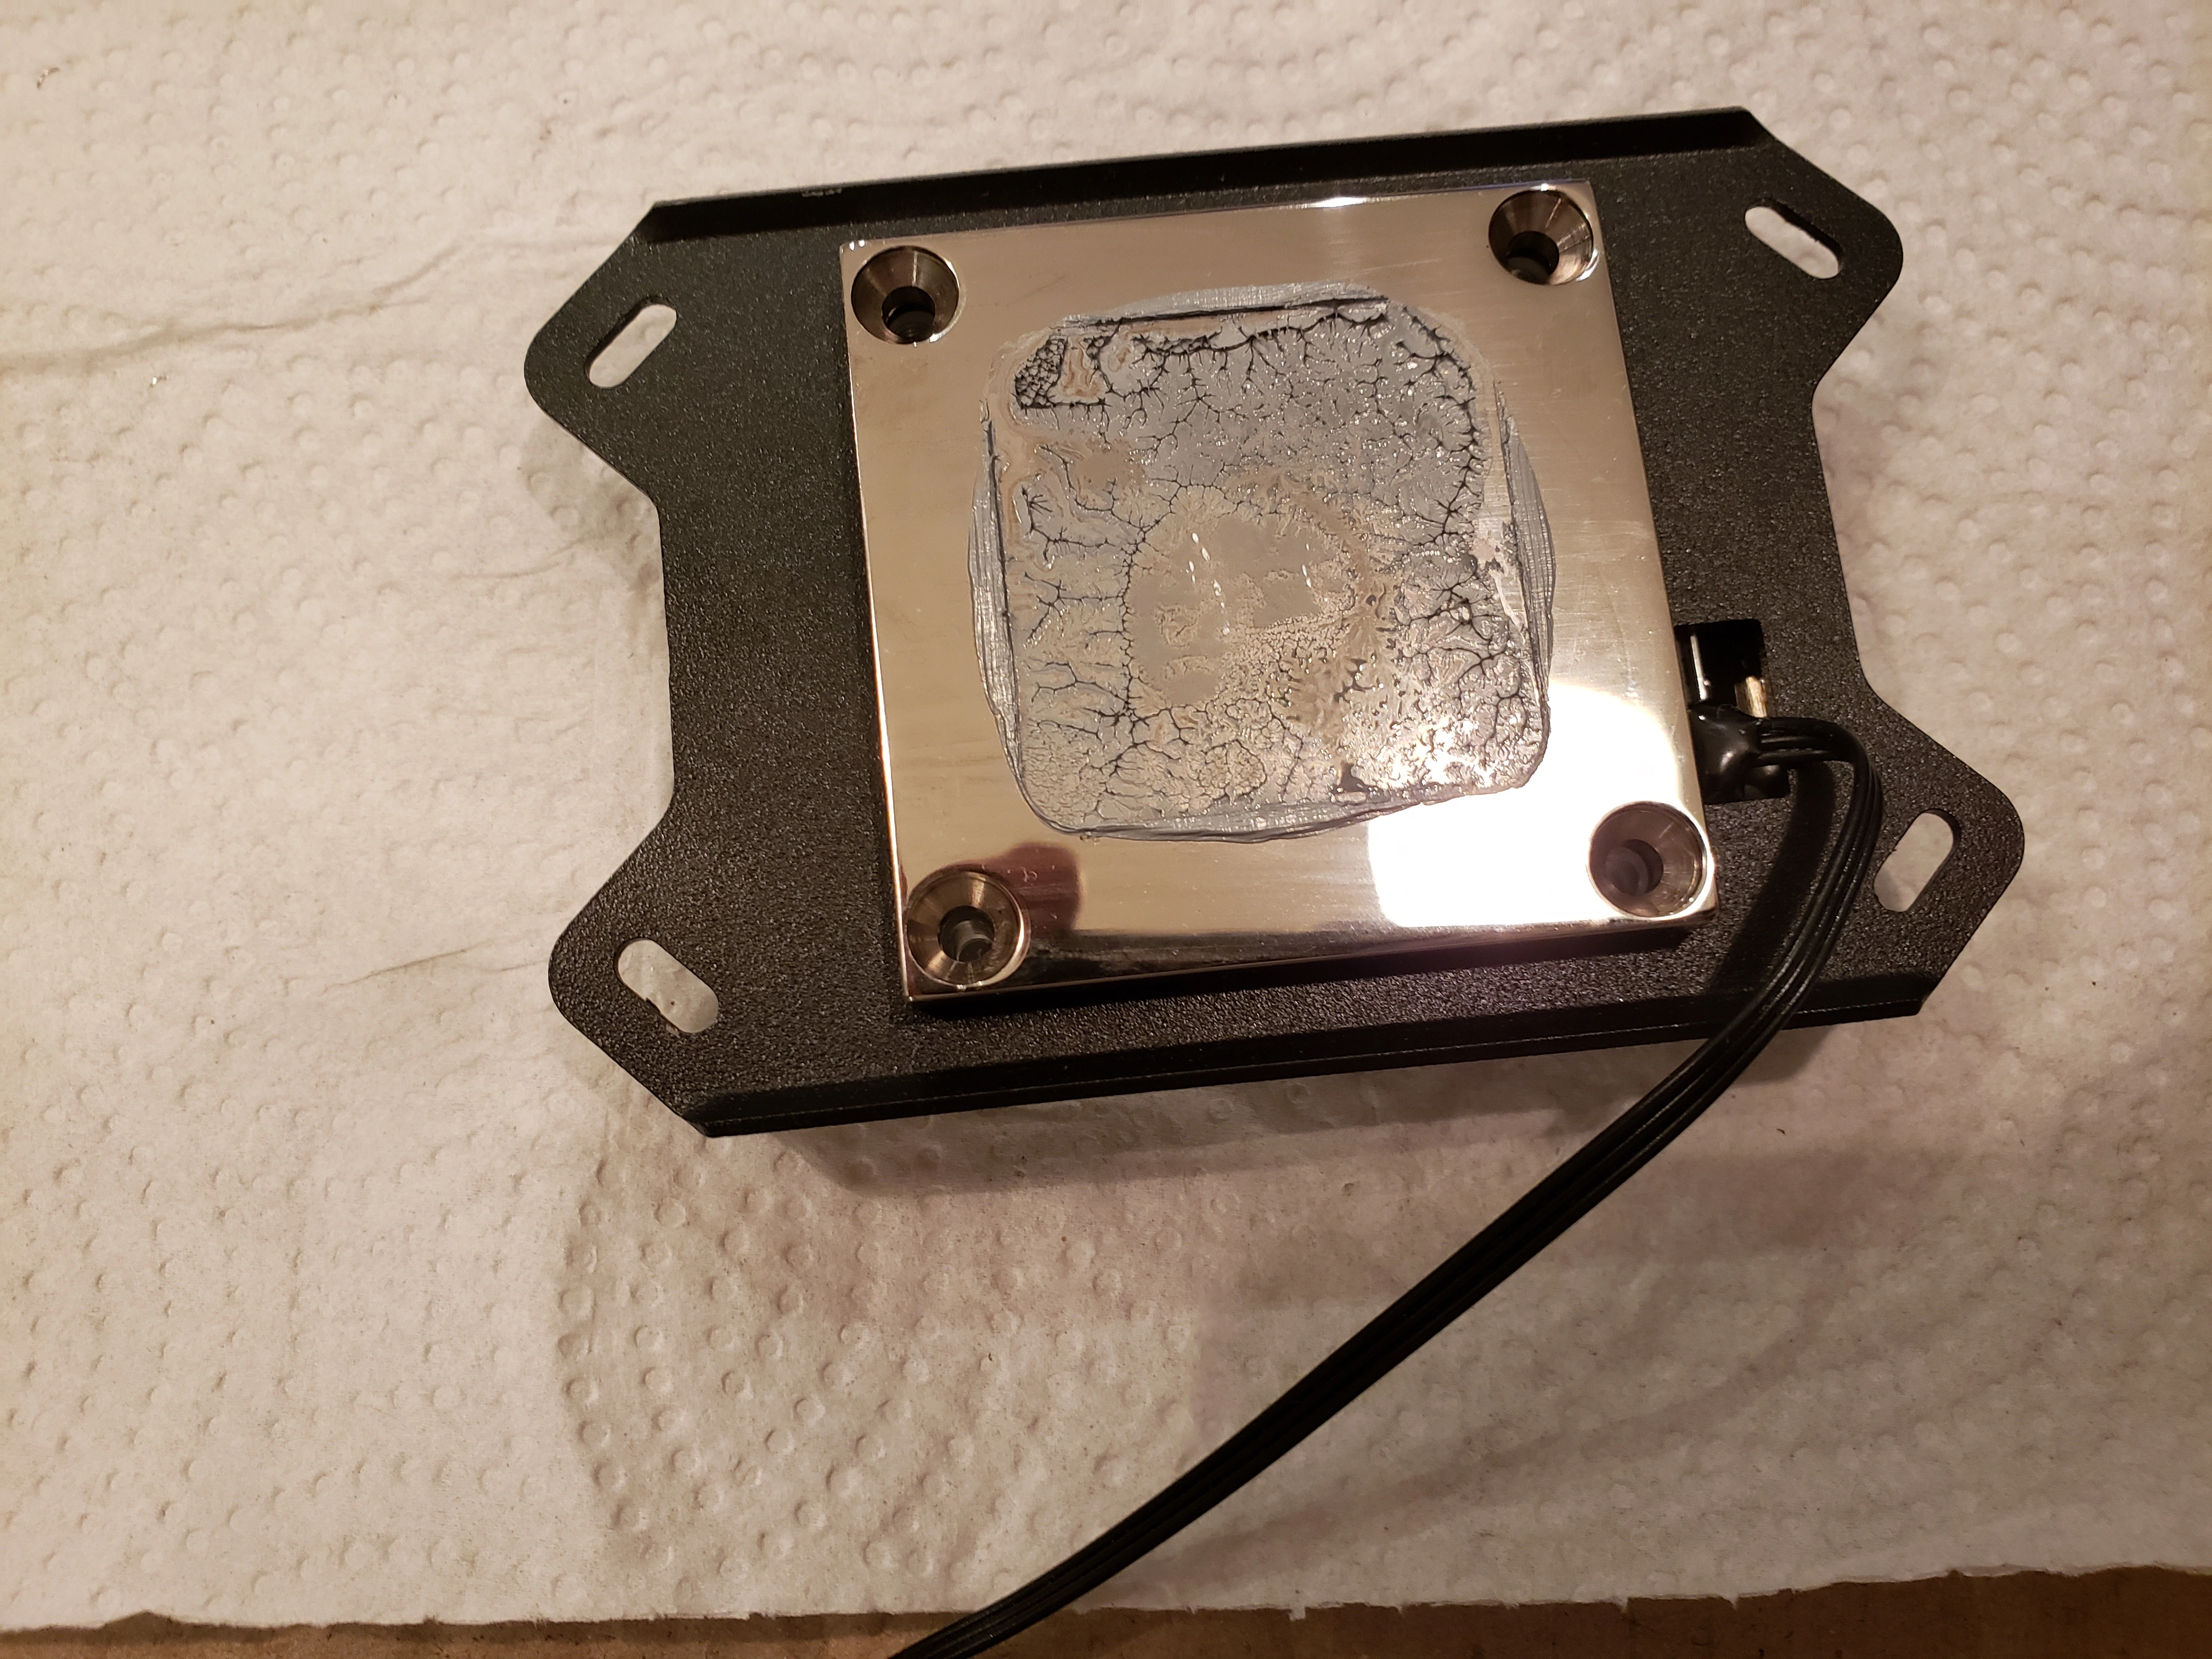 This was the easiest part of them all to disassemble, it was very intuitive.
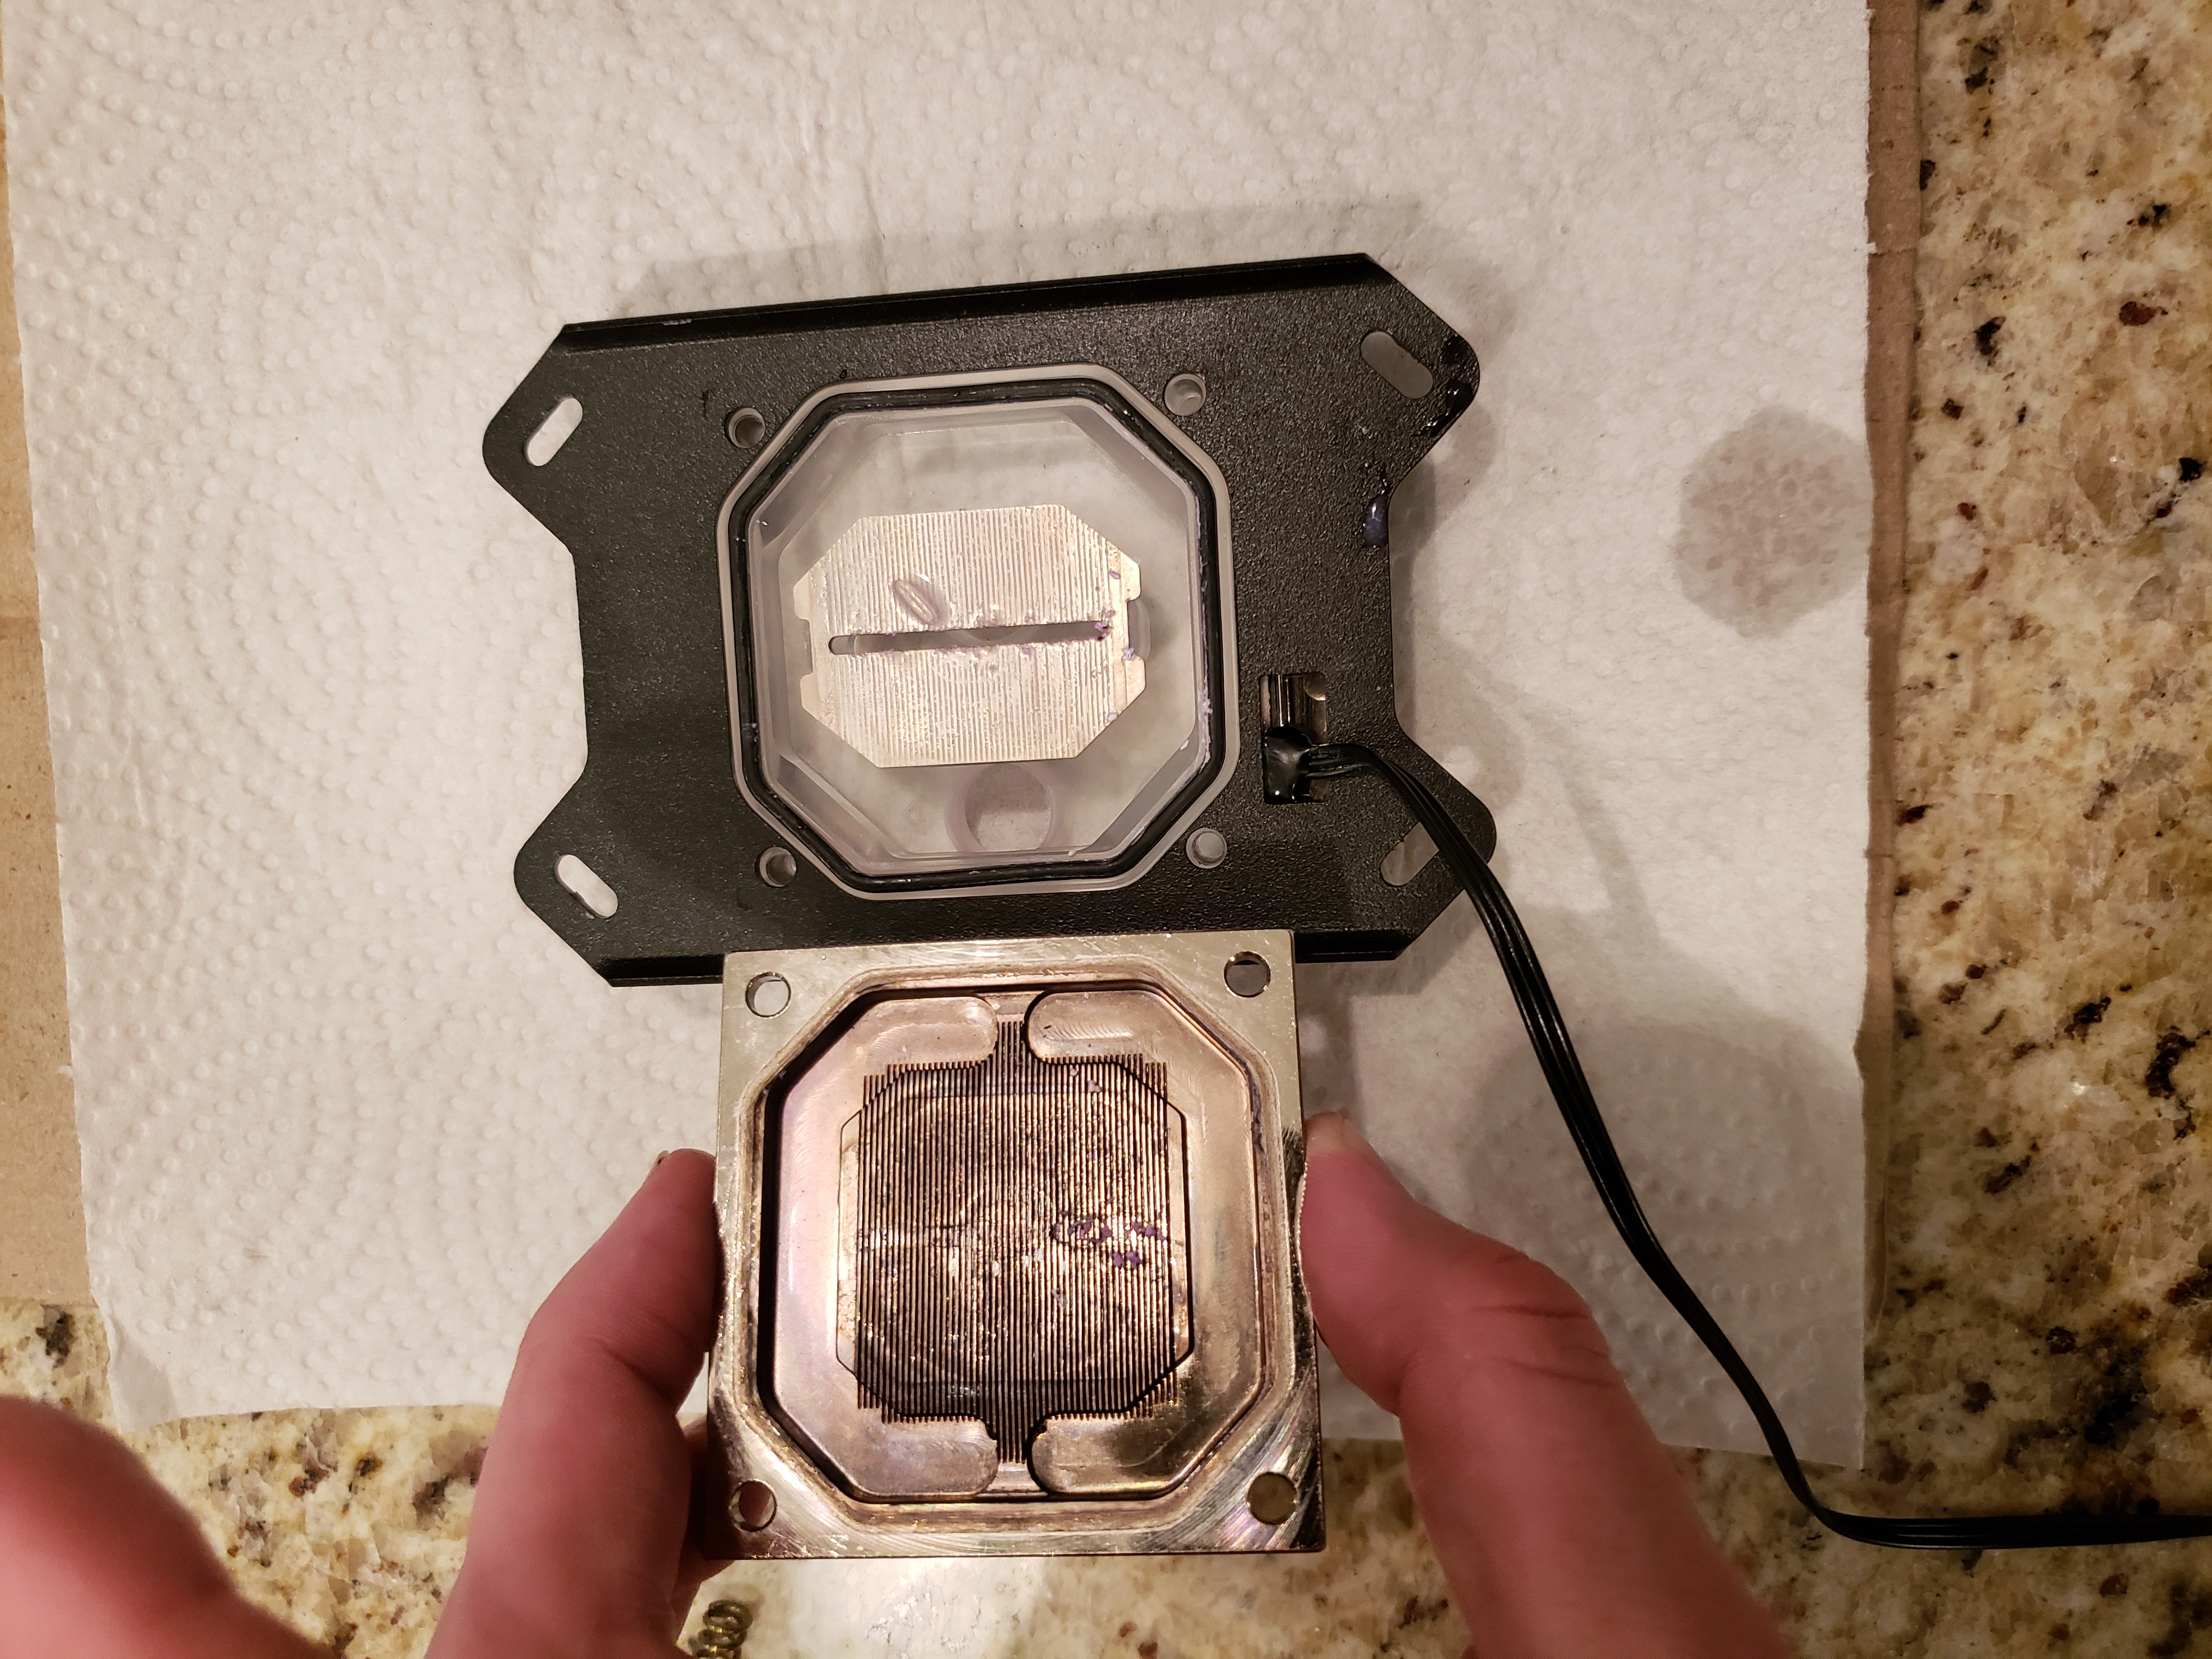
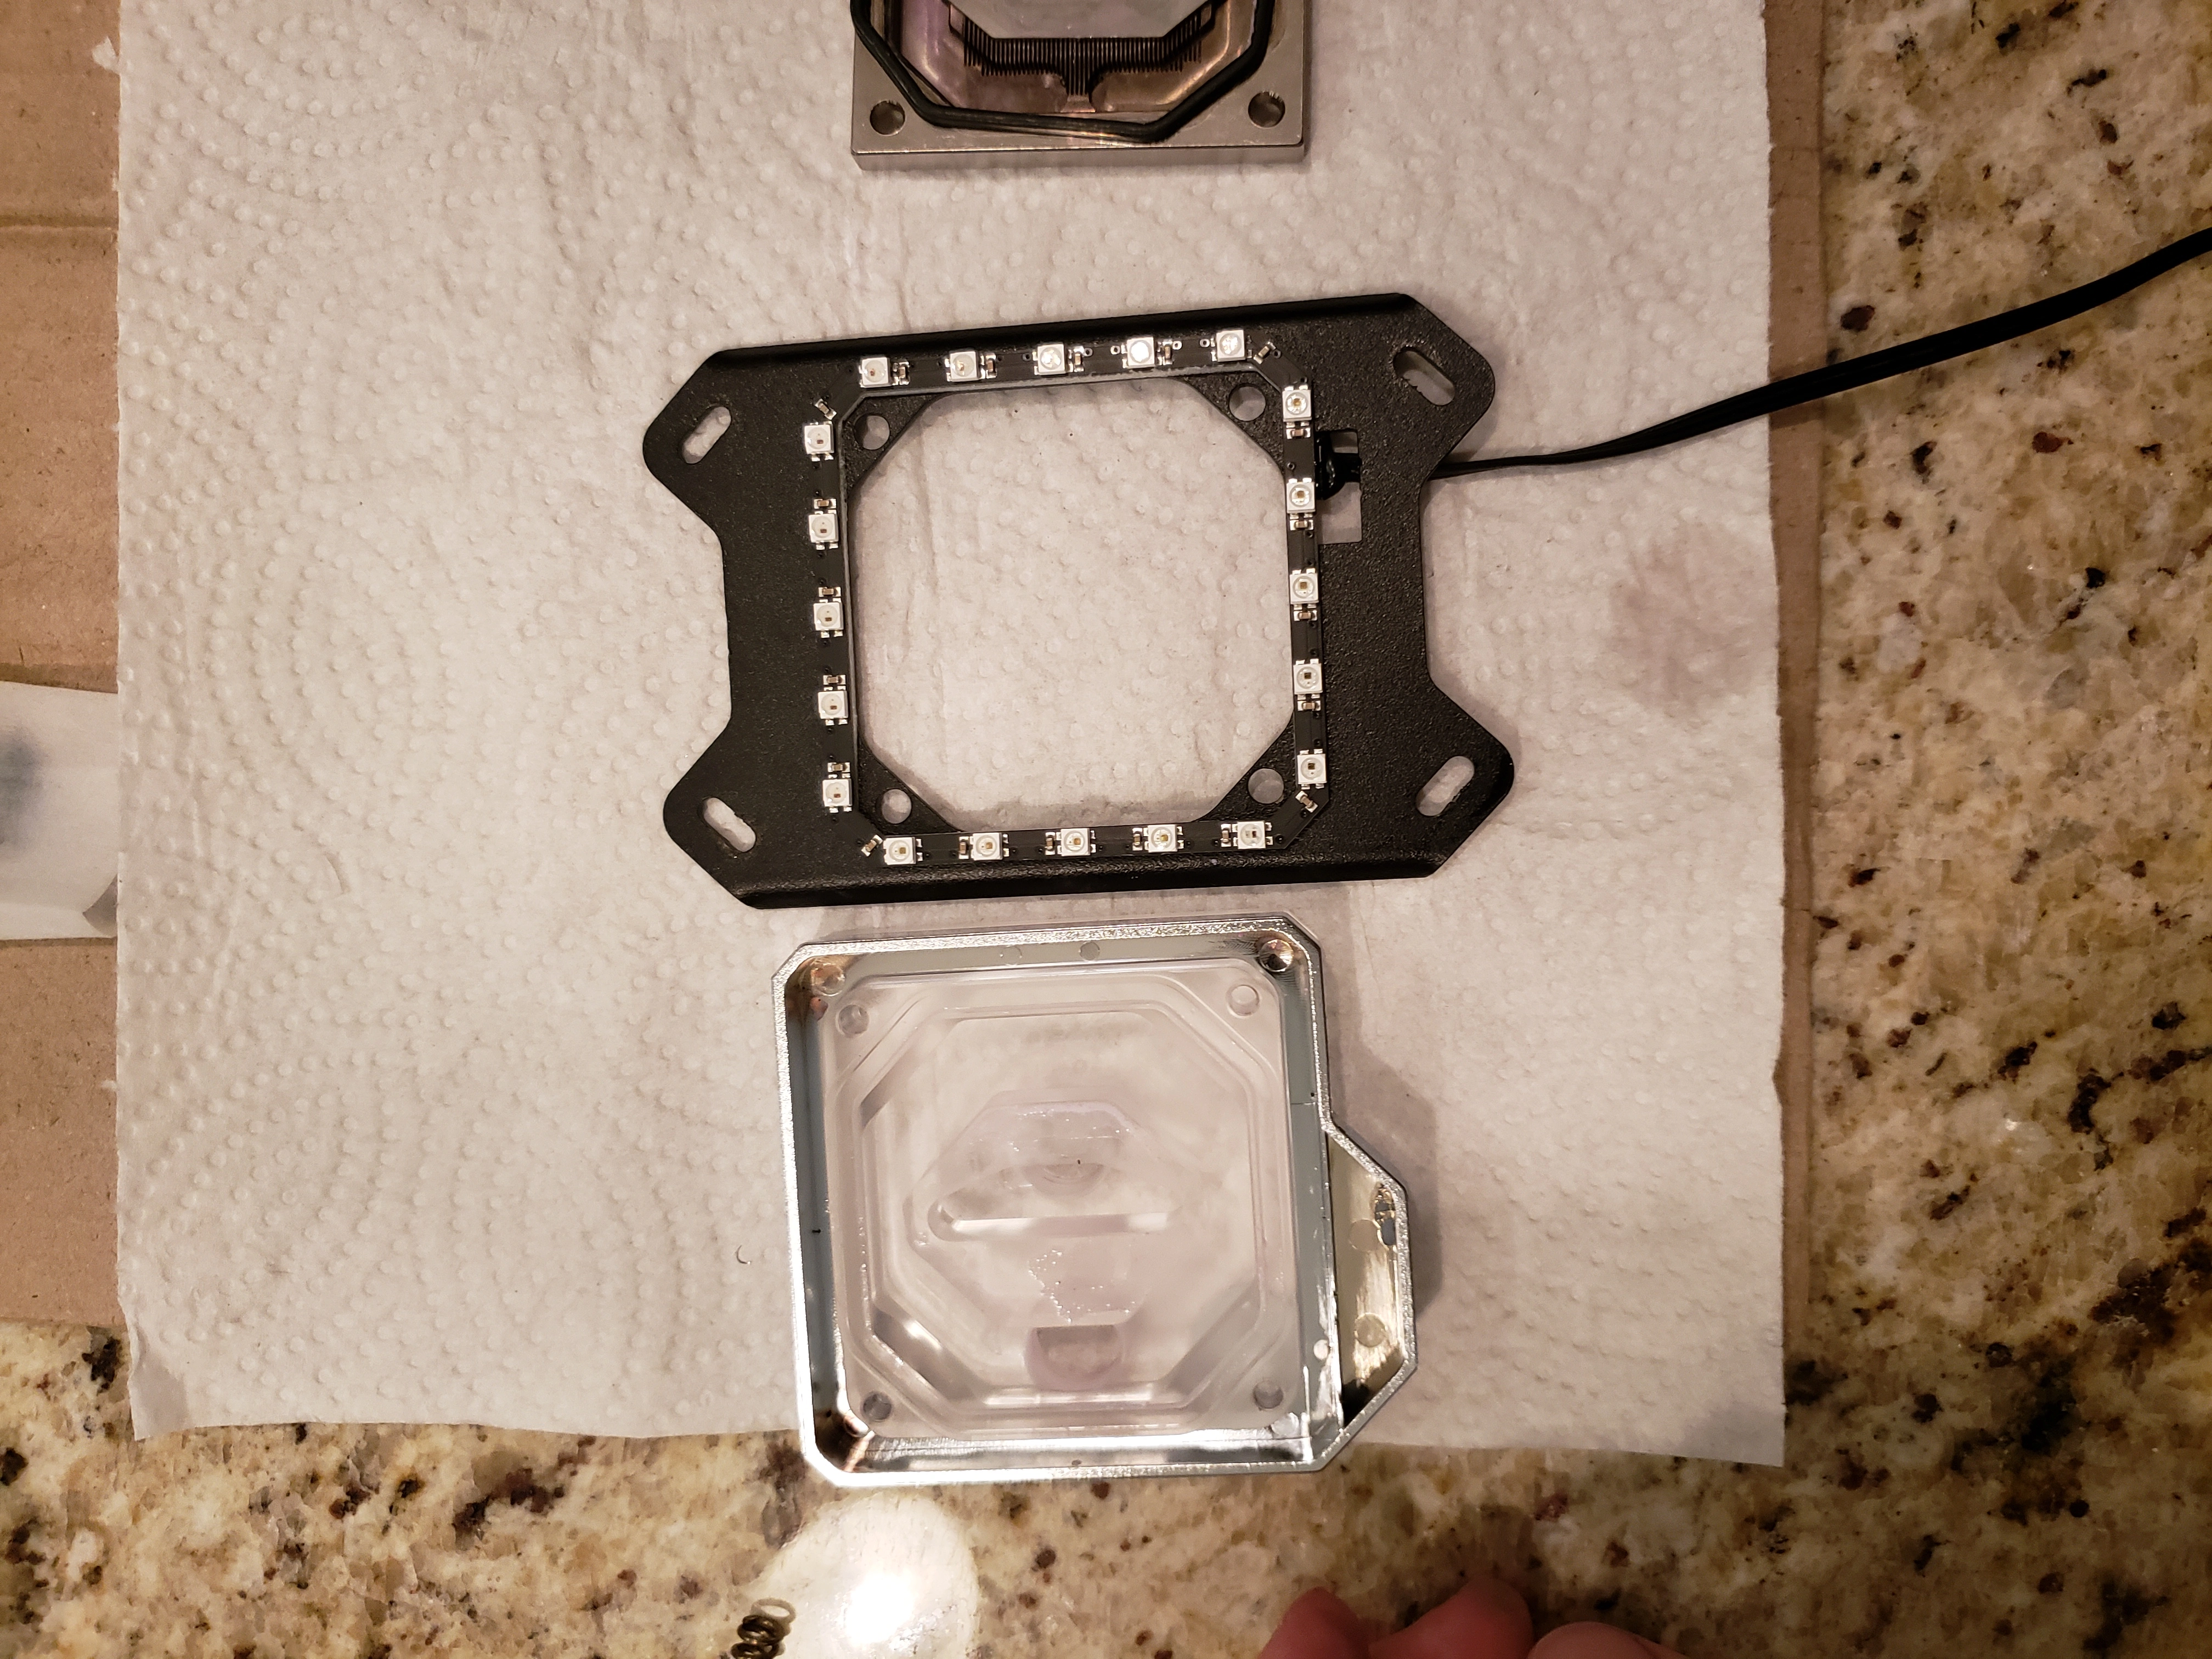 Then I just scrubbed everything with soapy water and a tooth brush!
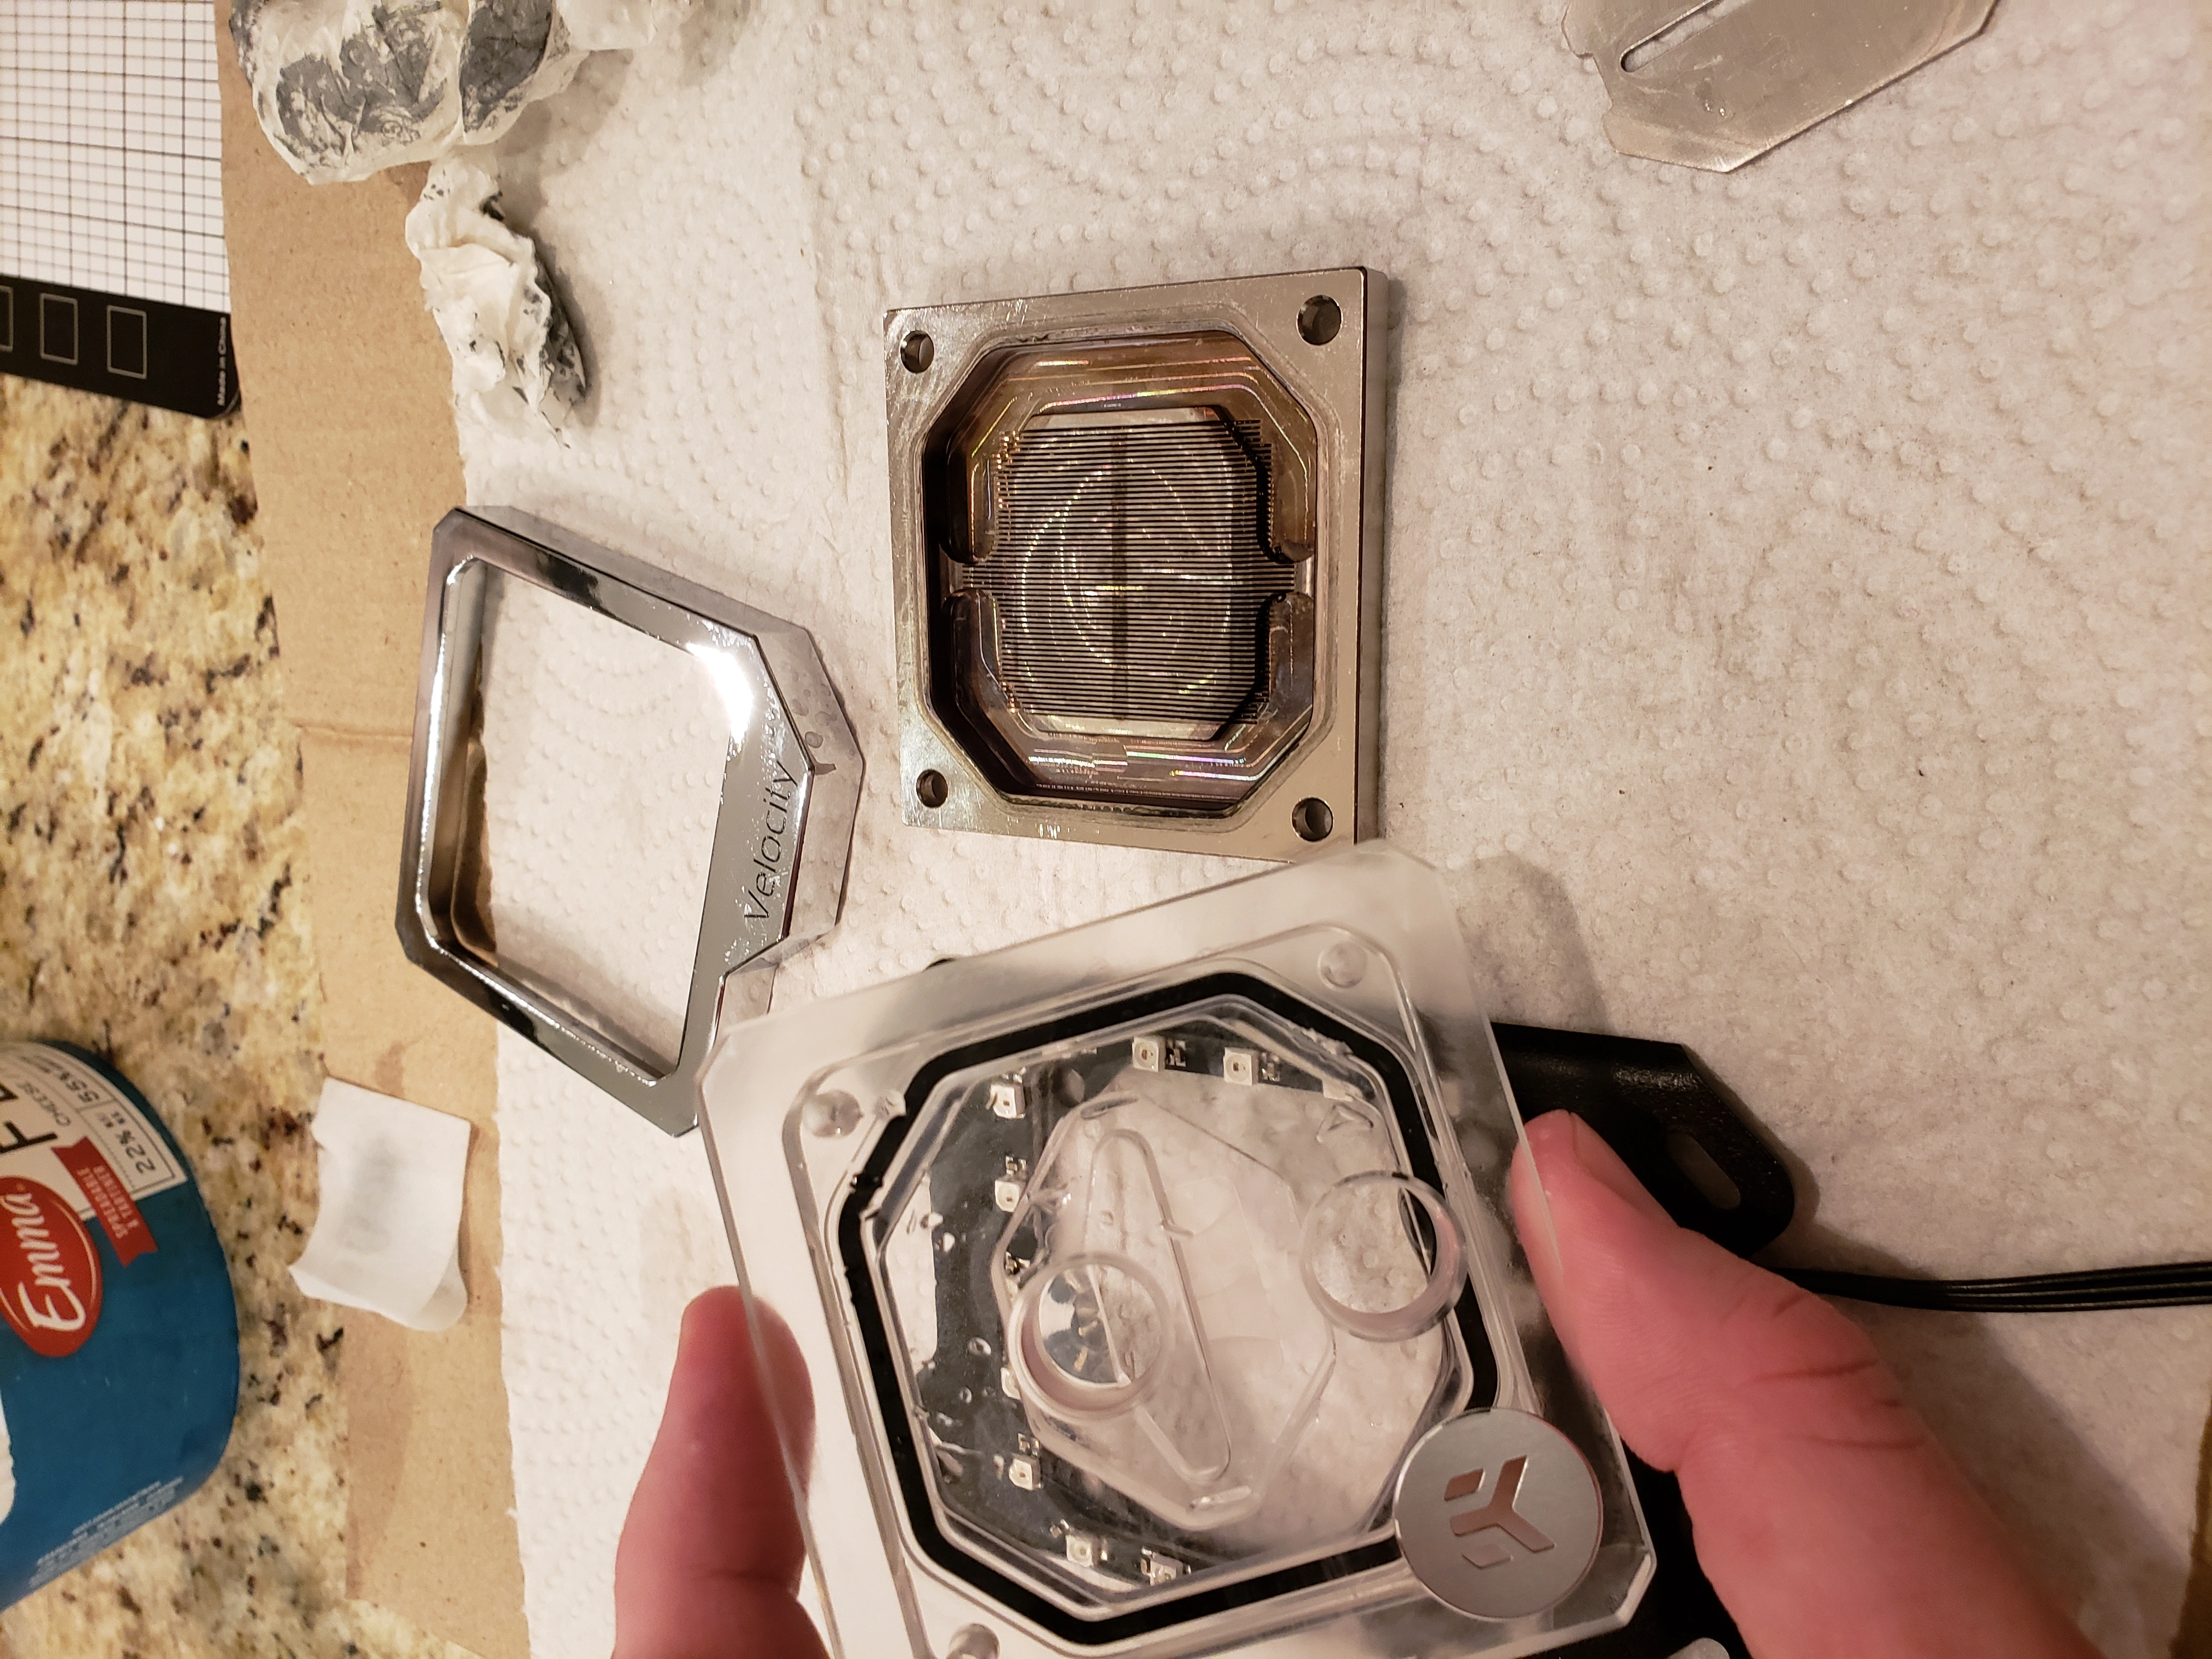 Then I had to figure out the orientation, which honestly did take me a little bit. I put it in the case so I could size it up with the distro plate (still filled with water).
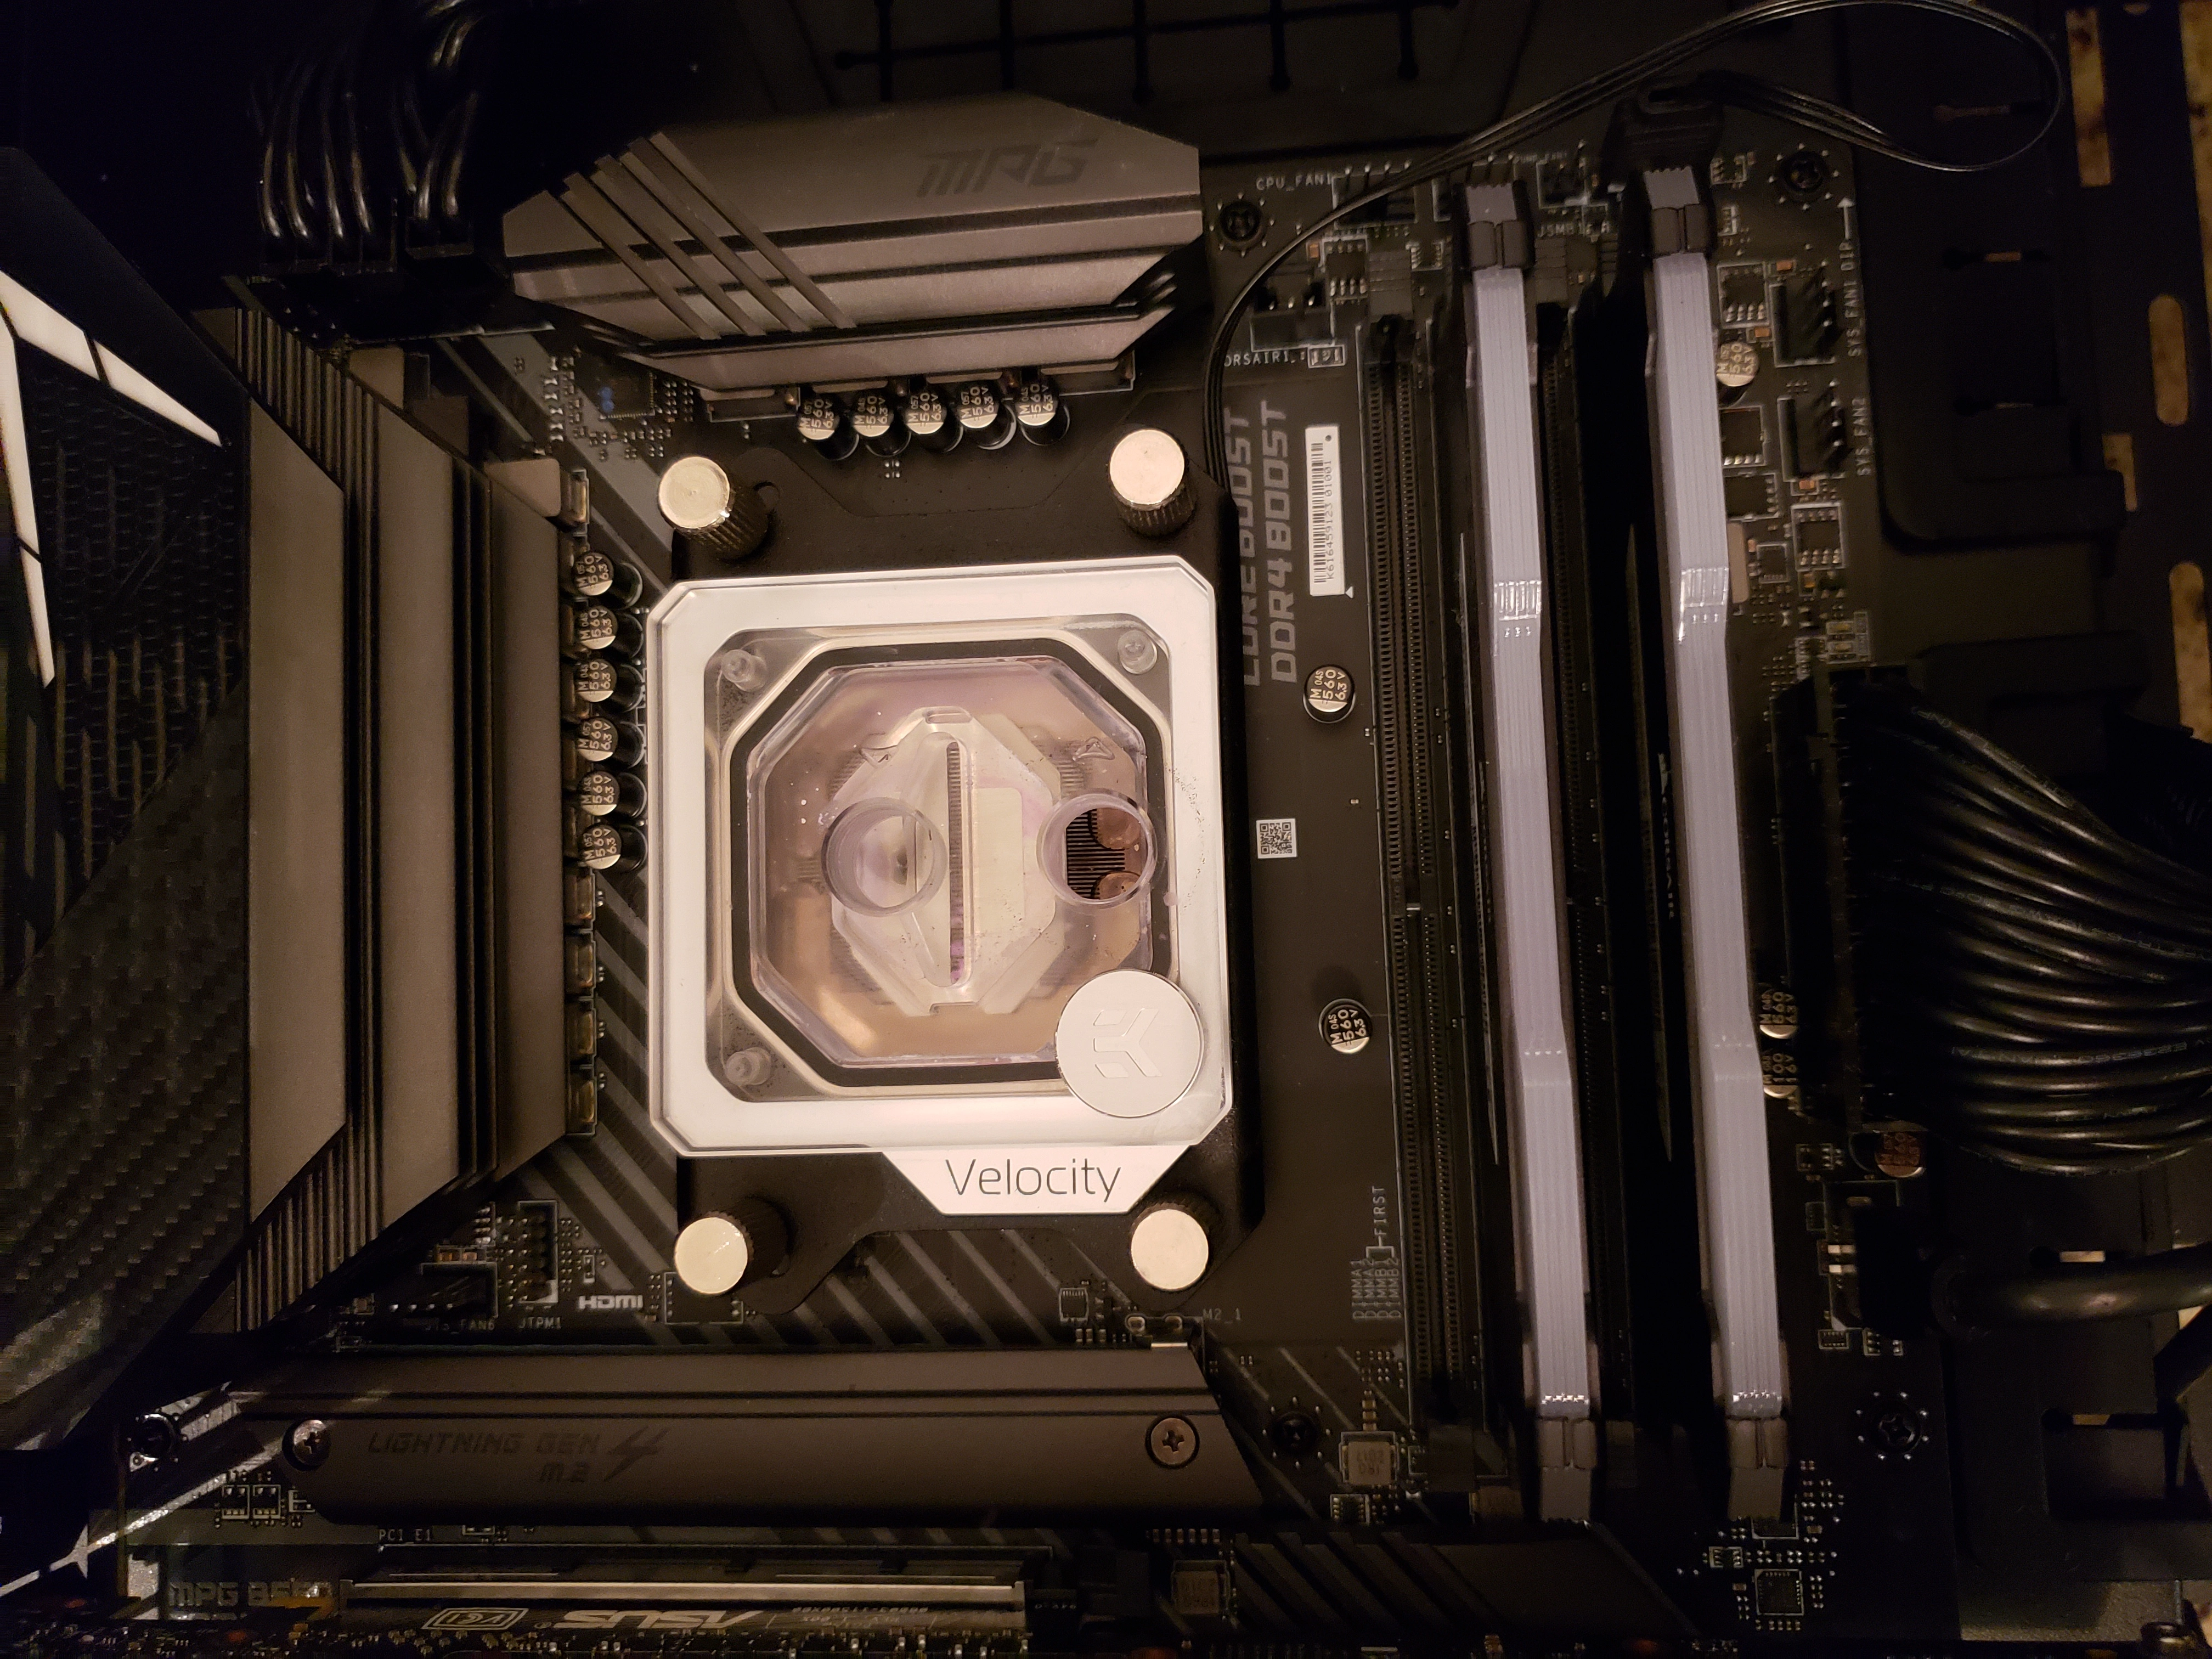
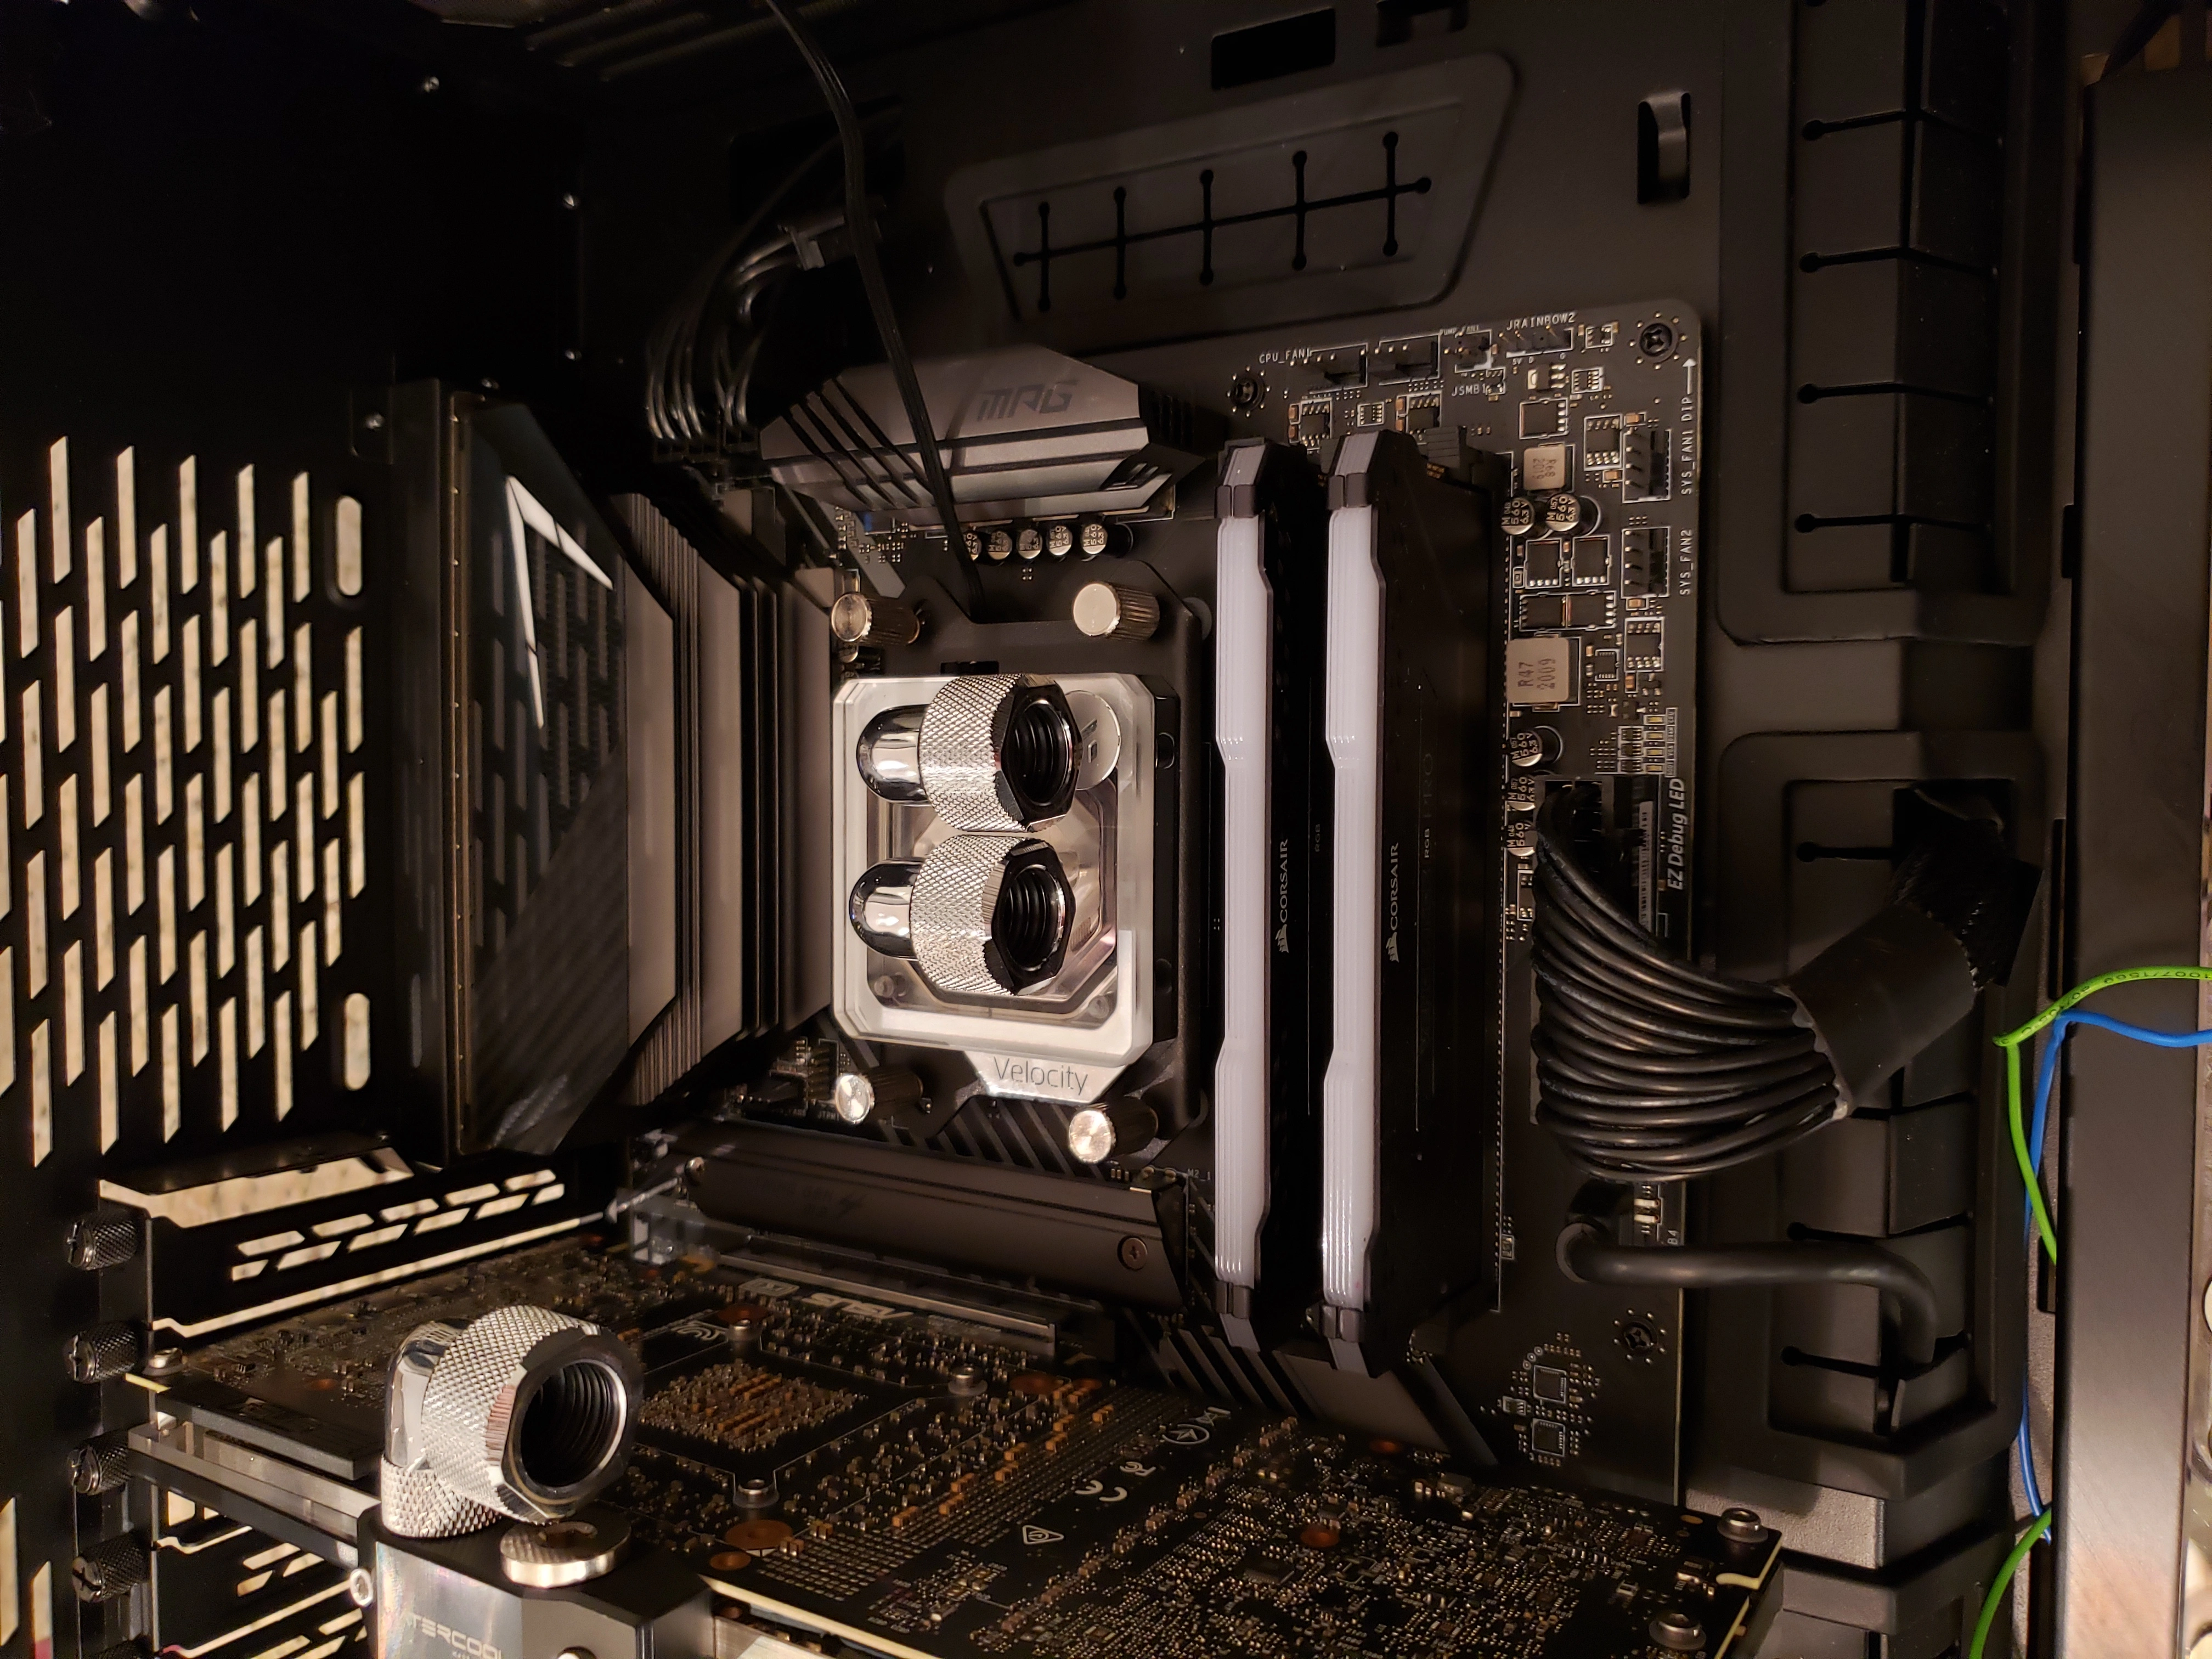
 I out everything back together and, perfect!
Installing new components
I bought:
- Two new radiators, one thick for the top and one thin for the bottom
- Three new frans for the bottom rad
- Six Phanteks Halos
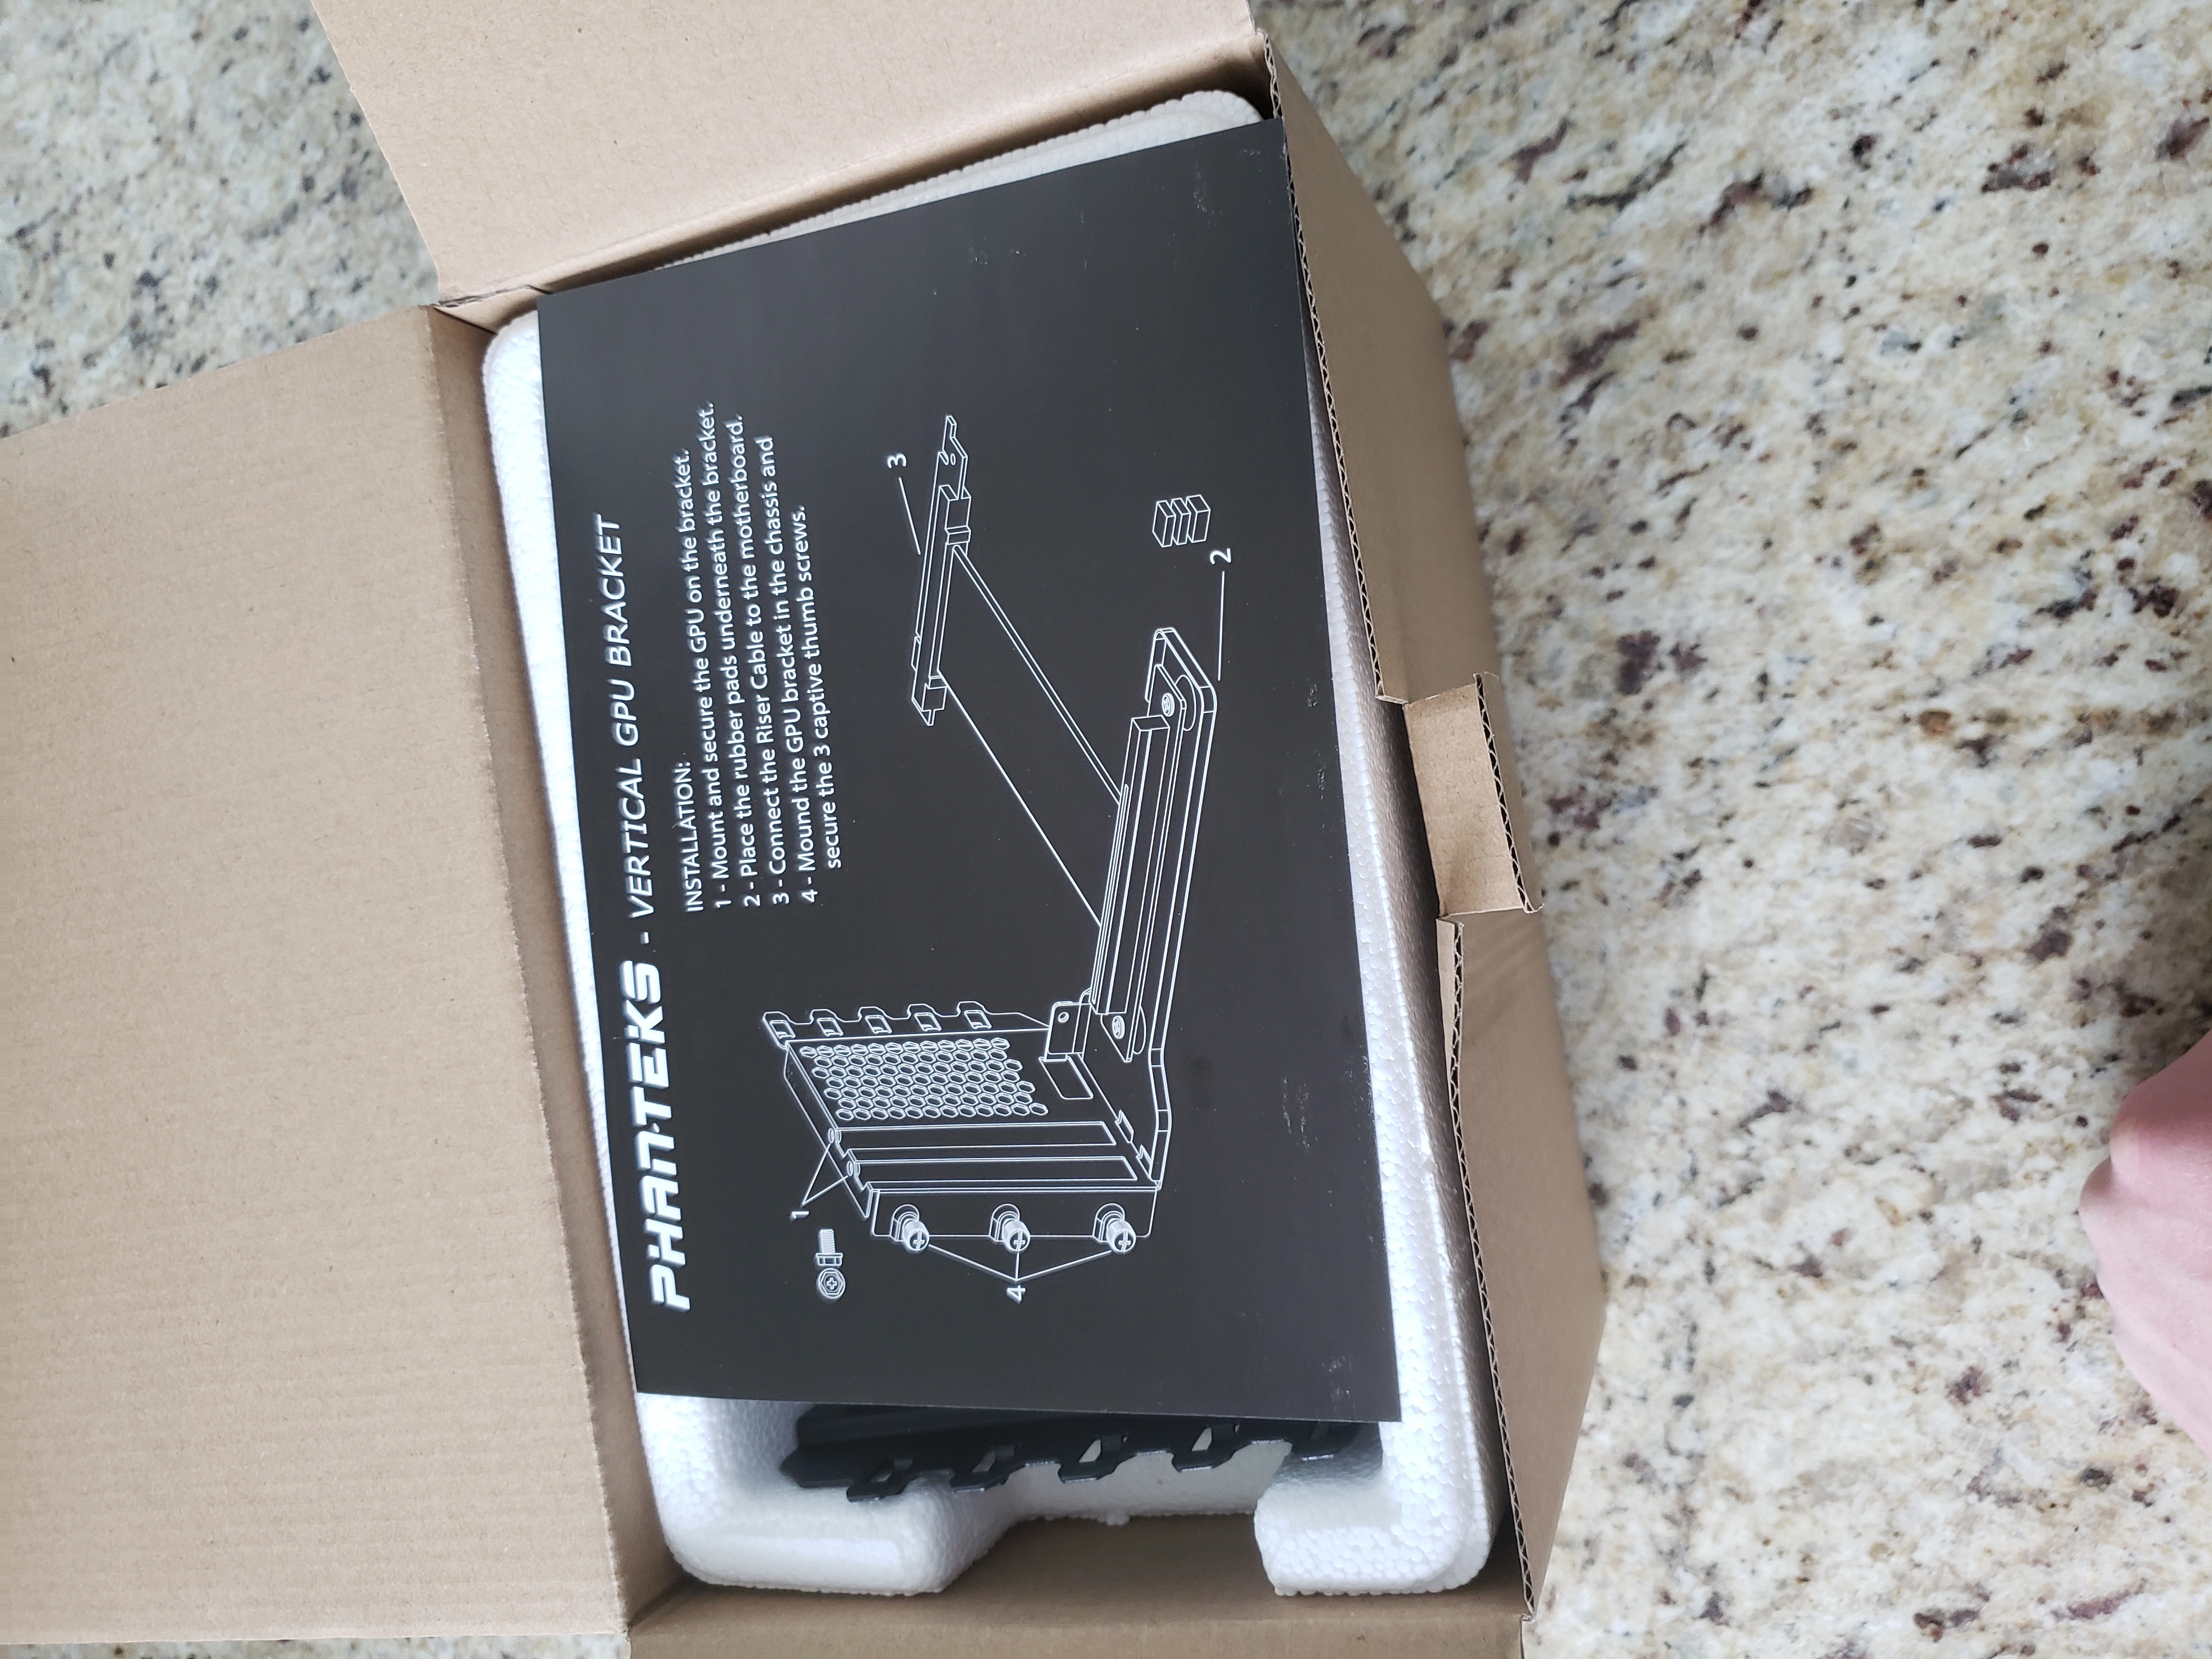
- The Phanteks VGPU Mount
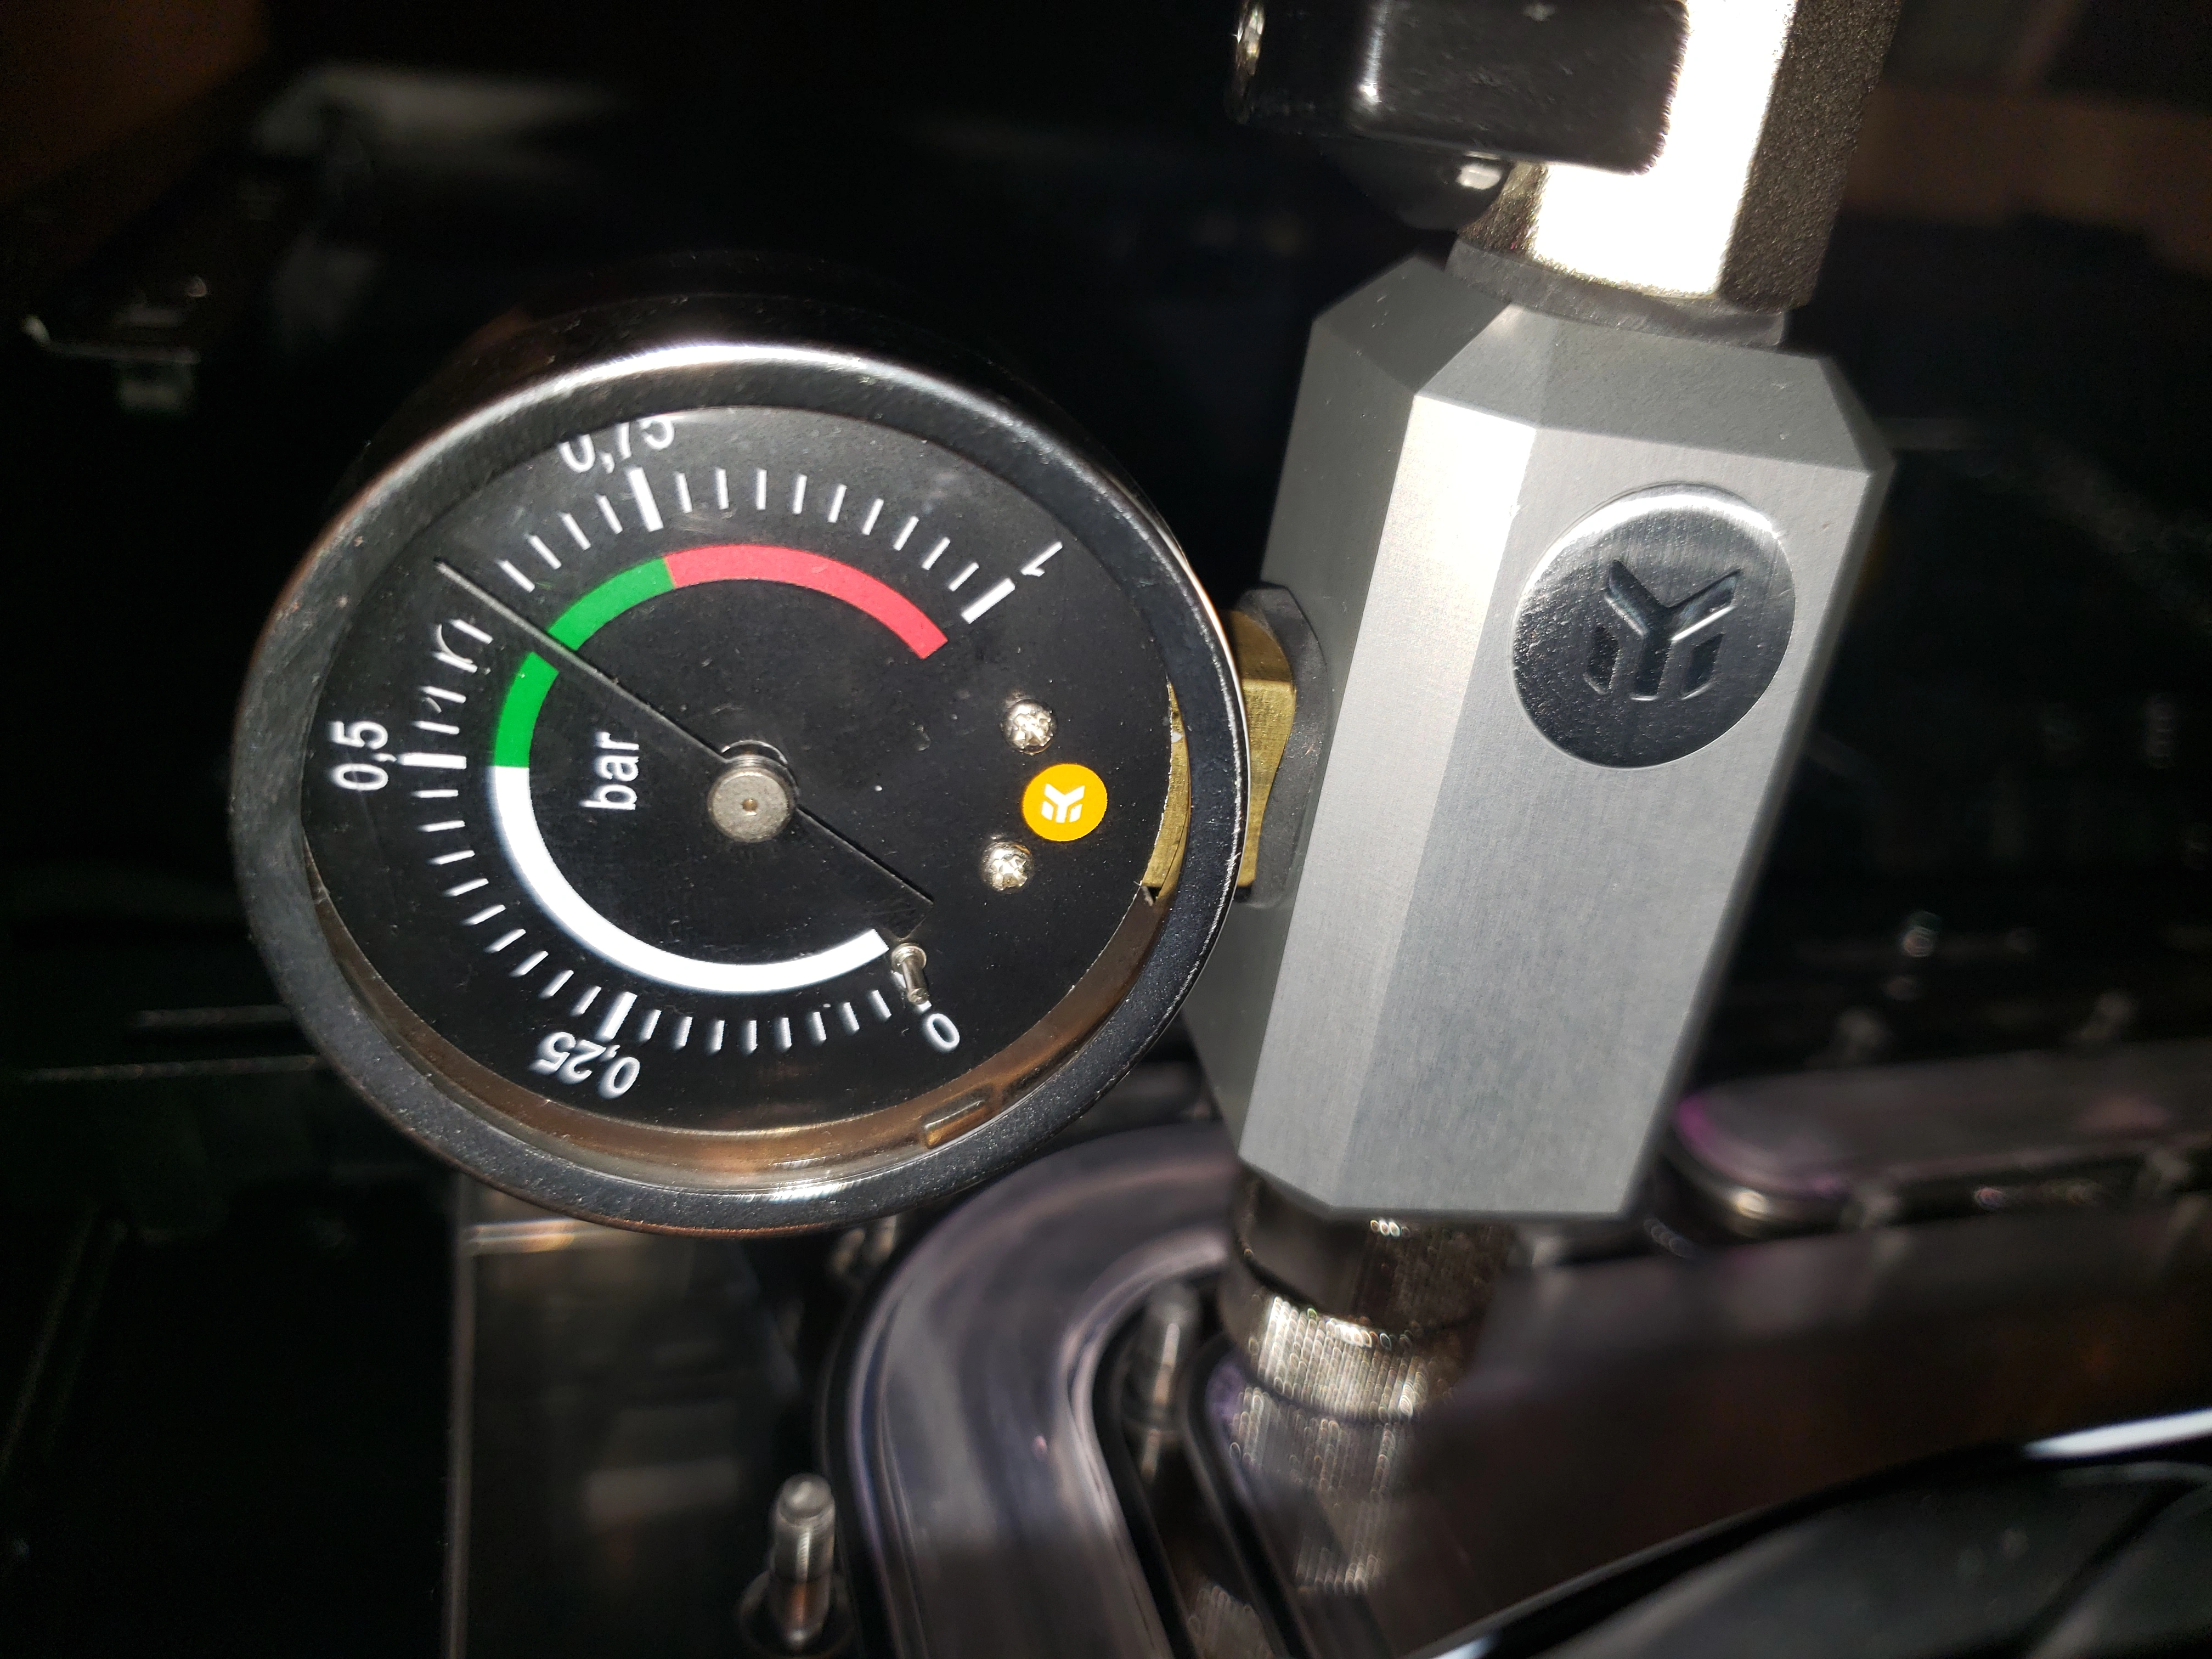
- A T-Valve Flow indicator
- 5v and 12v RGB hubs
- A bunch of 10-20mm extension fittings
- A bunch of 90 degree fittings
- A few extra male G1/4 -> tube fittings
- CLEAR coolant Of course these components came in slowly so I had lots of time to plan my loop orientation. I started with aligning the distro plate CPU Inlet/Outlet with the CPU knowing that there was no room for movement on that one if it was to be straight, and went from there. I played with various combinations of fittings to get the Flow indicator where I liked it at the bottom rad, and played for a long time with how to get the GPU loop straight.
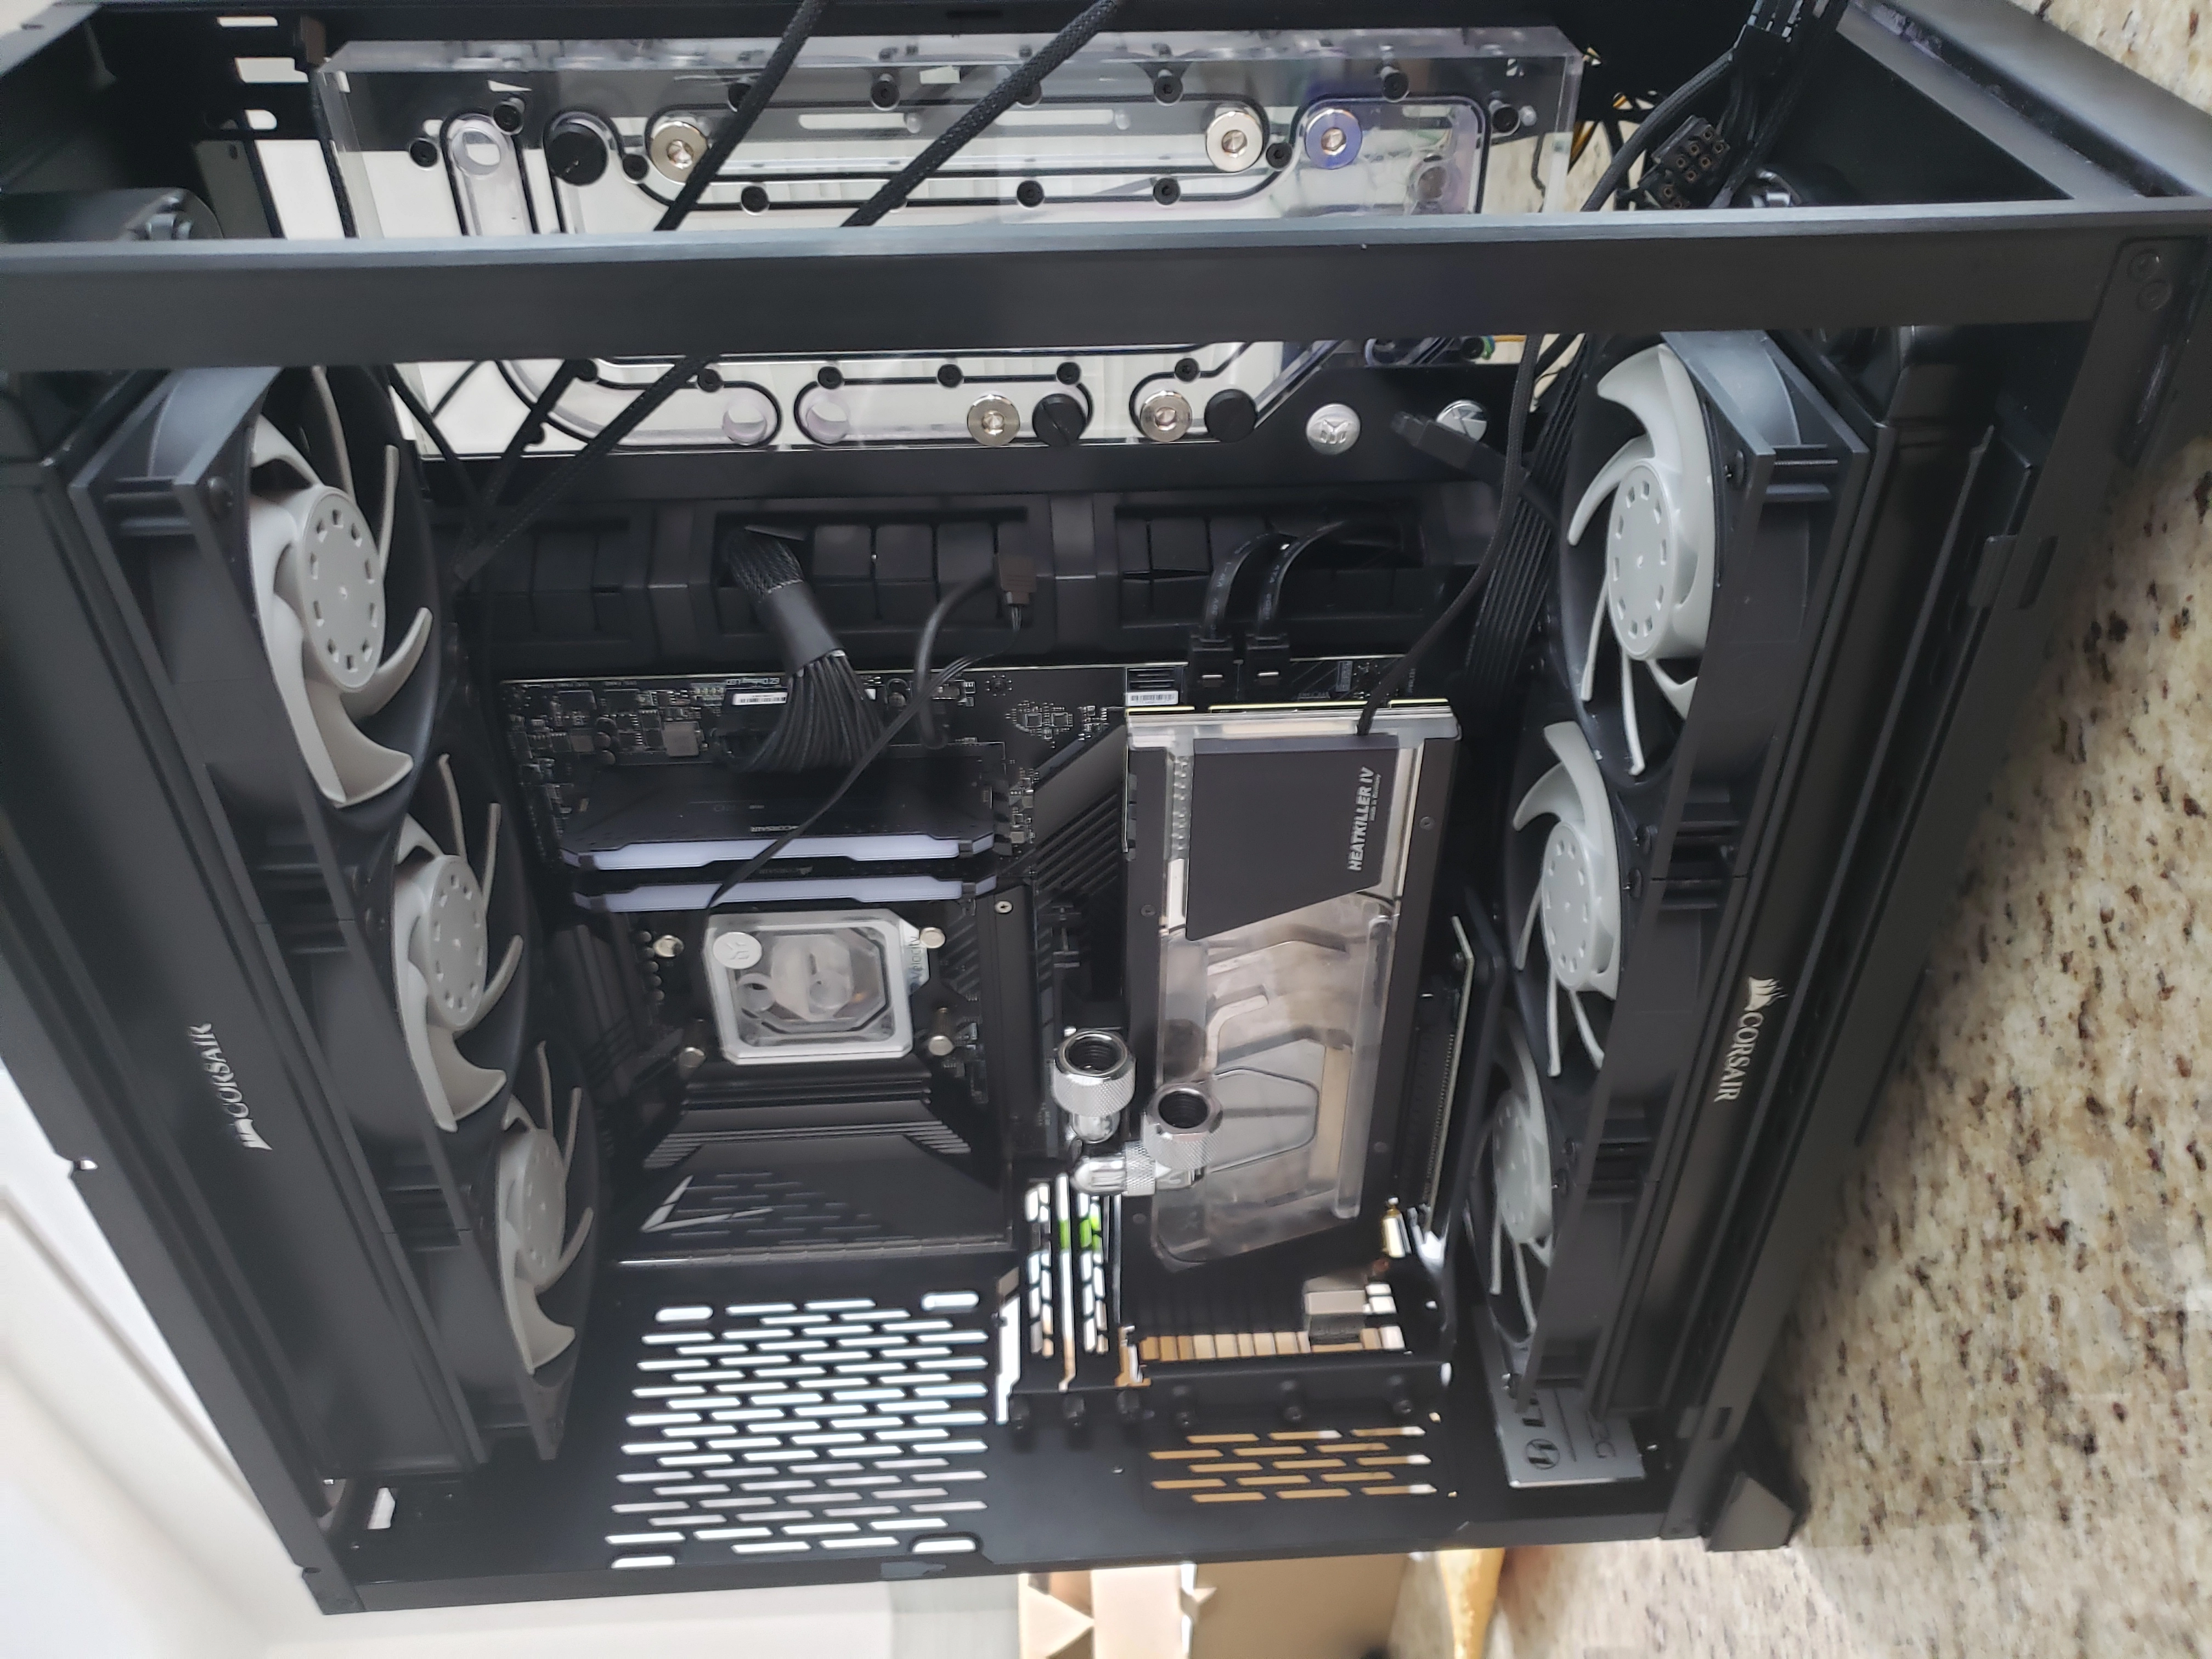
Rads & Vertical GPU
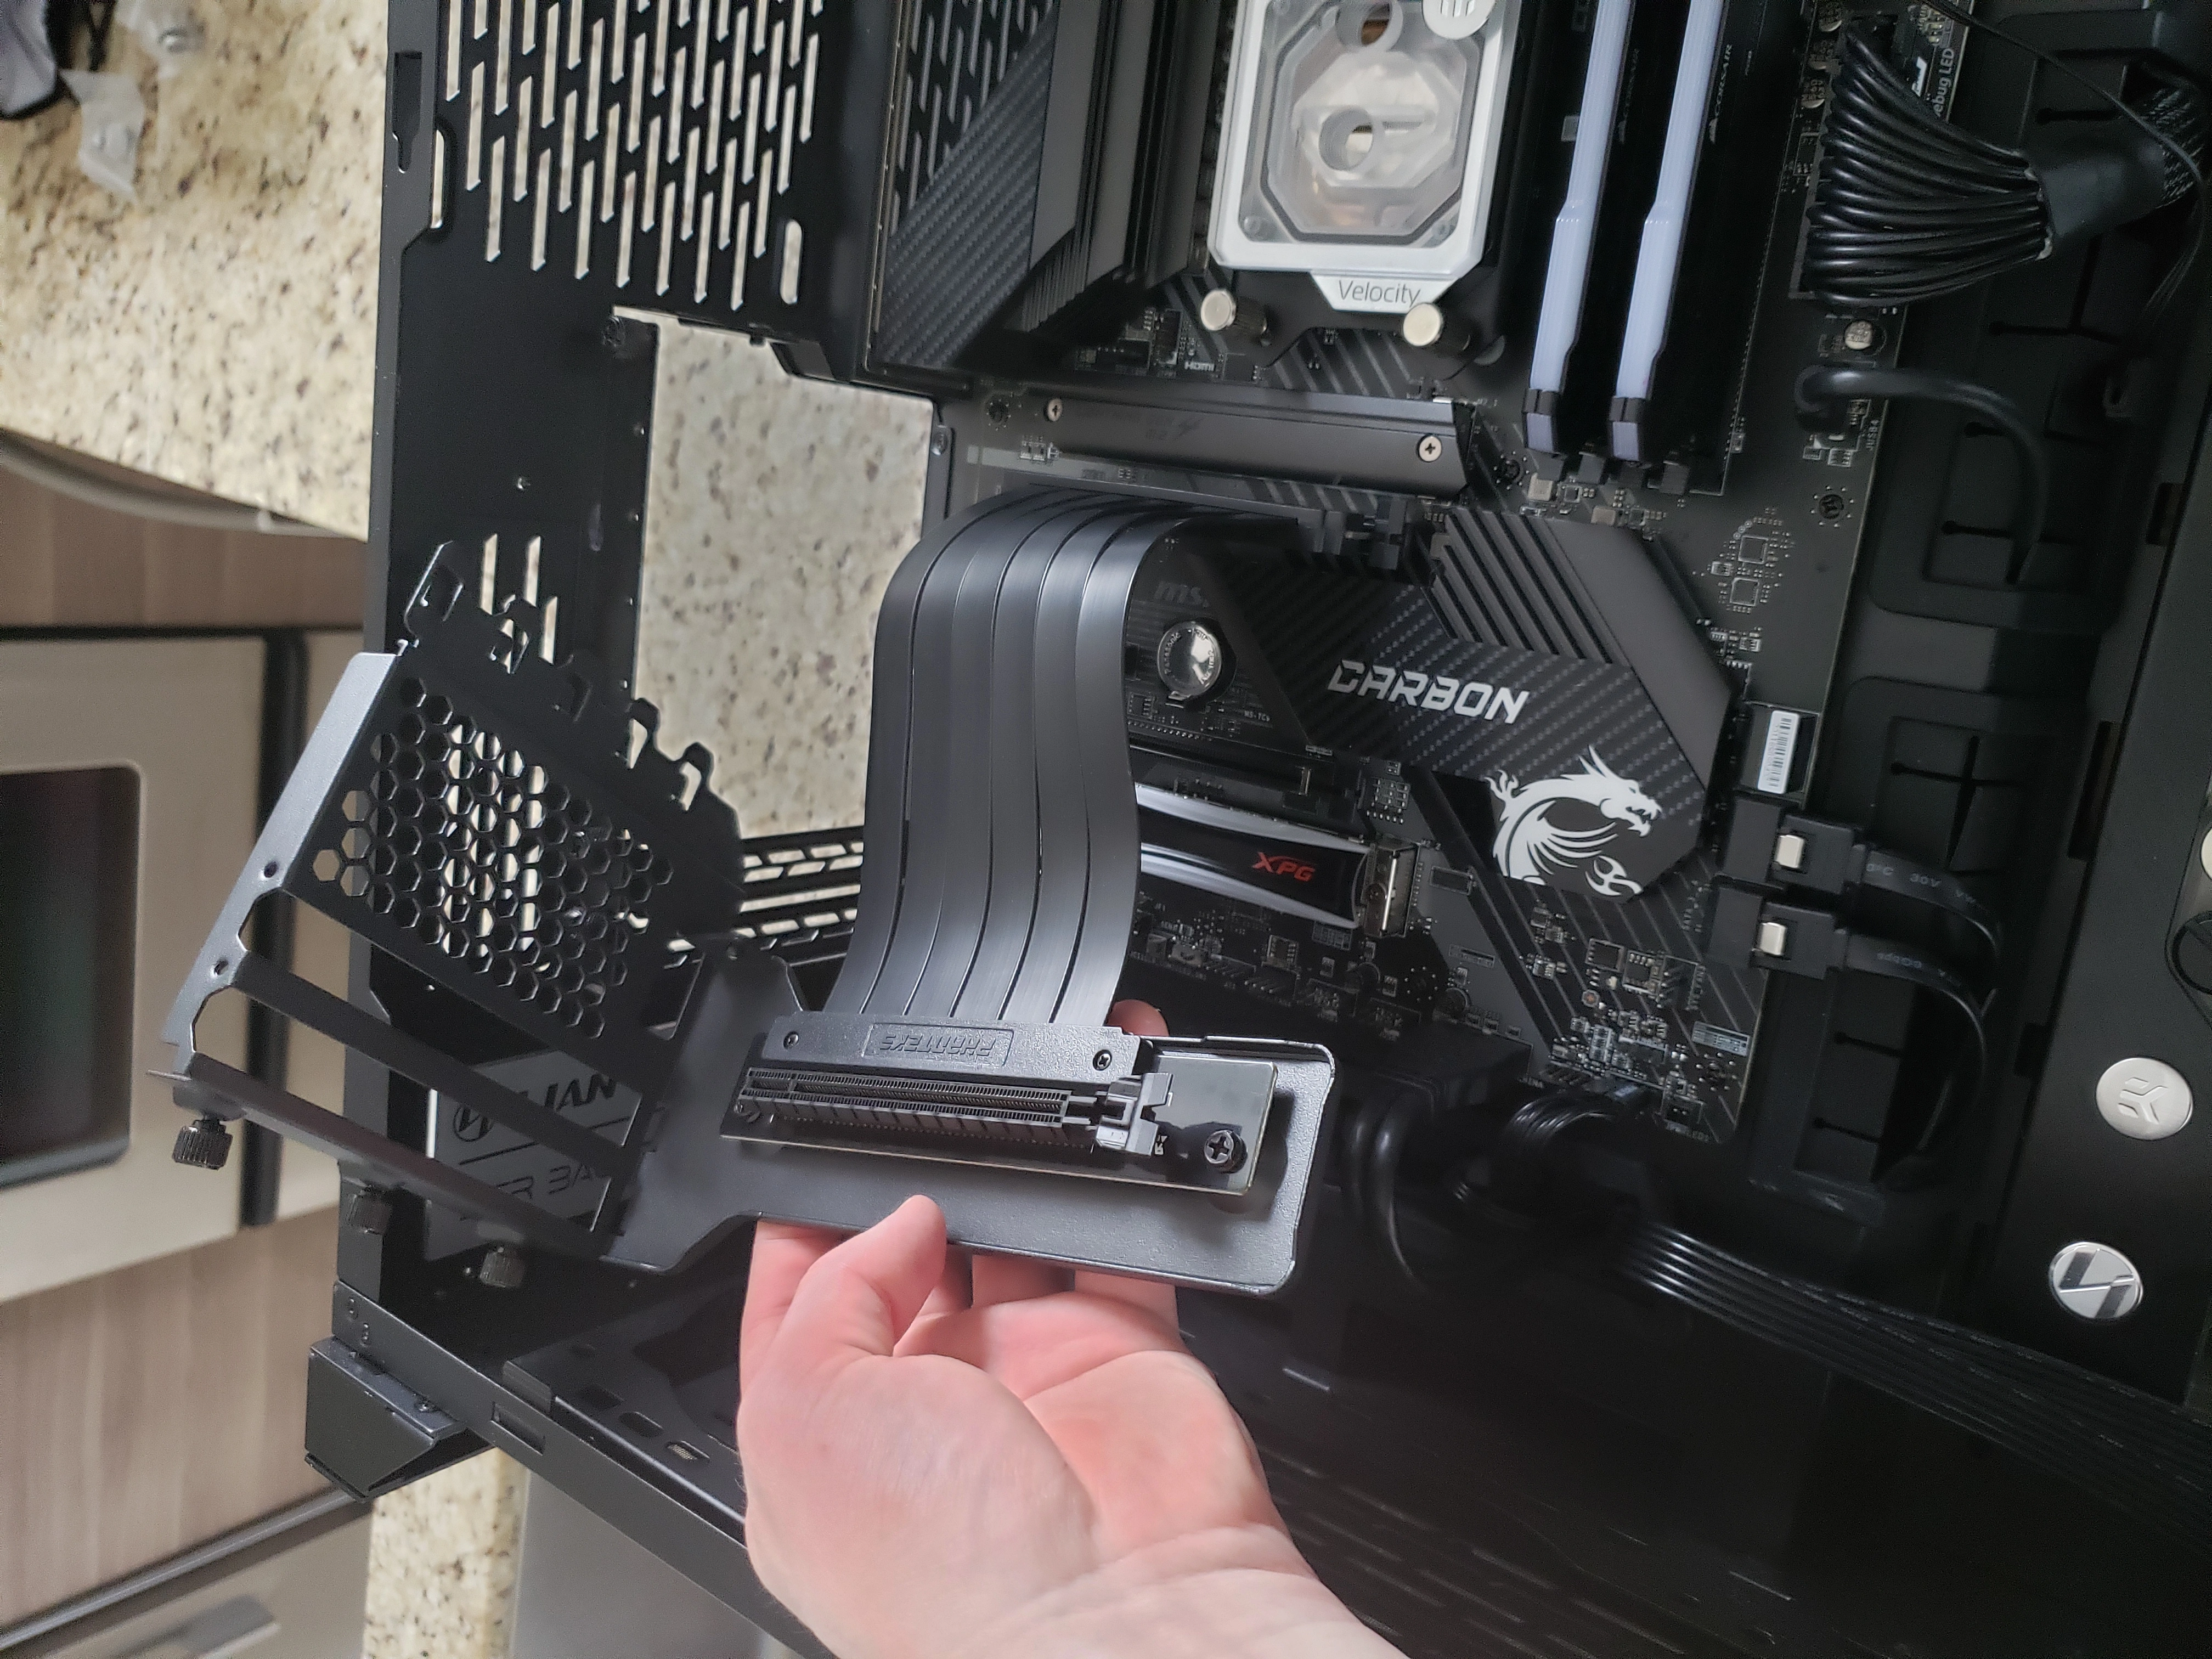
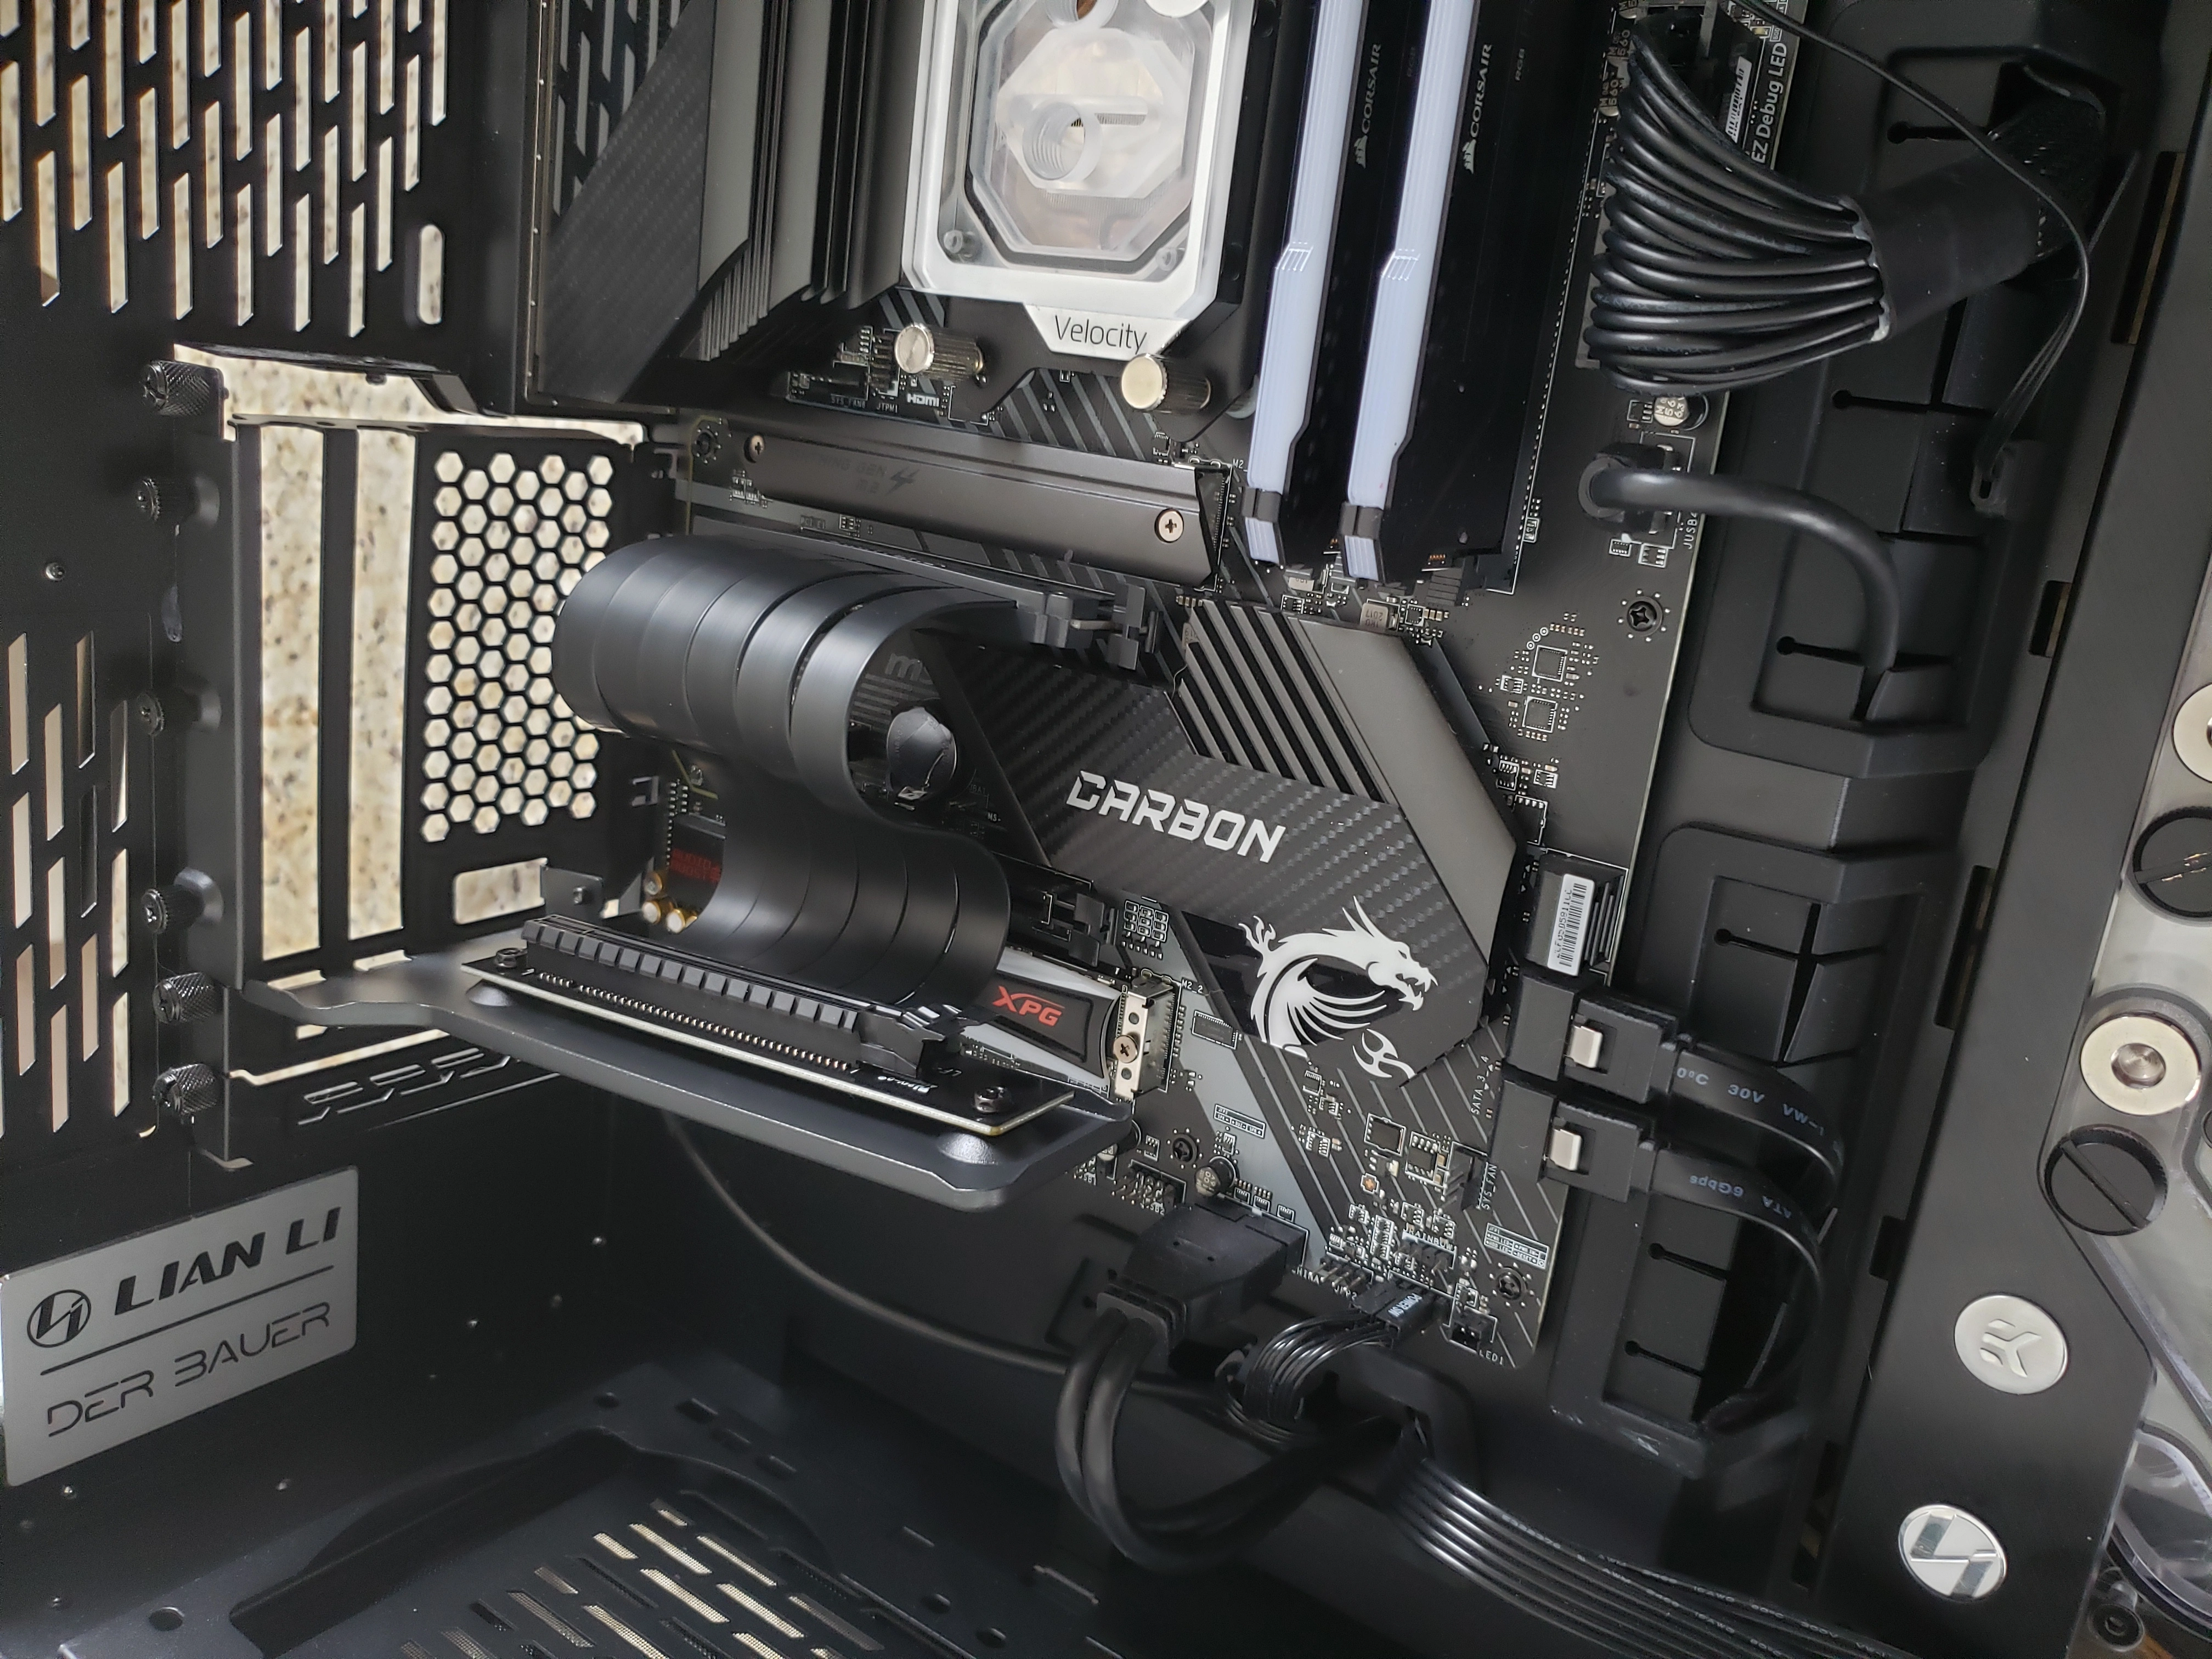
I need to make sure that the vertical GPU and rads fit nicely, so even though on the day I did this I wasn't yet ready to actually build anything I sat down and put everything in the case to make sure it fit correctly.
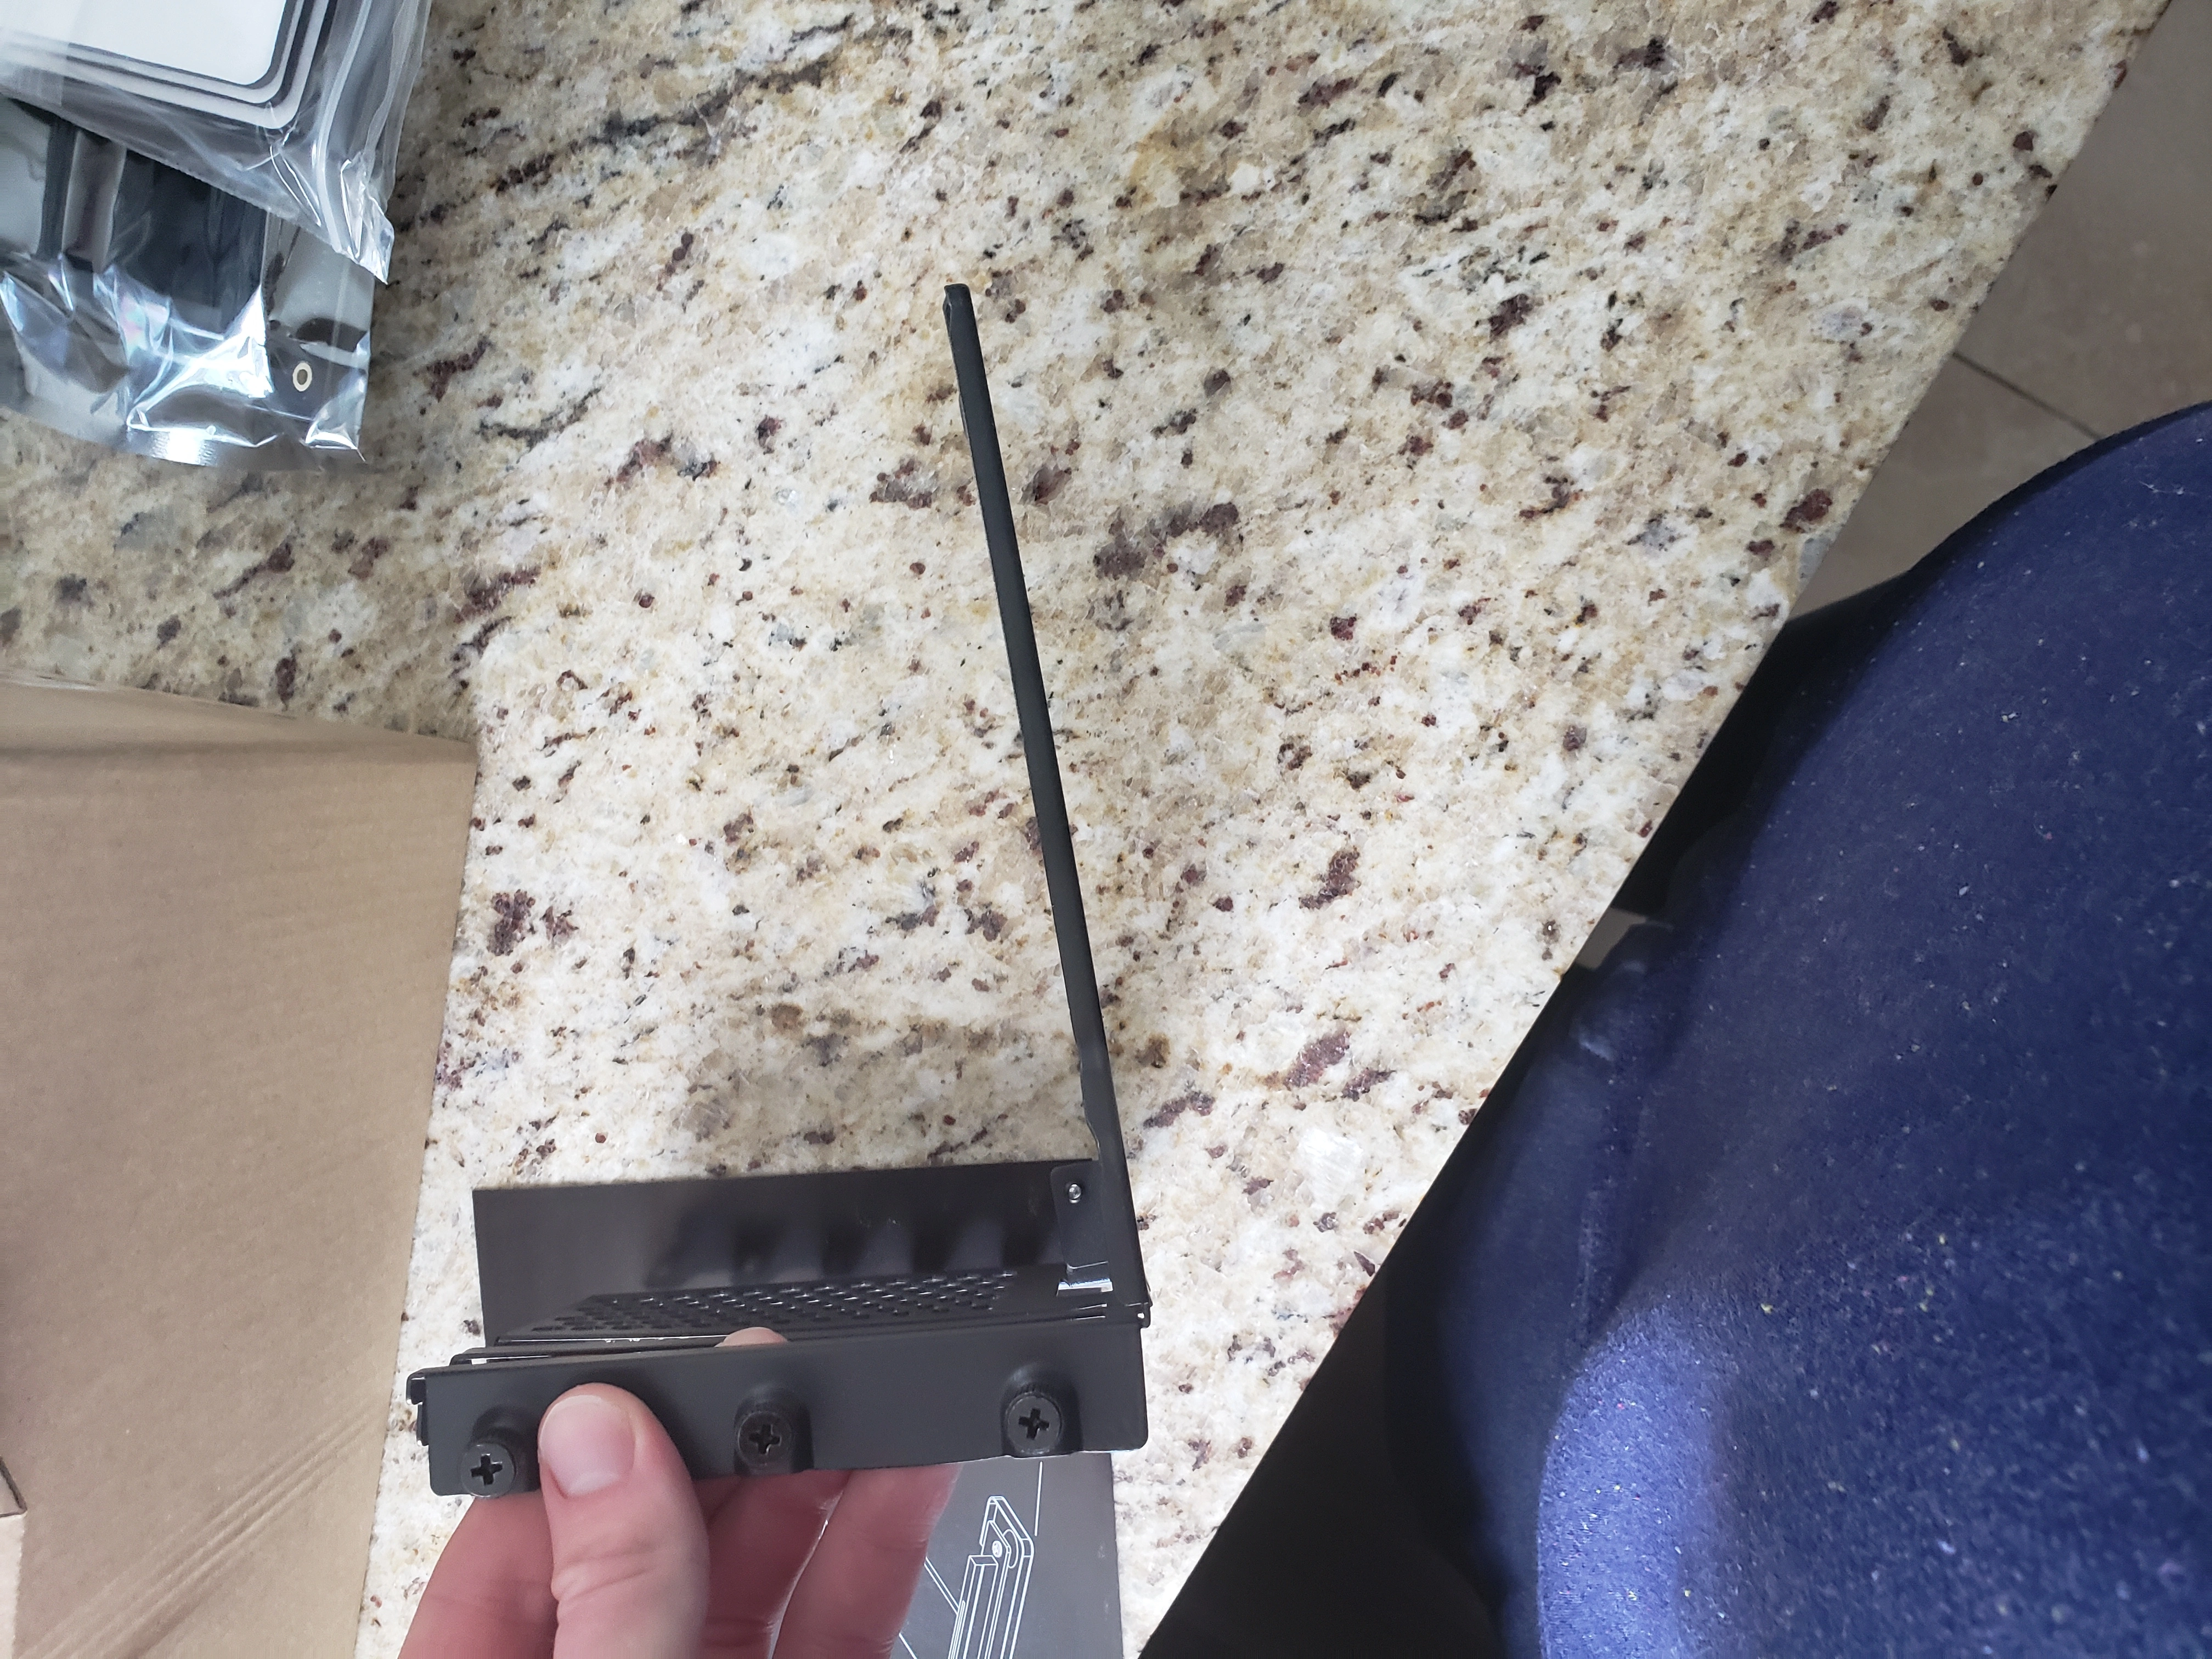
I was very skeptical about the Vertical GPU mount, it costing only $40 compared to the $400 for the Li Lian option. It was really easy to install, but did feel a bit flimsy.
 Now before going much further I needed to test that the rads fit into the case with the GPU mount!The bottom rad slot has an amazing feature in the case, the whole thing is installed on this little slider that clips into place. It made it way easier to work with...

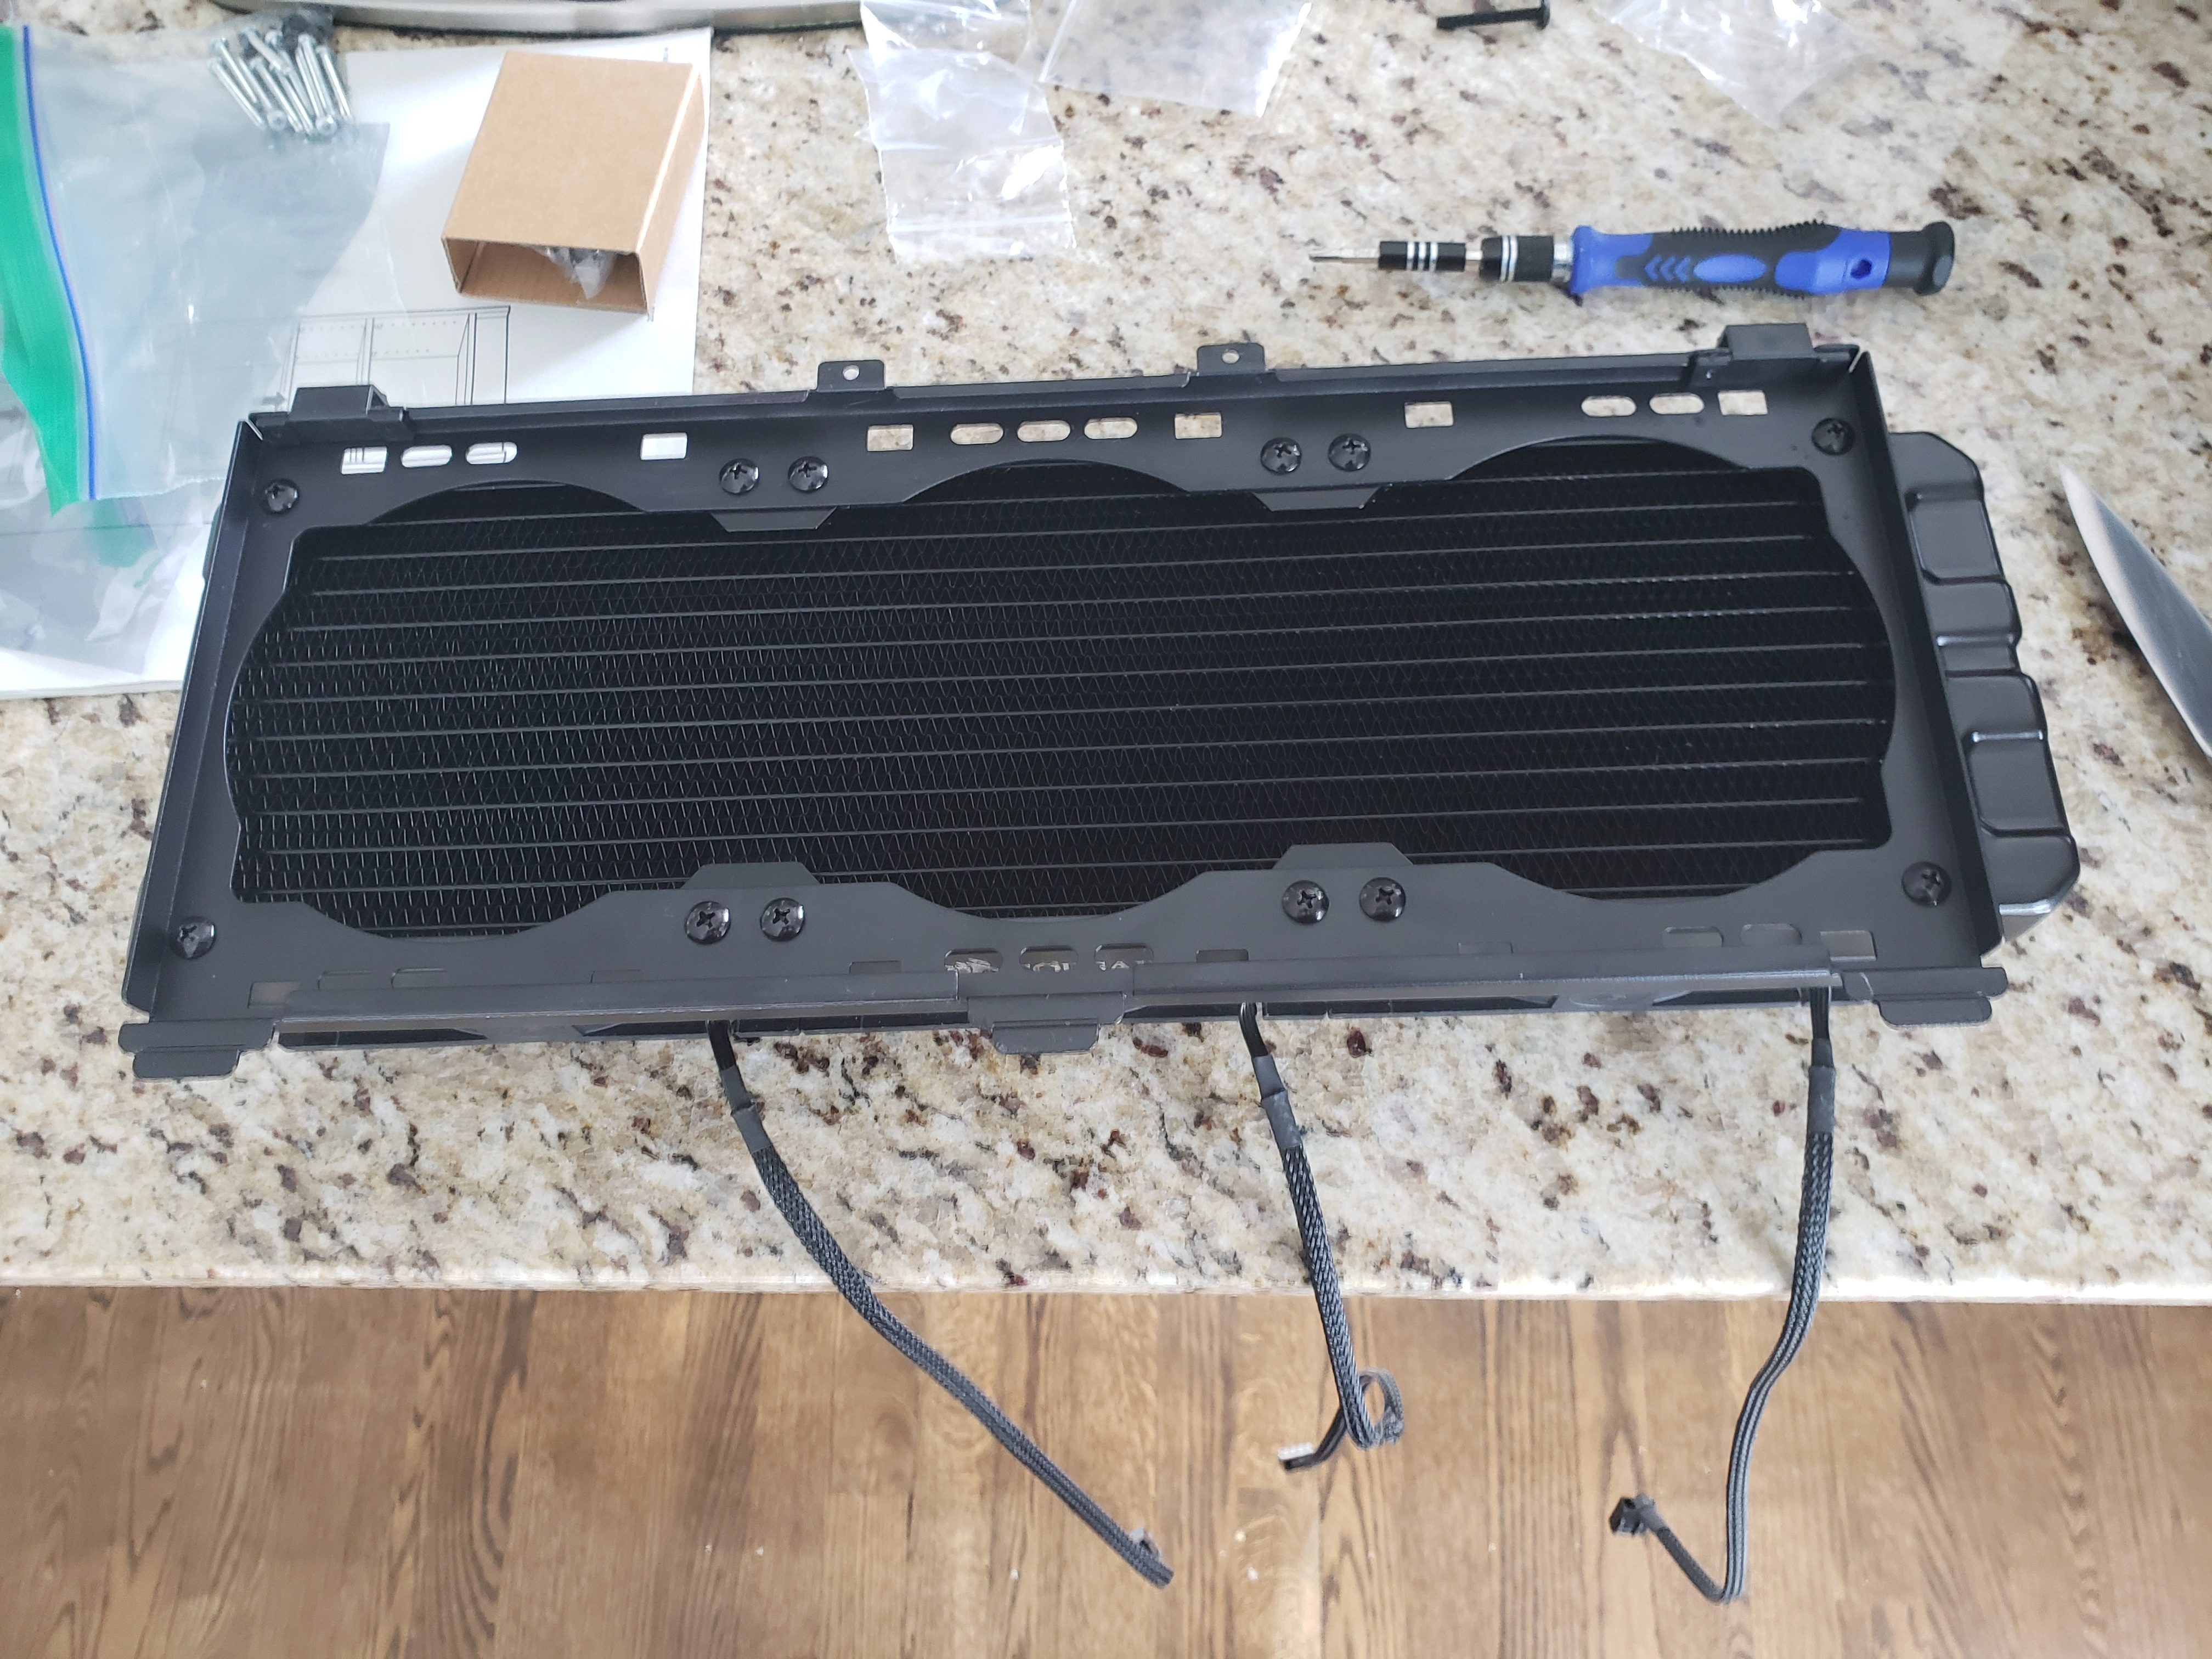 My top rad my first go around was really forced into the case in a bad way, this one fits nice a snugly but didn't have to be forced in quite so bad and I paid more attention to the fan cables this time, especially since there's now 6 of them instead of 3 due to the extra RGB.
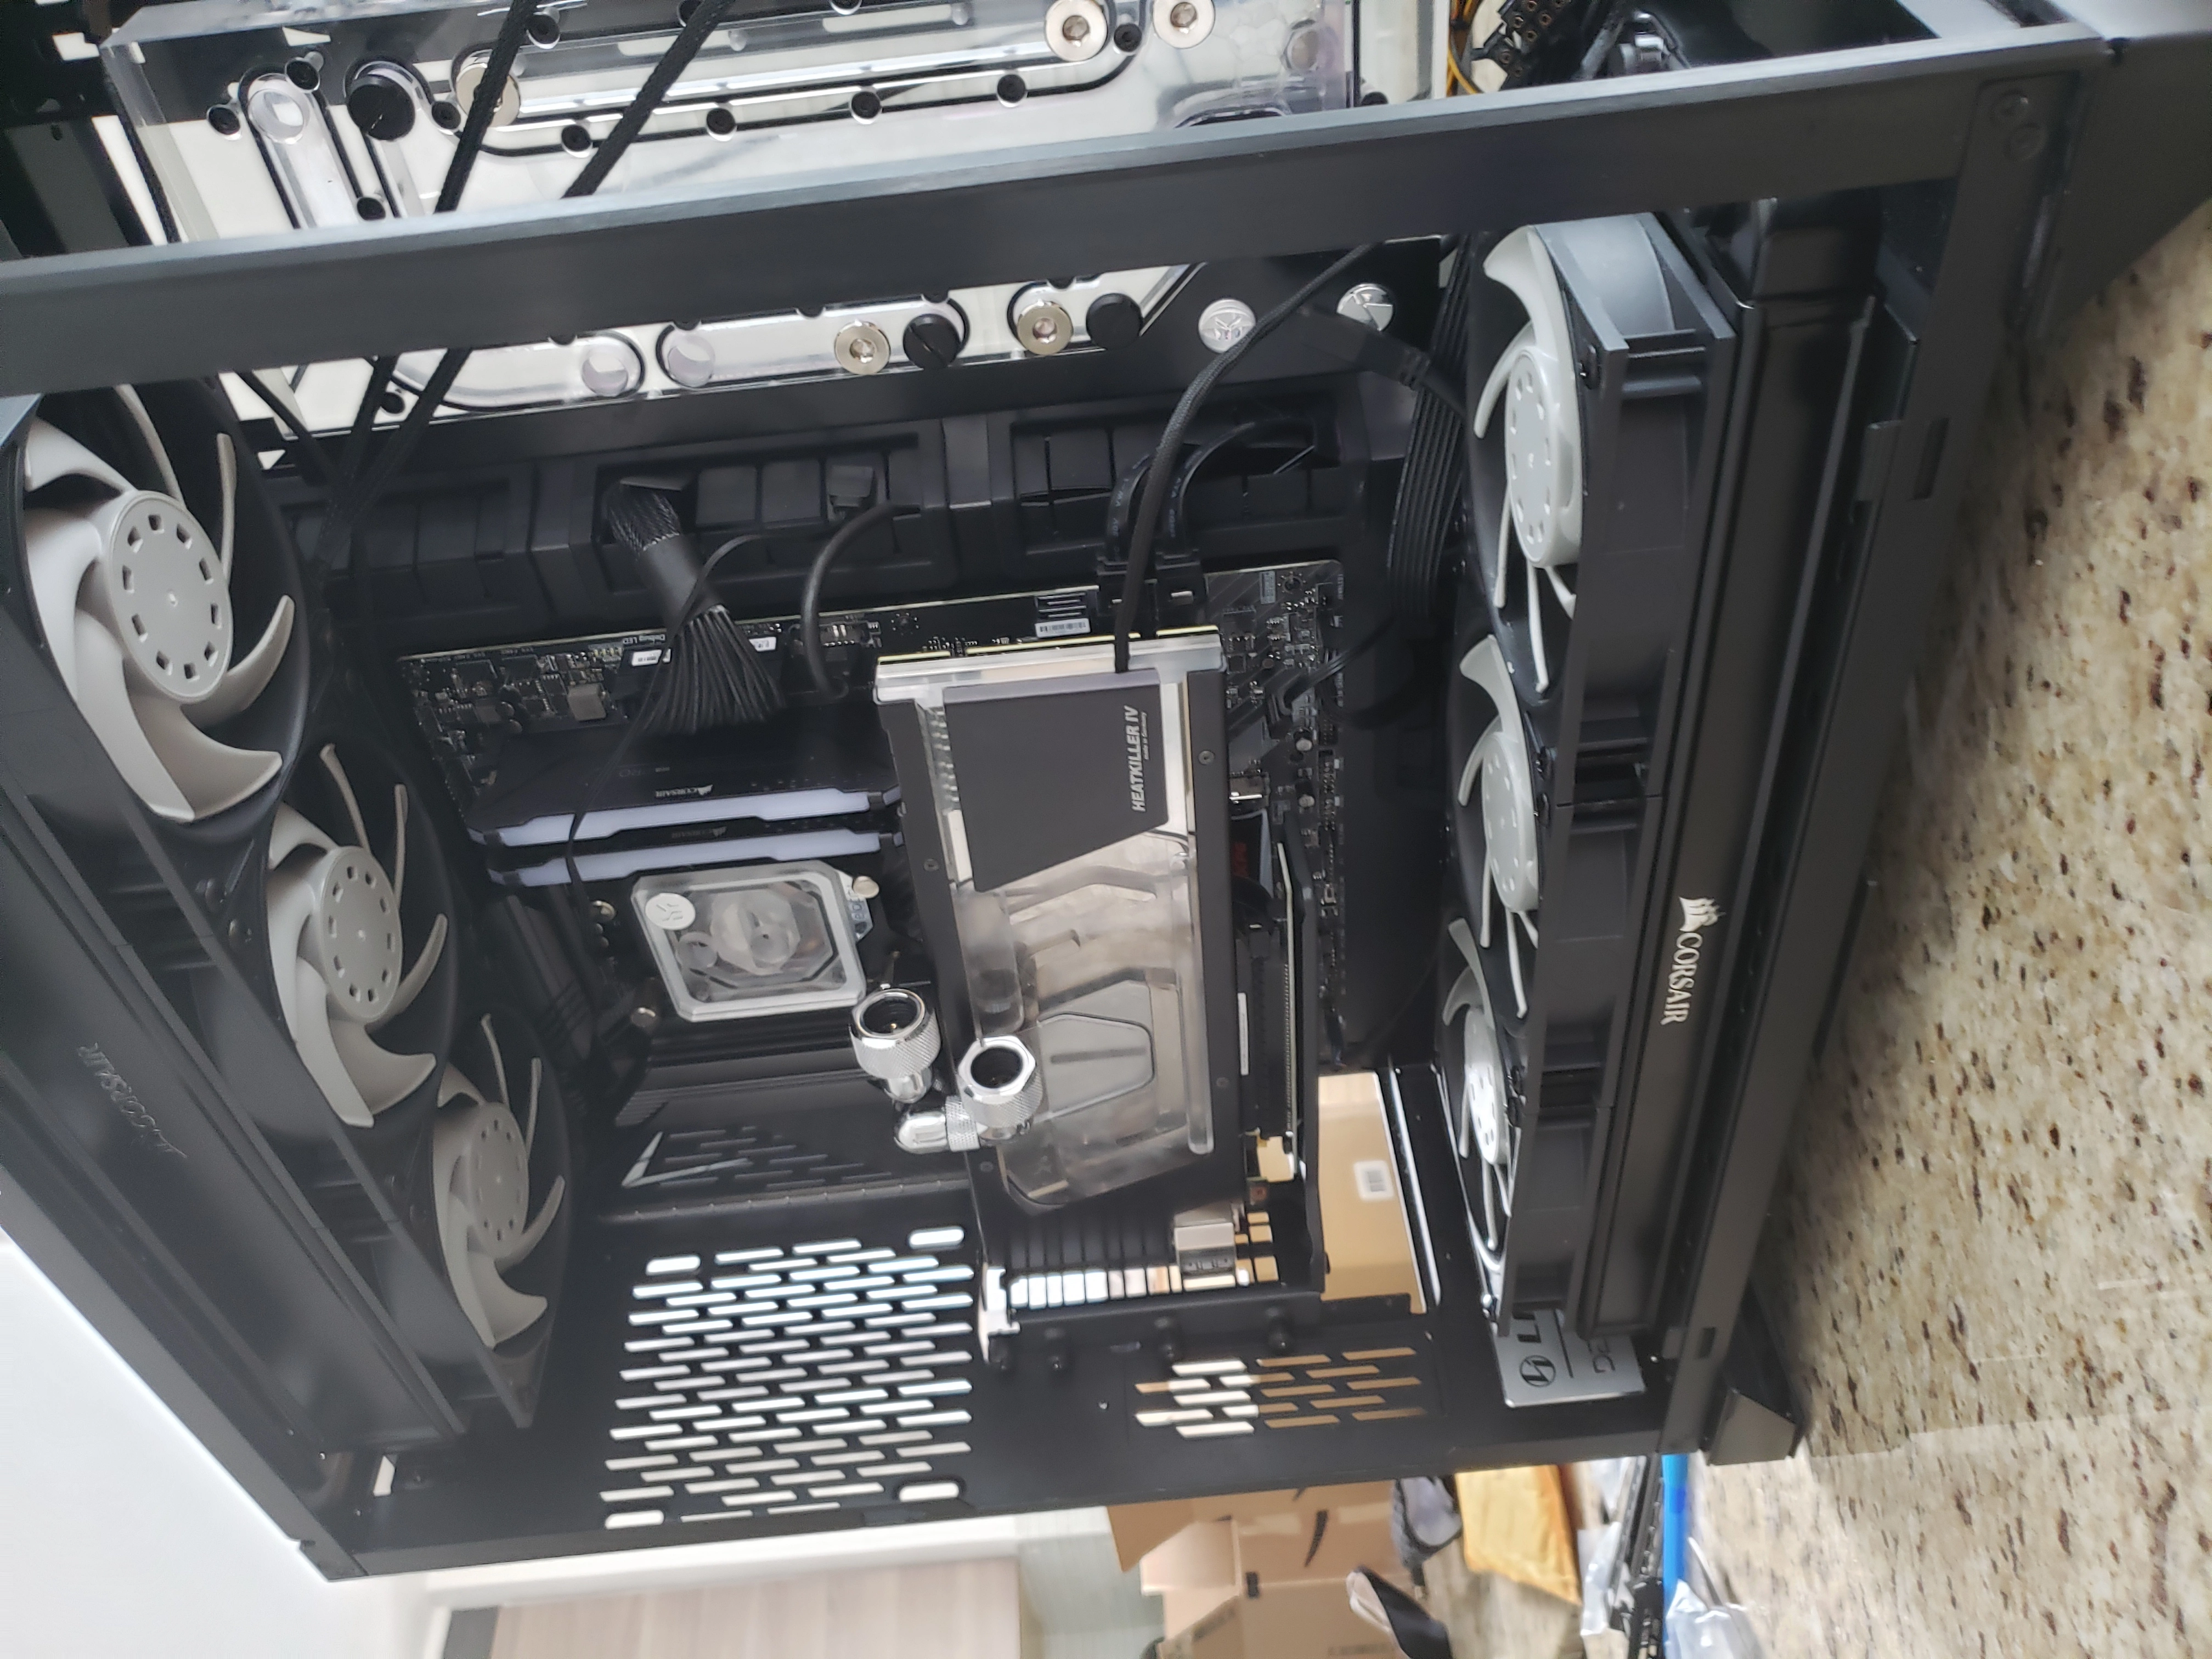 I had to play with which slot to place it in to get a decent distance from the bottom rad, and once I found a nice spot I used one of the included foam pads to add some support from the bottom fan shroud. it actually fits perfectly, and I doubt it really impacts airflow a whole lot. Form over function anyway, right? Surprisingly, there actually isn't a lot of sag in the mount, which I read in reviews to expect. I suppose the rad underneath it helps a lot, along with not having a heavy air cooler on the card like most people had (Why show off an air cooler...?).
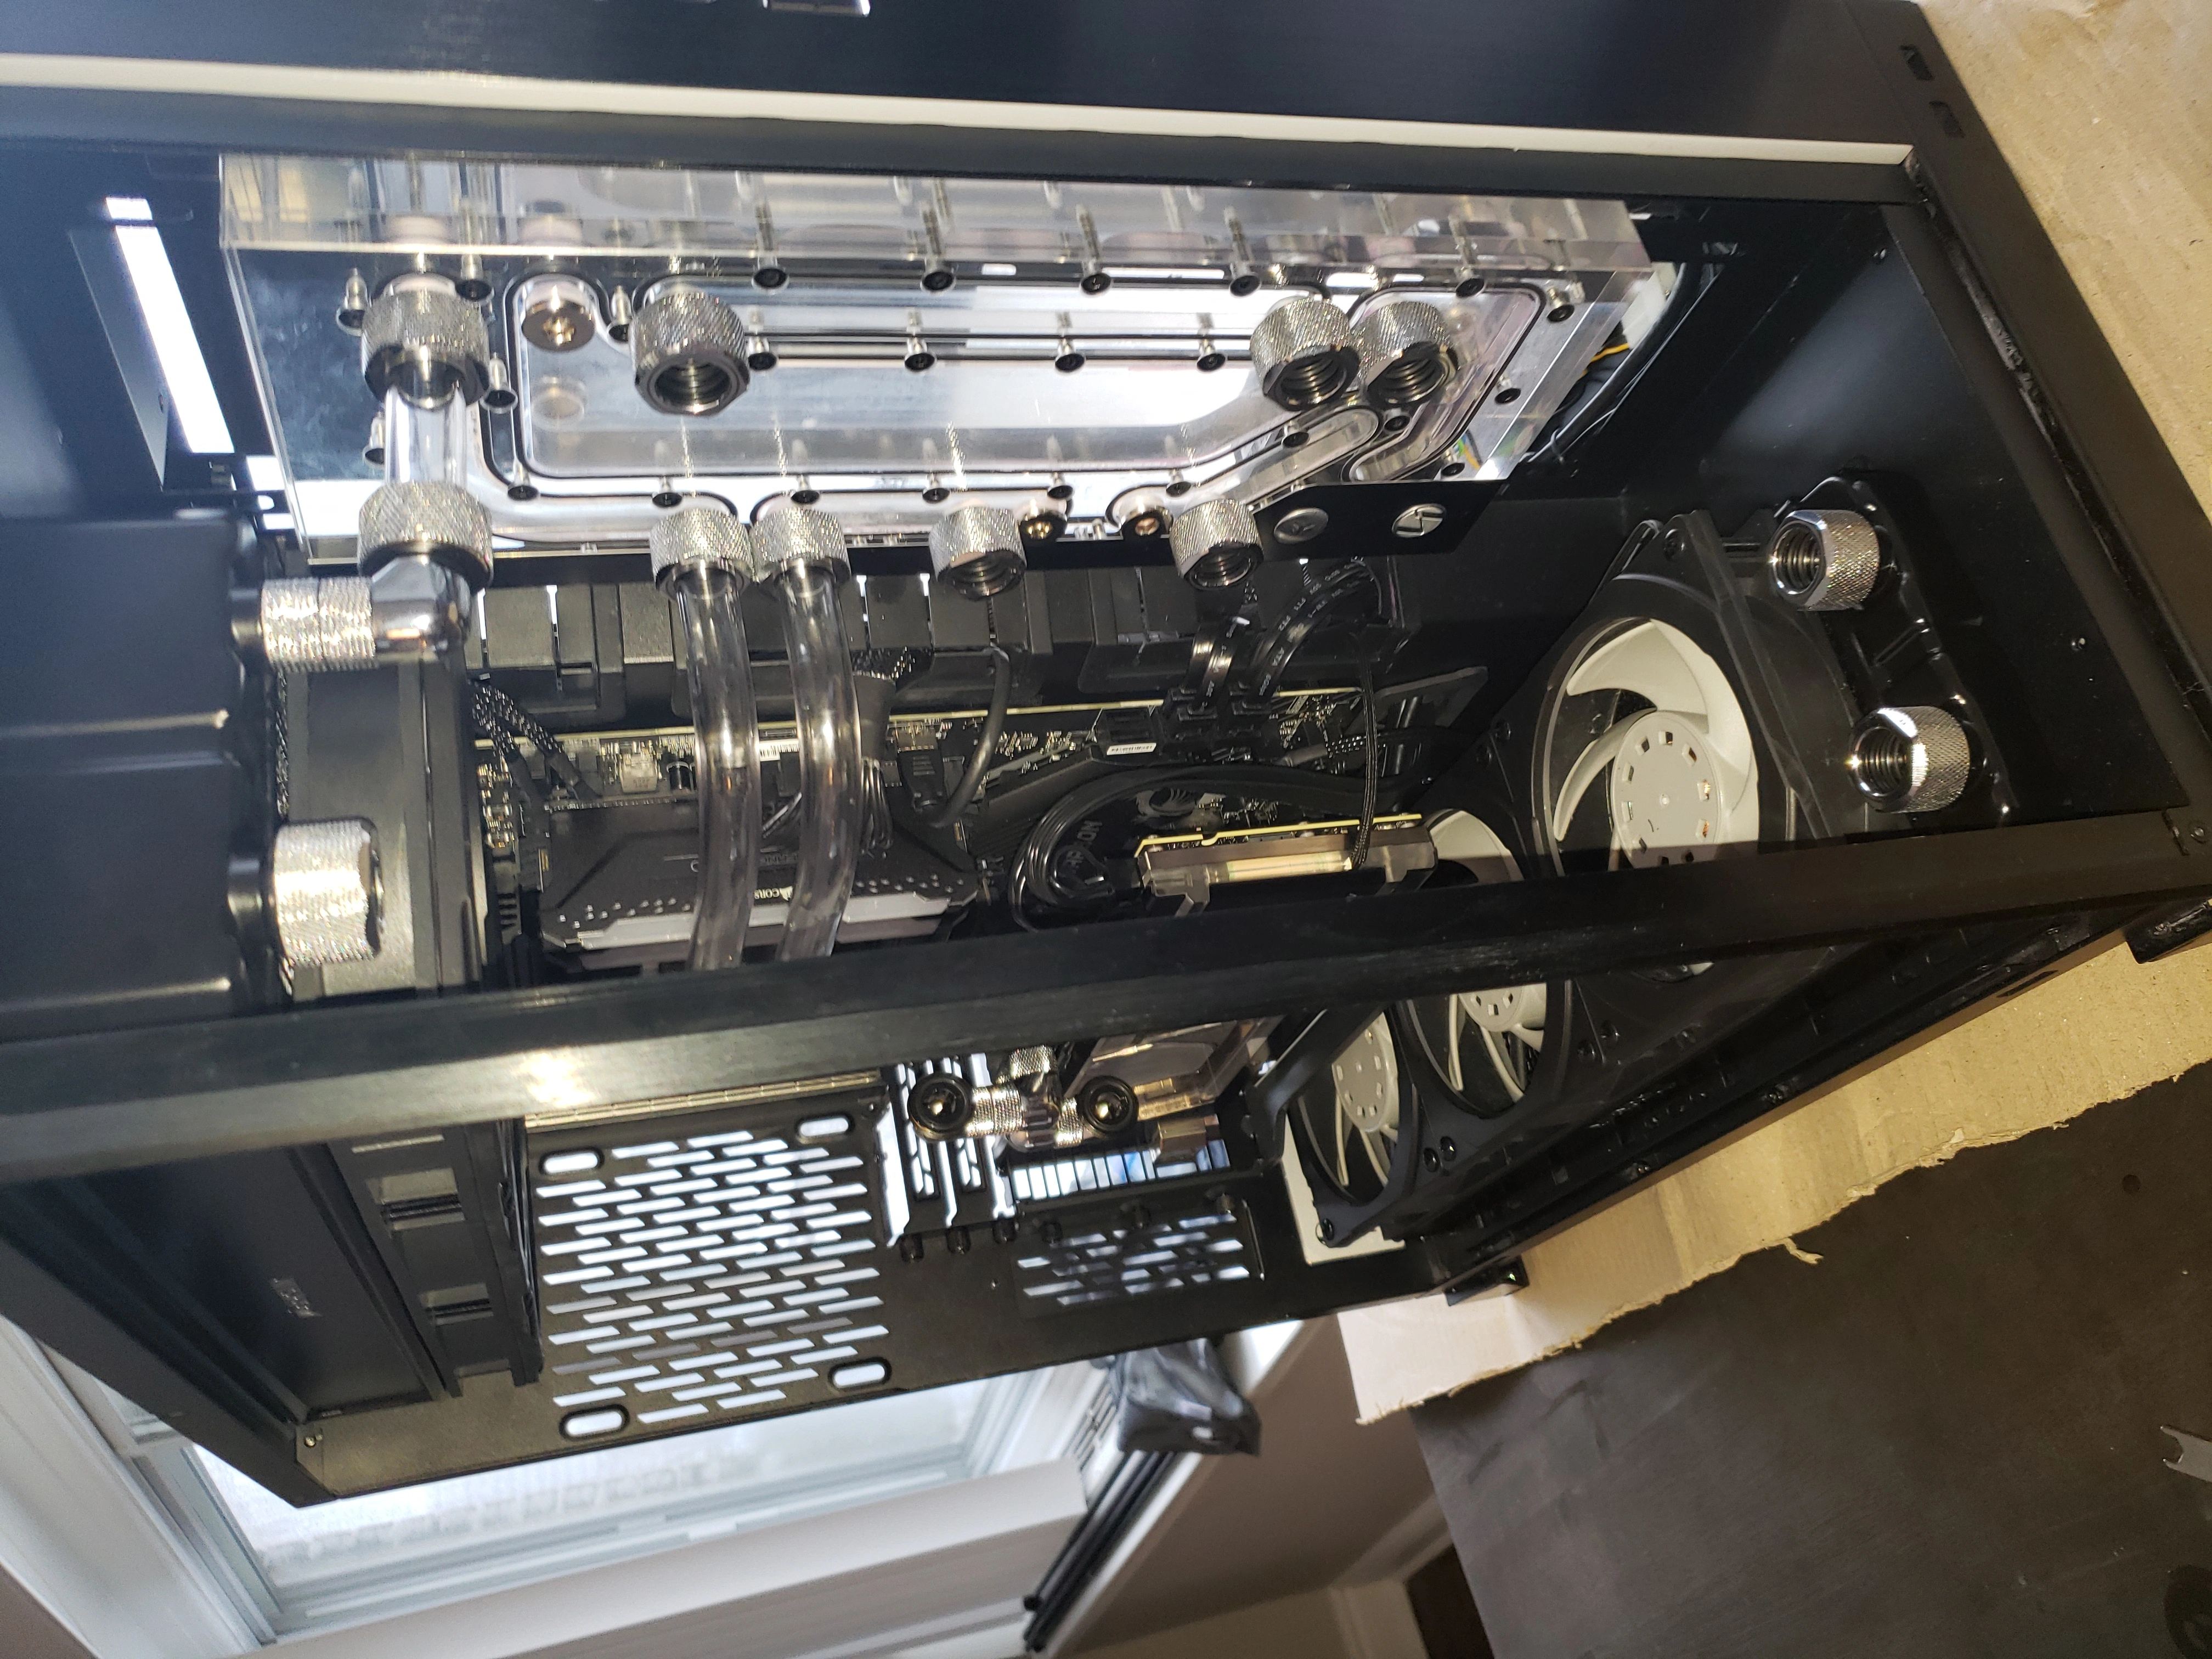
Bending
I bought a heat gun for myself this time around that has a little plastic stand to keep it in place. It was only like $30 and well worth it. The first time I borrowed one meant for SMD soldering which was much harder to work with for this task.
Anyhew, there was one bend in the loop I was worried about, and that was the shorter bend to the distro plate from the top rad. It's very tight and I just don't think I can get the material to bend 90 degrees on such a small radius. But, I tried regardless! I tried 6 times, using this as my opportunity to warn up to bending. I decided it was impossible and instead did: rad -> 10mm extender -> 90 degree fitting -> g1/4 -> tube -> g1/4 -> distro plate. There's a tiny piece of straight tube I cut to size to bridge the gap. Looks clean so I'm happy with it!
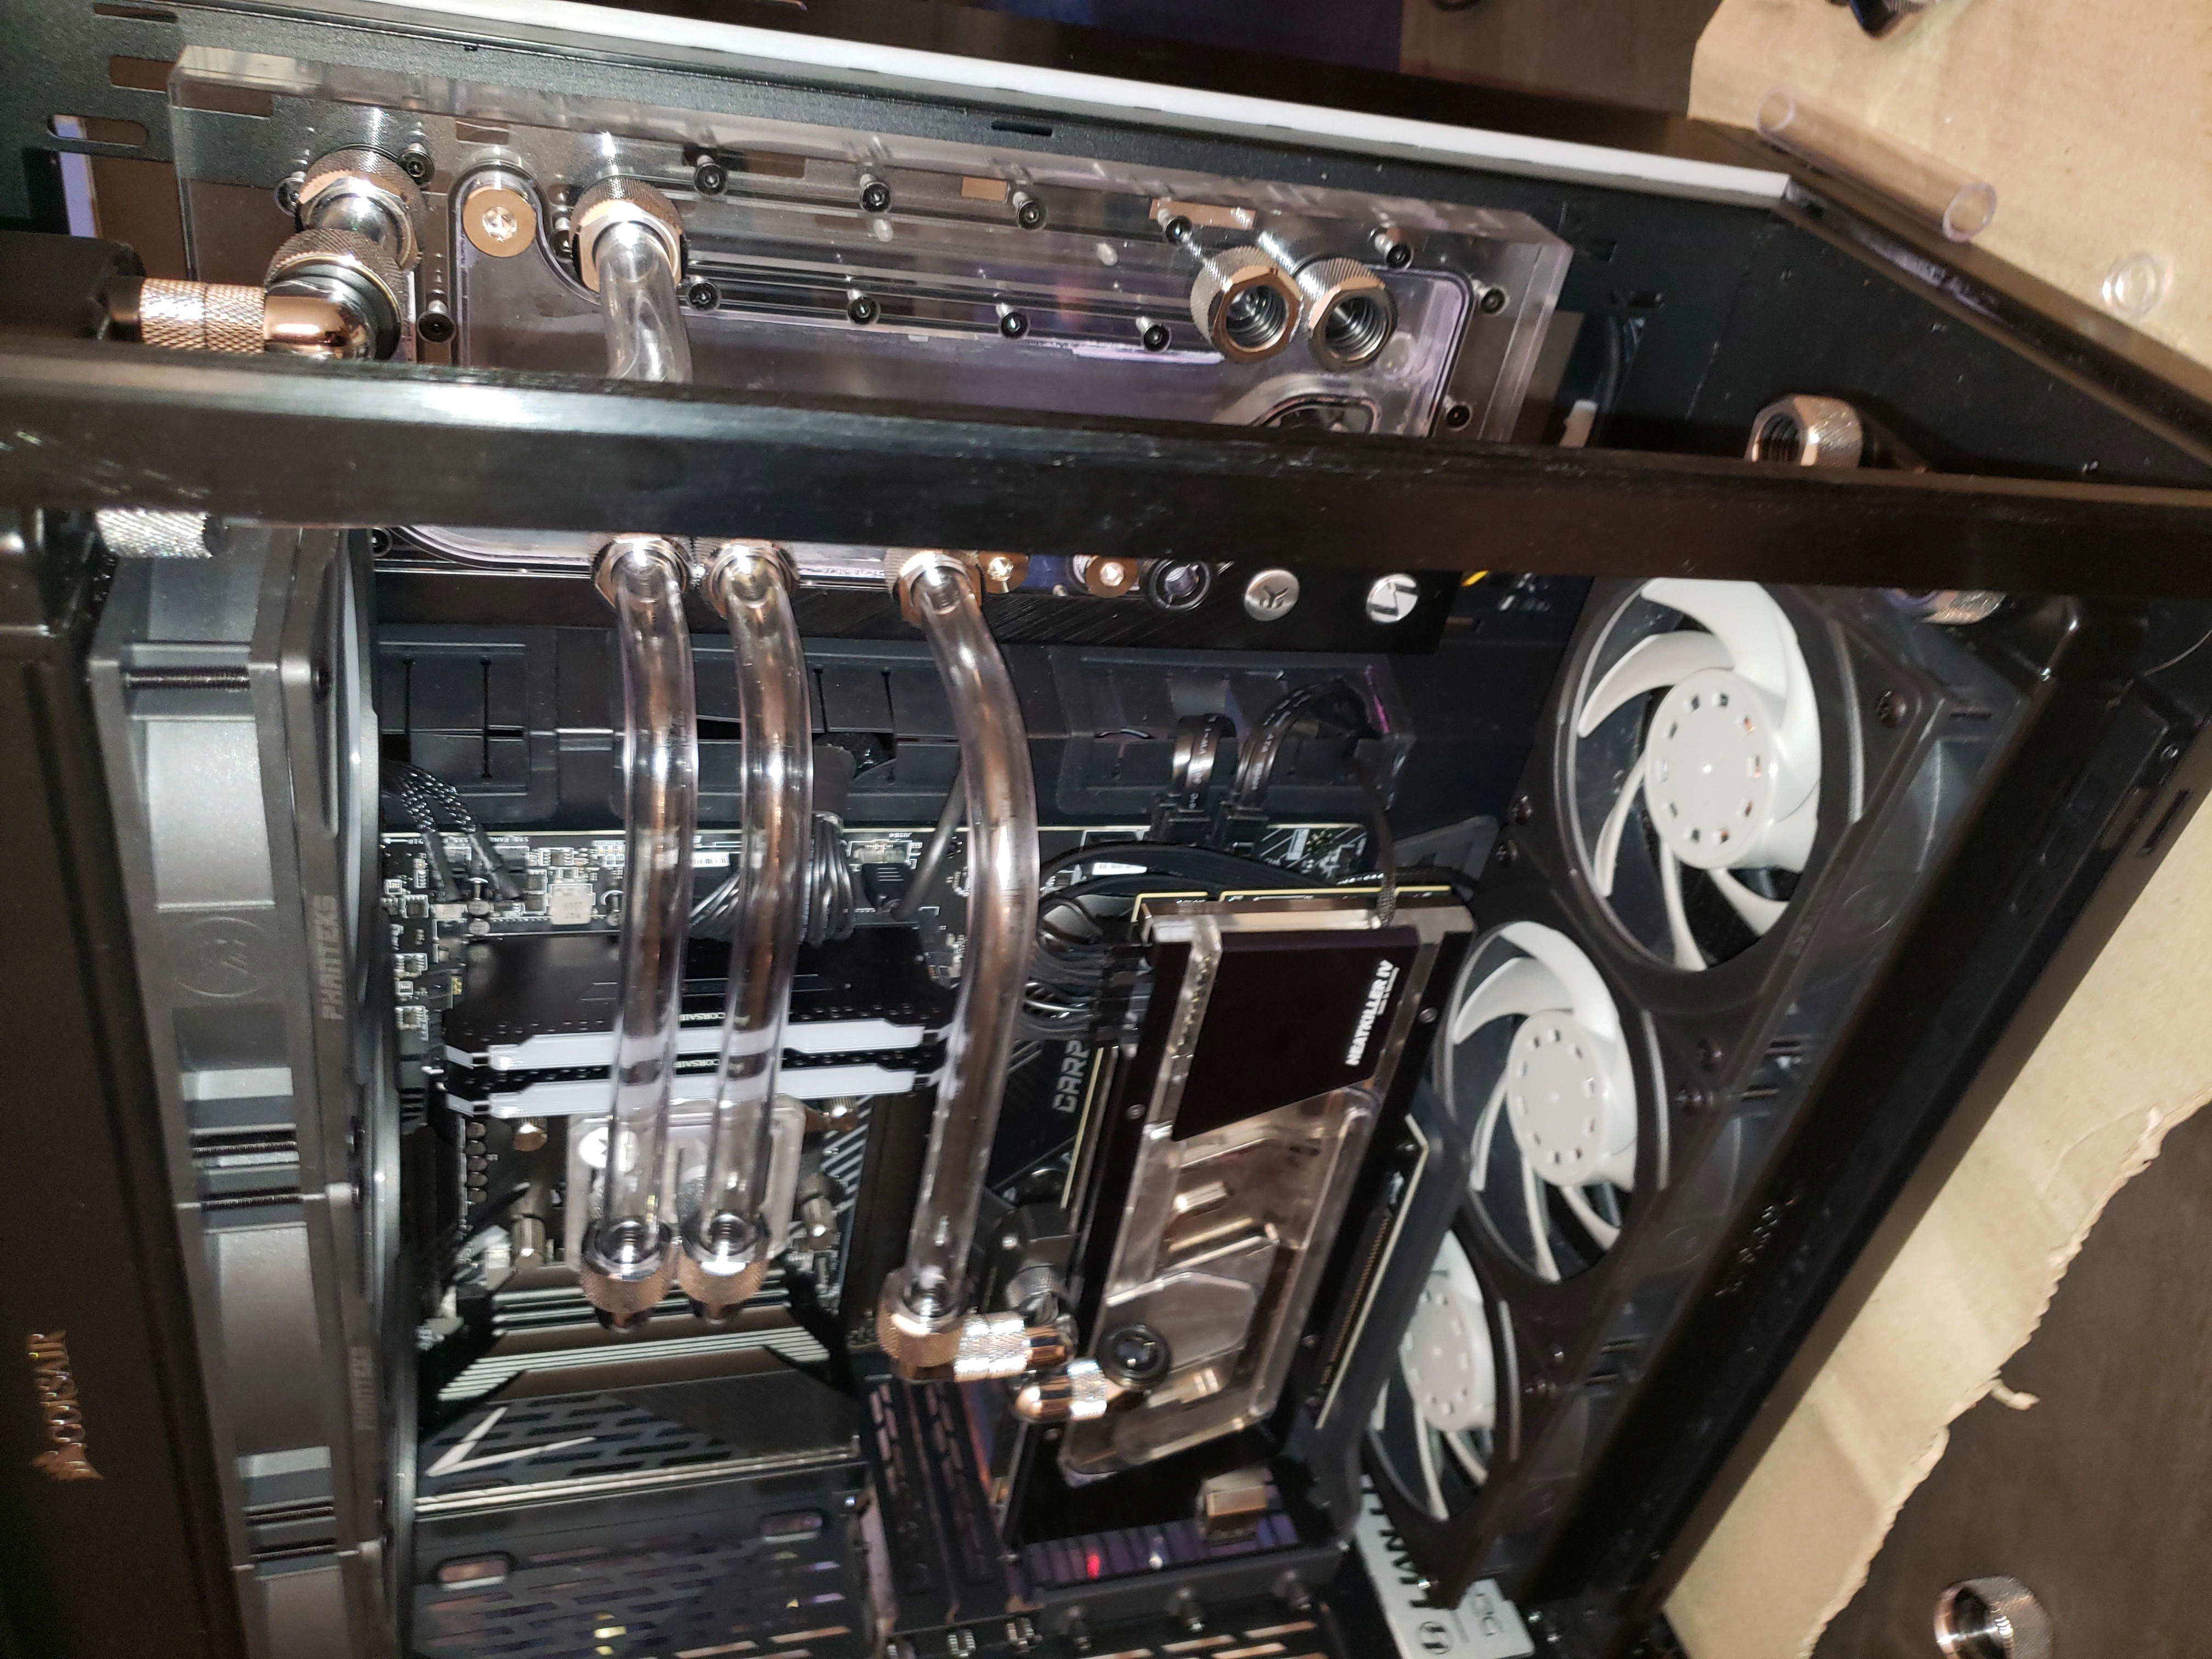
 The rest of the bends for the system are all clean 90 degree bends. I didn't take many pictures this time around, it was fairly straight forward and I've gotten pretty quick at it. It only took me about an hour to get everything bent, cut and cleaned and into place.
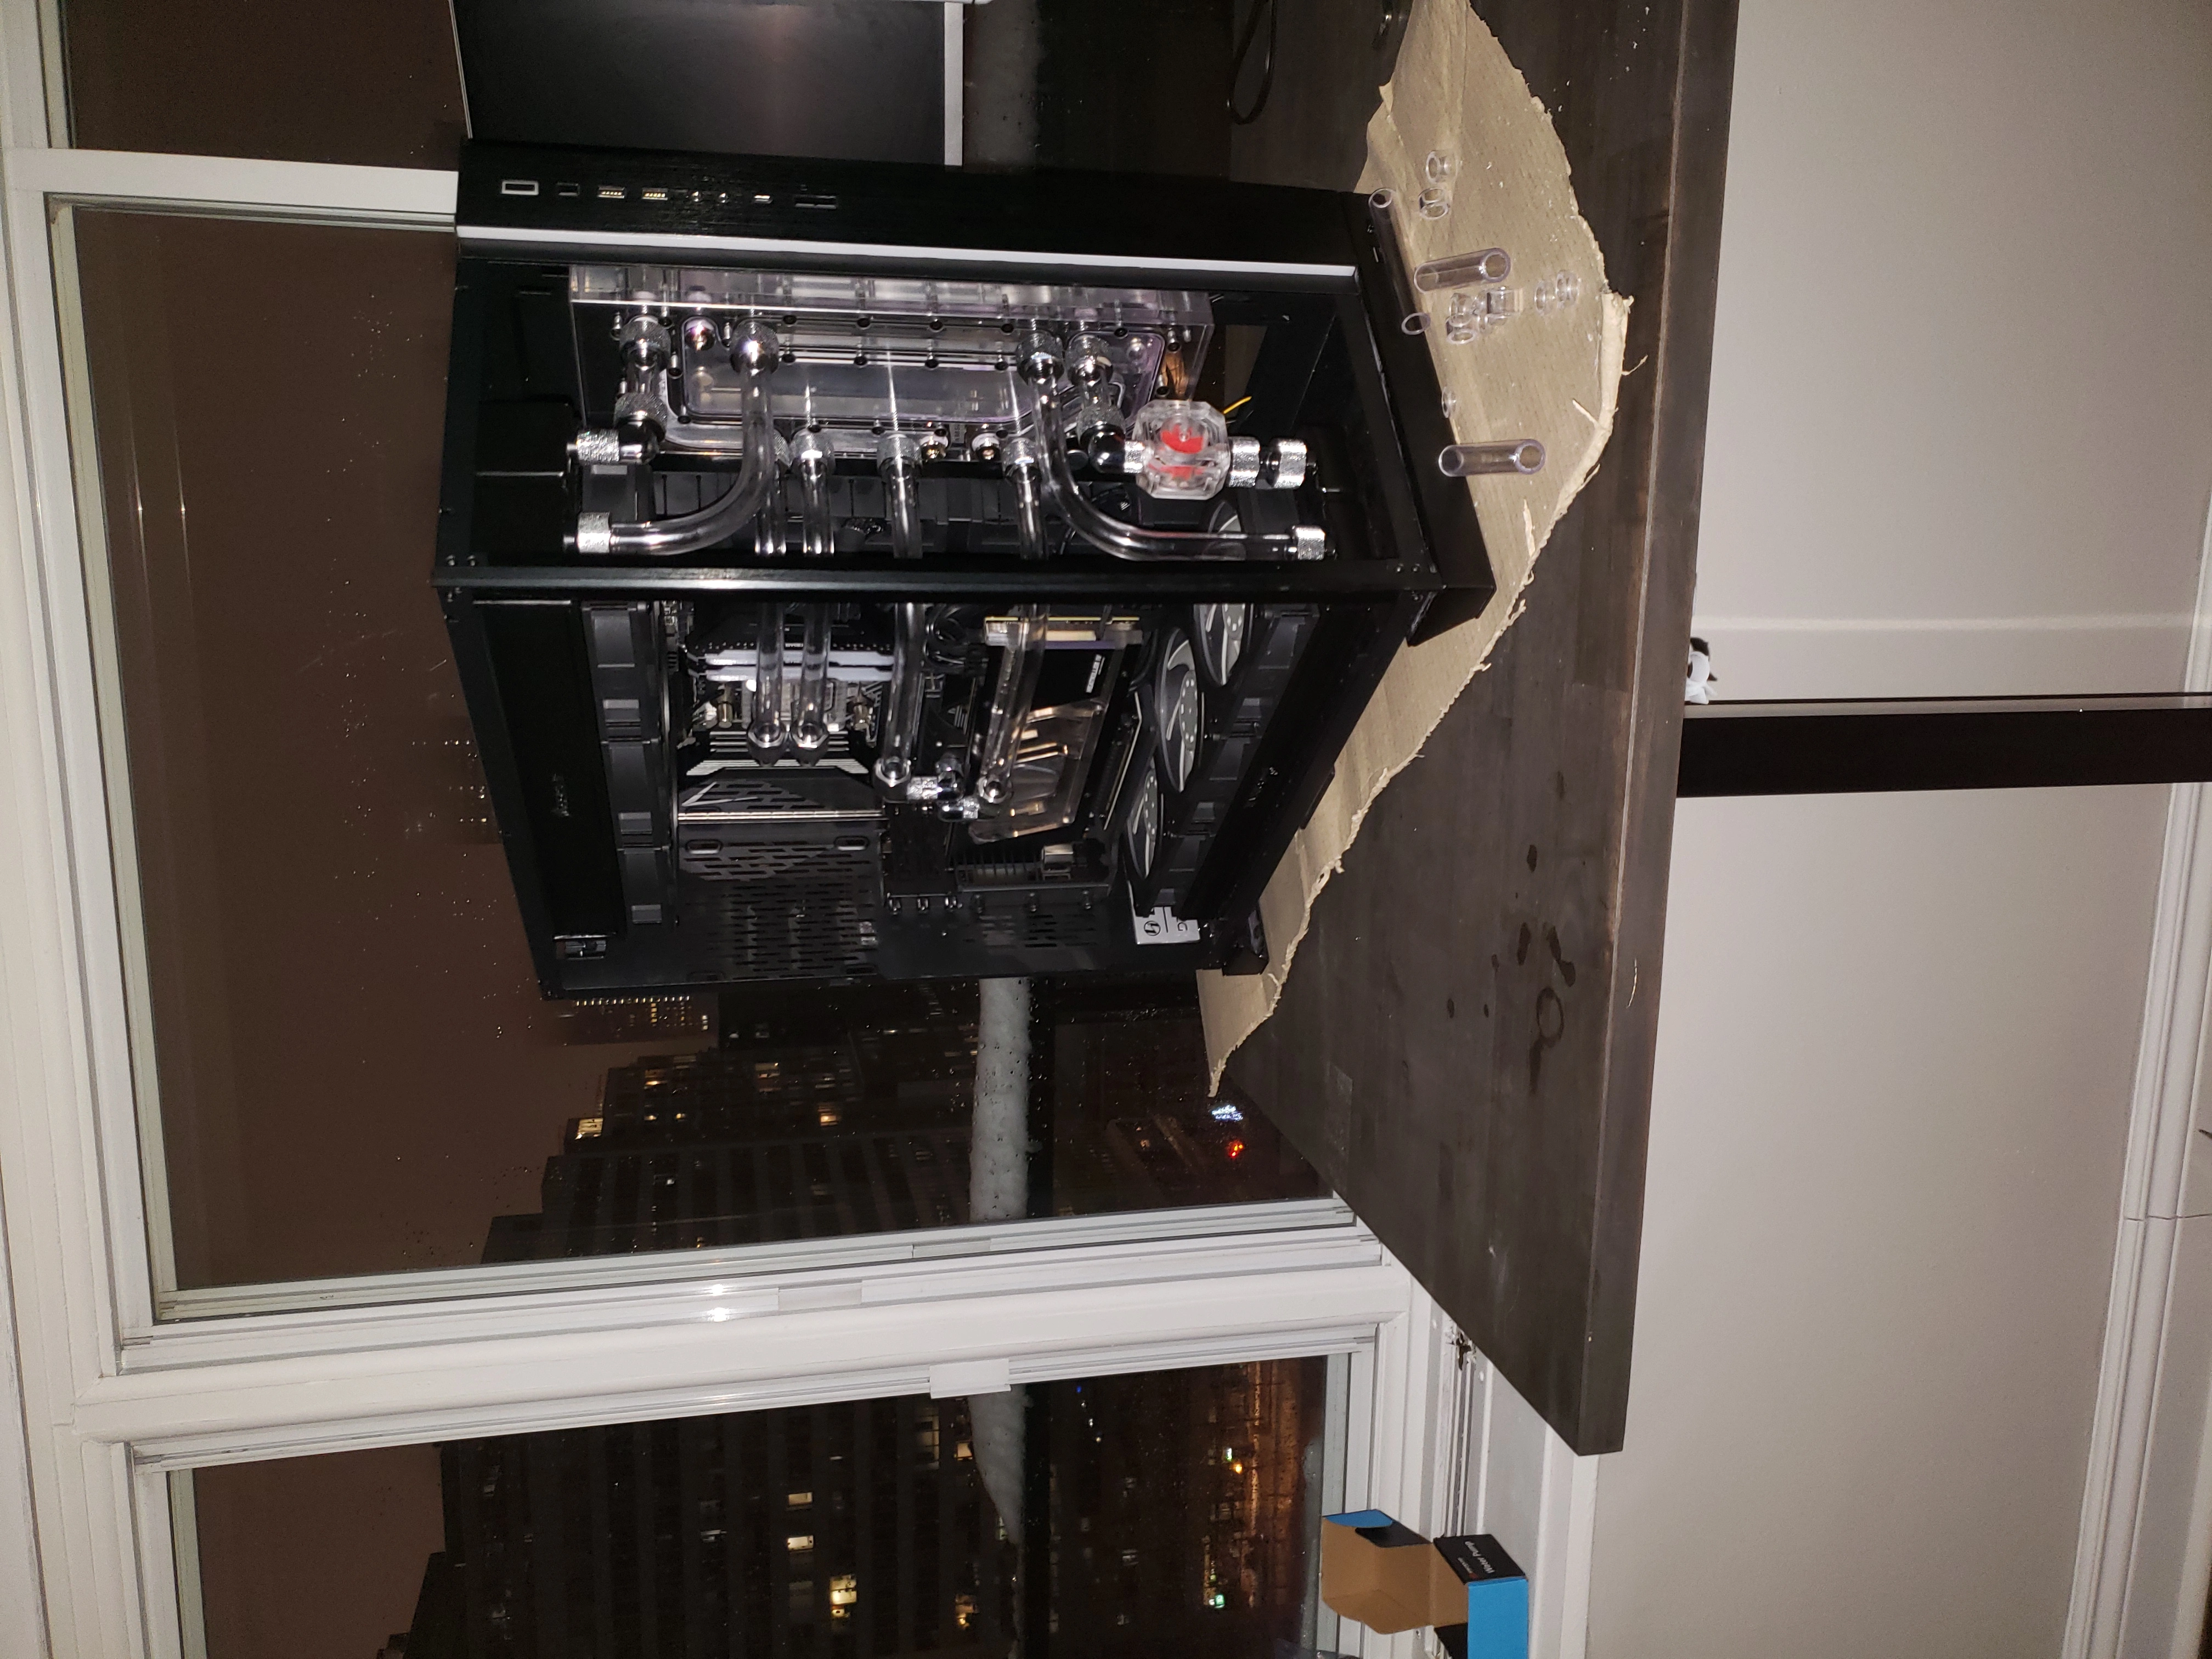 Pressure test...
 Filled up...
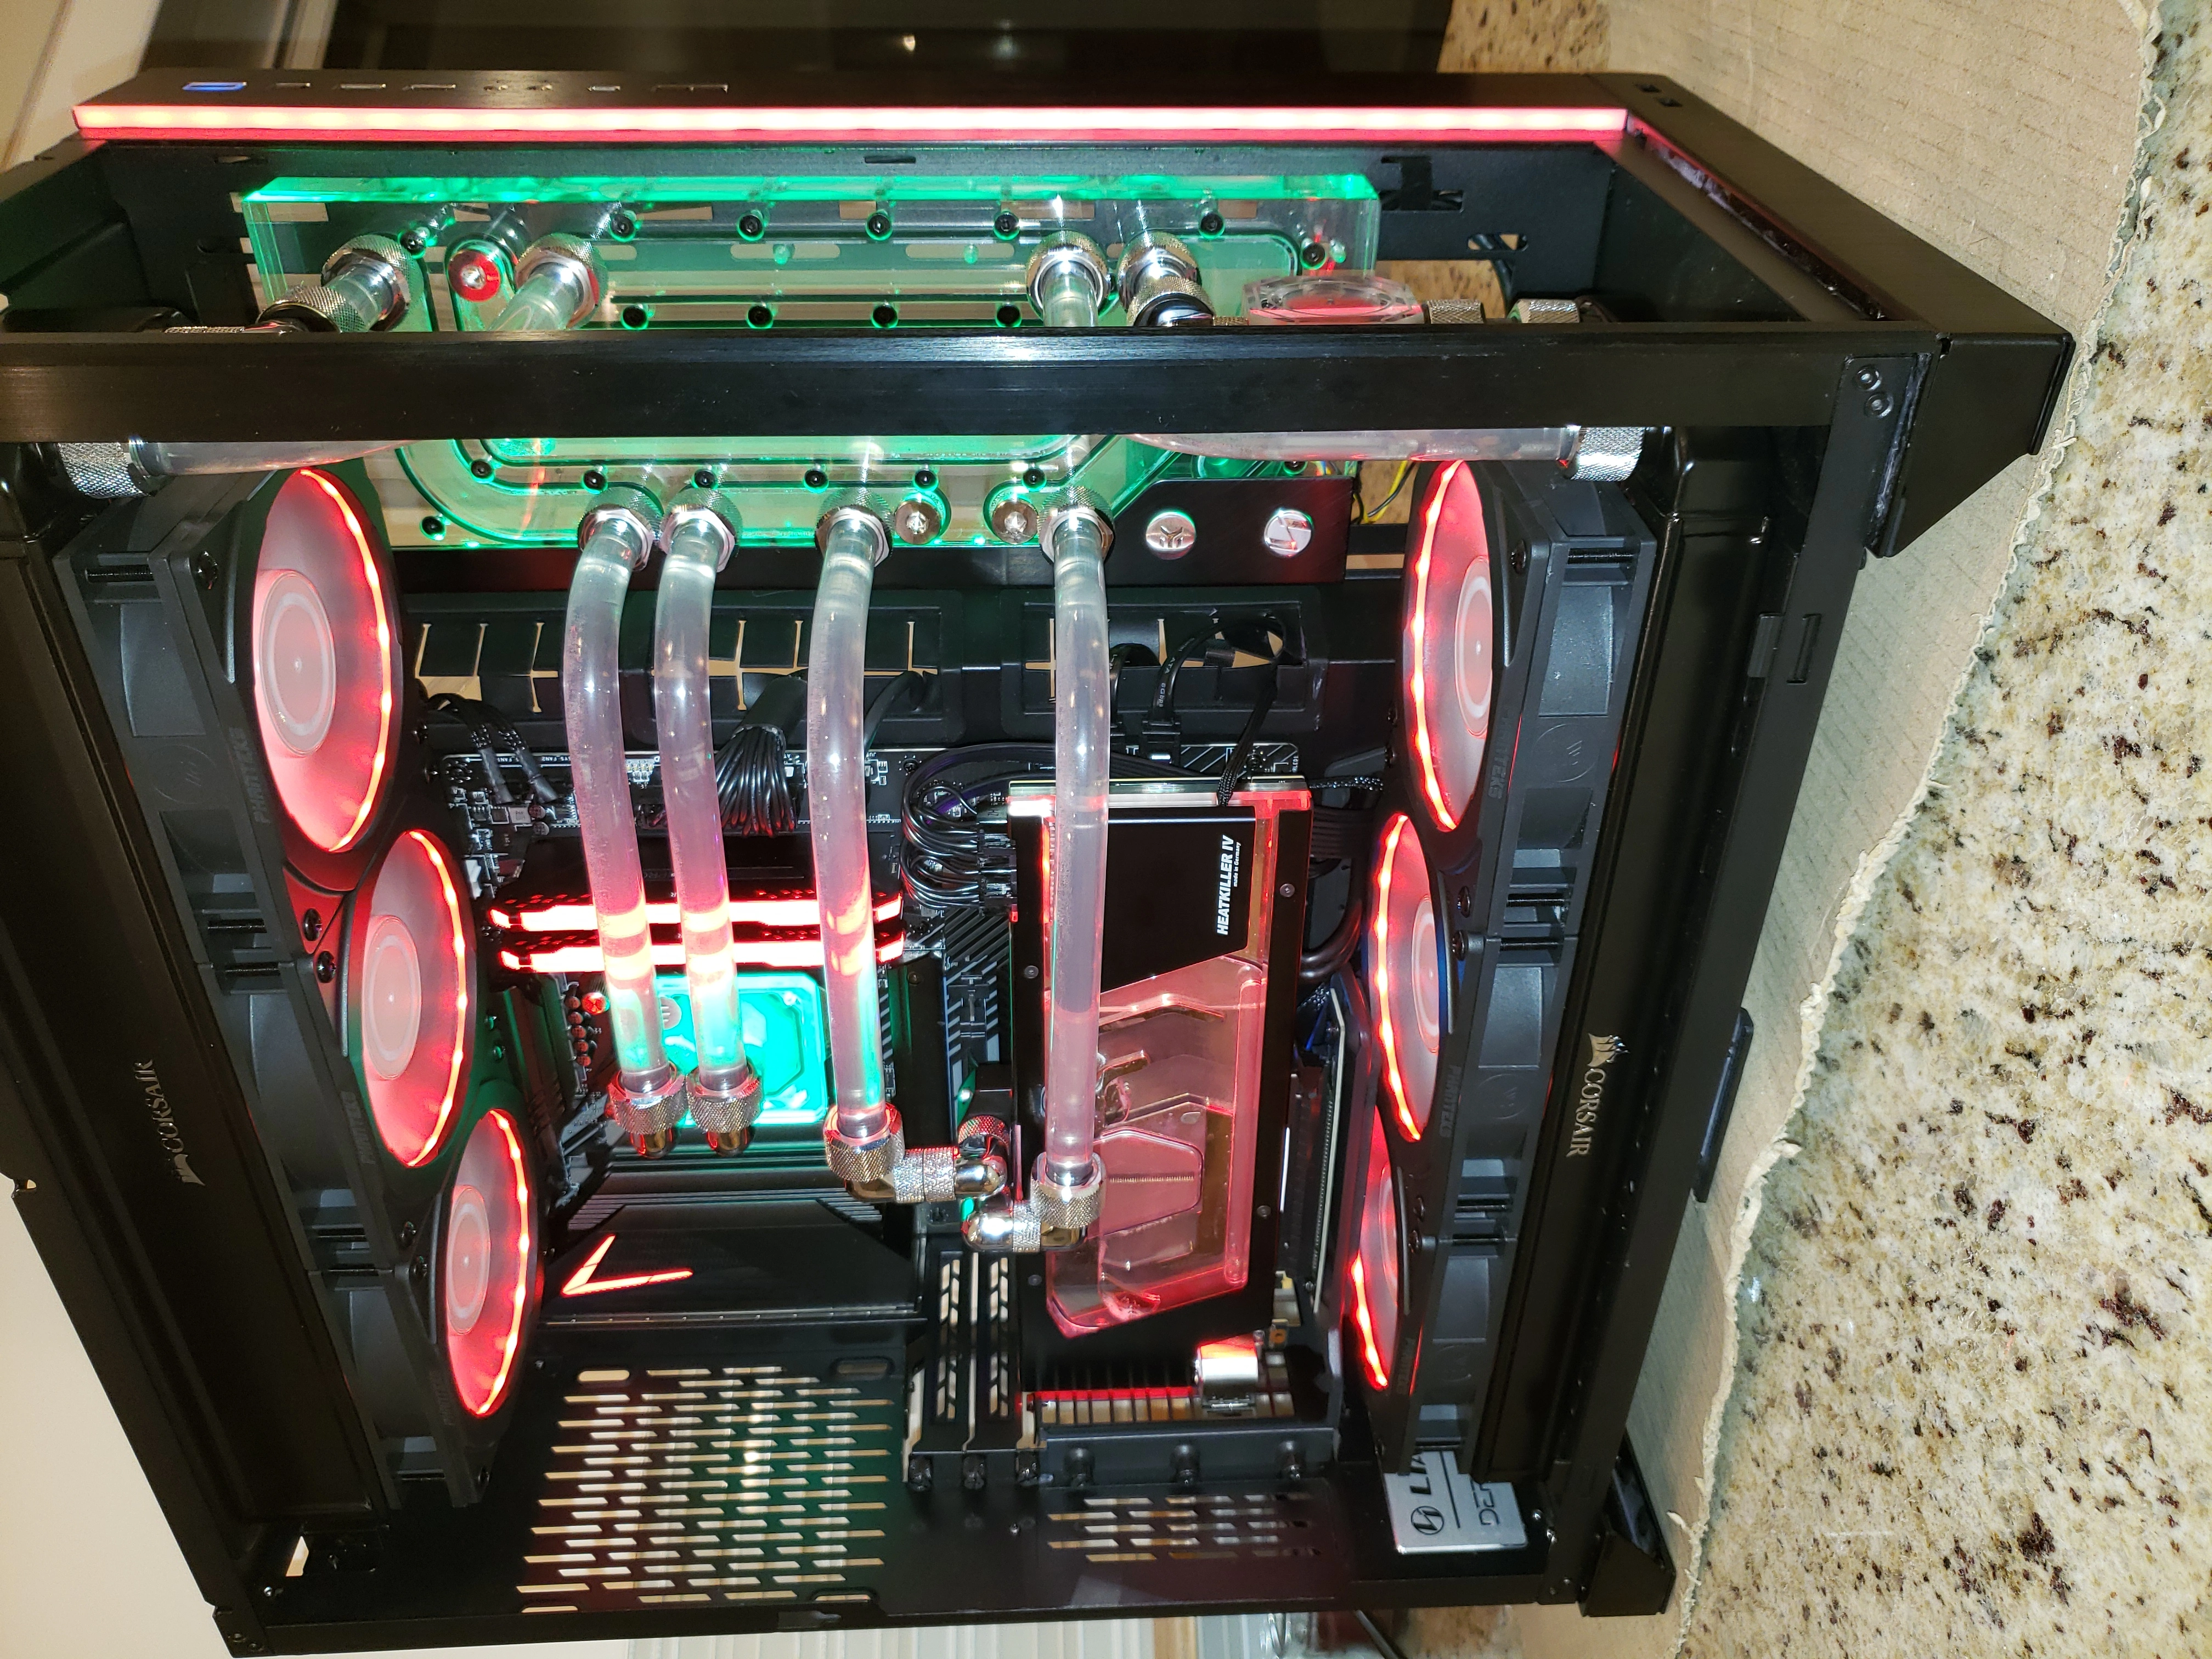
Result
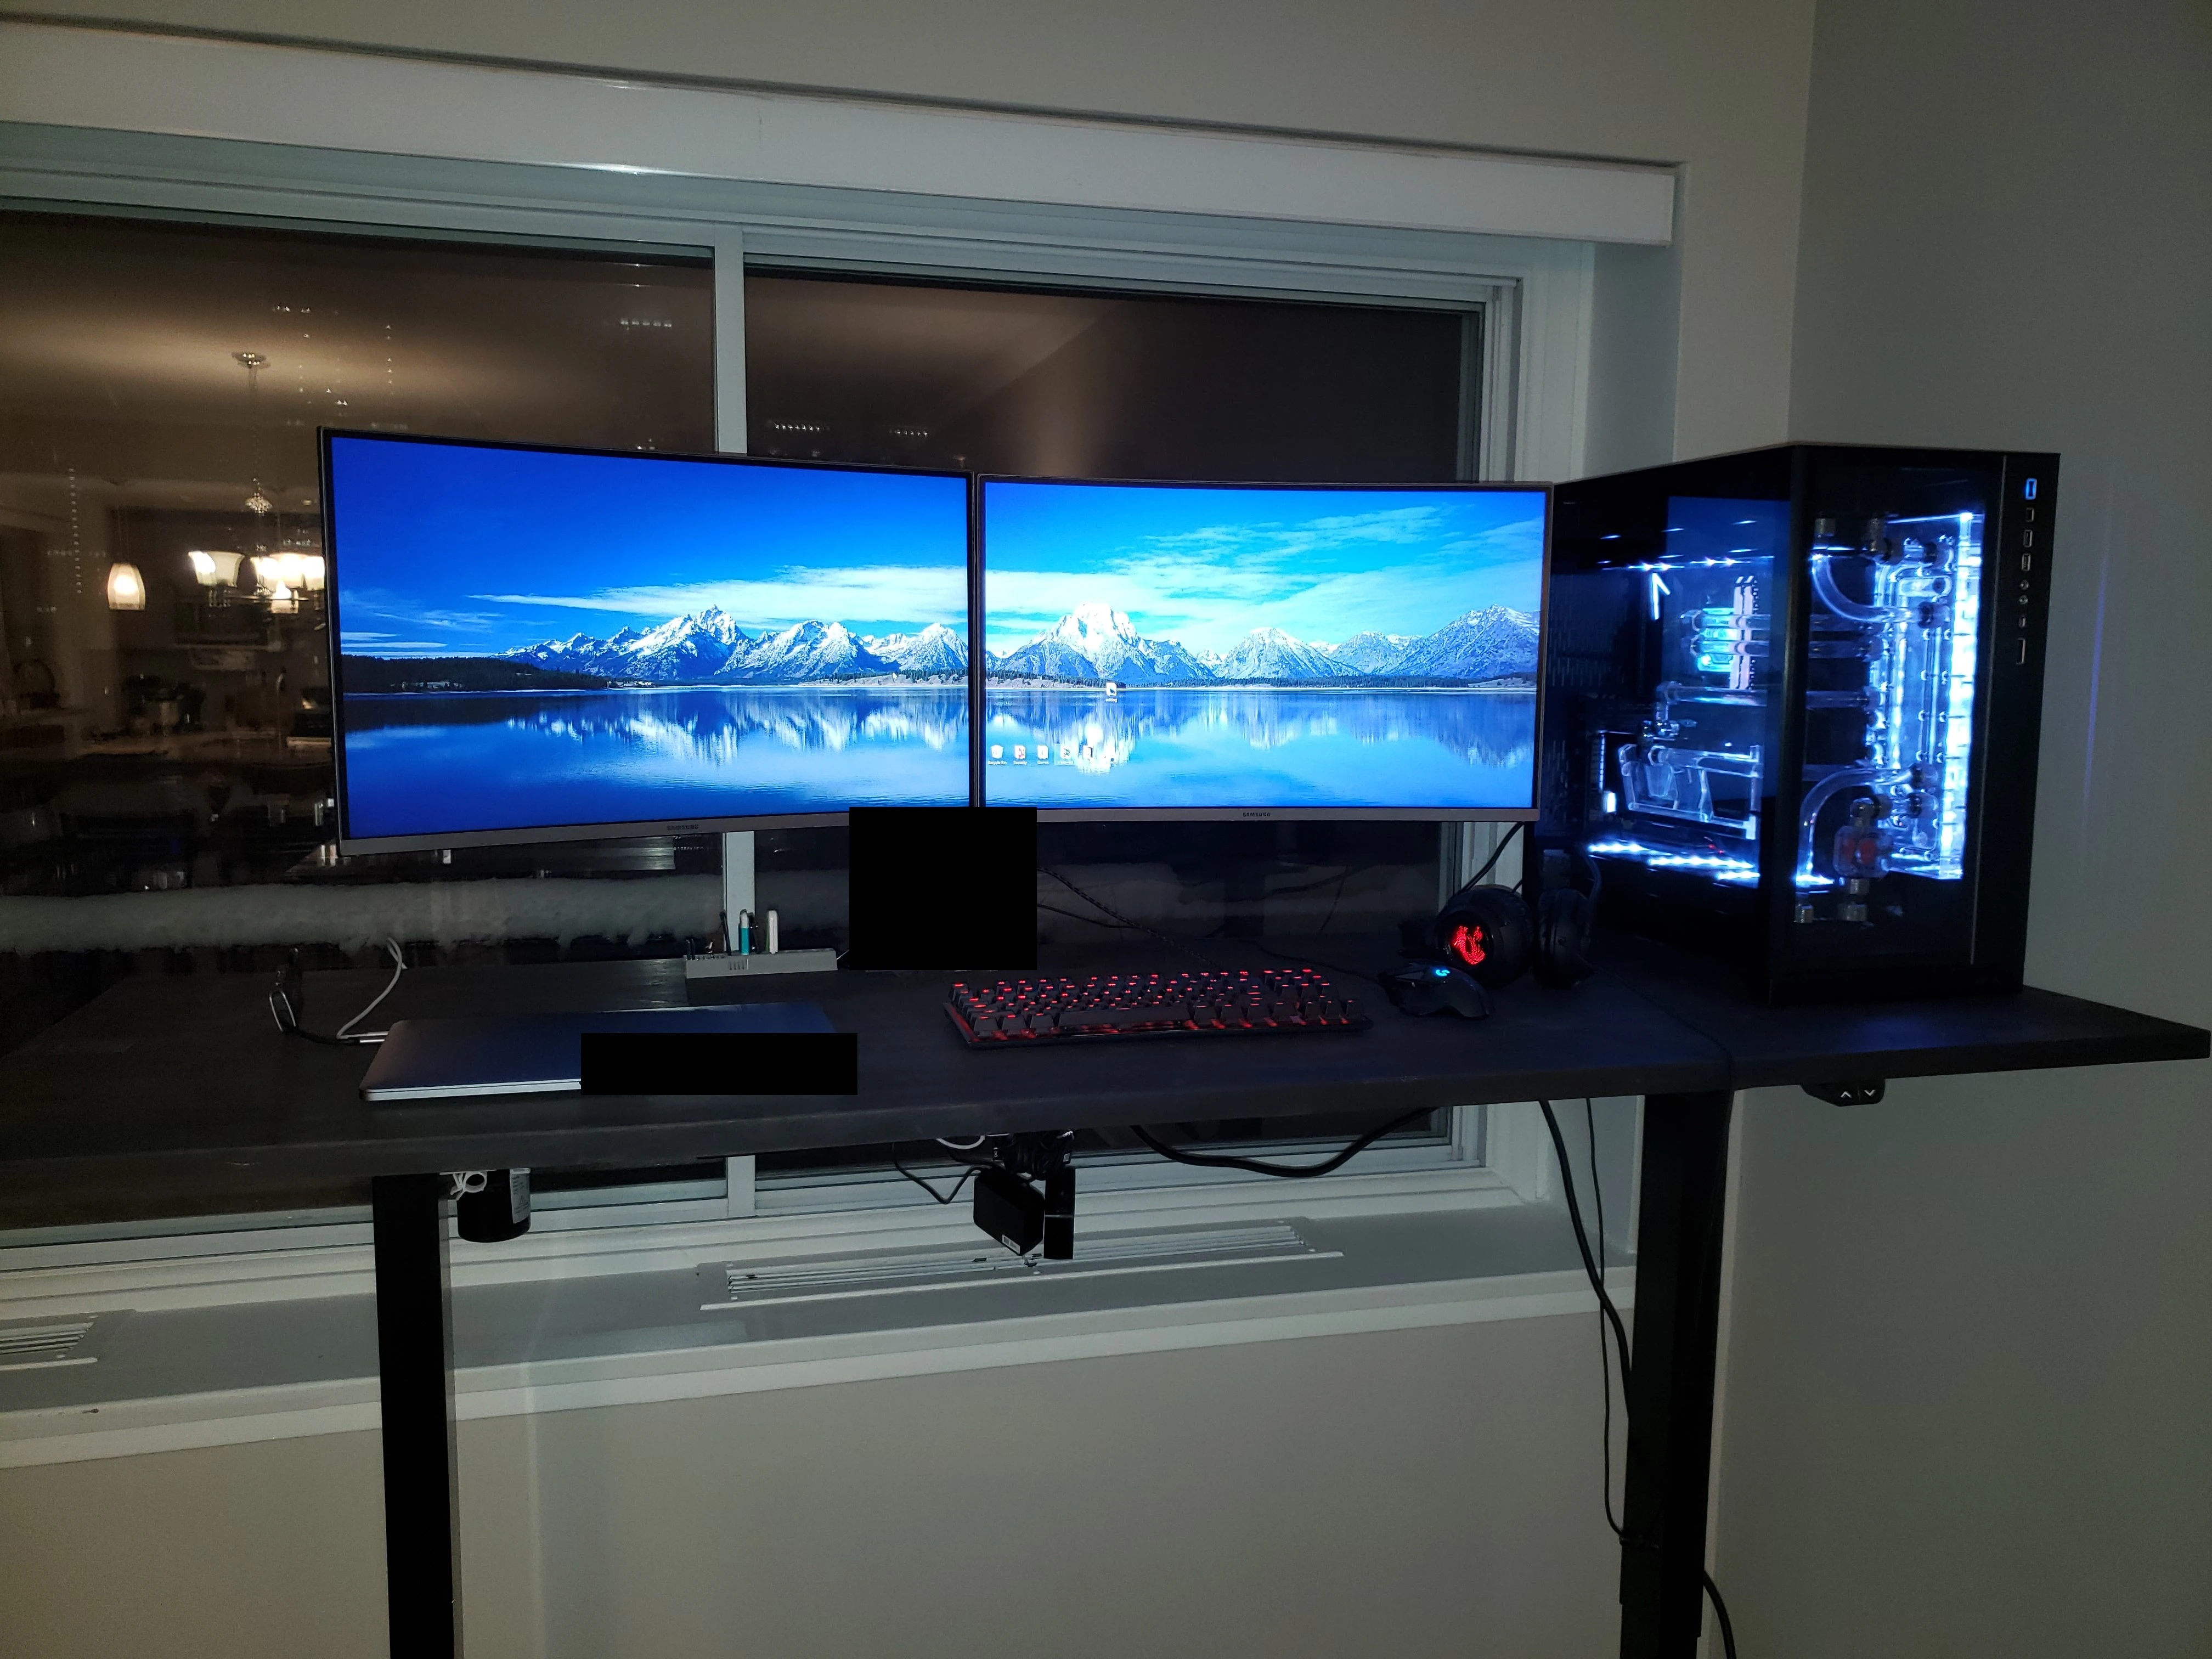
Finally, I filled the rig up and admired. I'm very happy with how it turned out on my second shot, not much I would change! This is an addicting hobby though I'm sure I'll come back and change something one day.